
How to's
How to Build a TreeTop Pottery Wind Chime
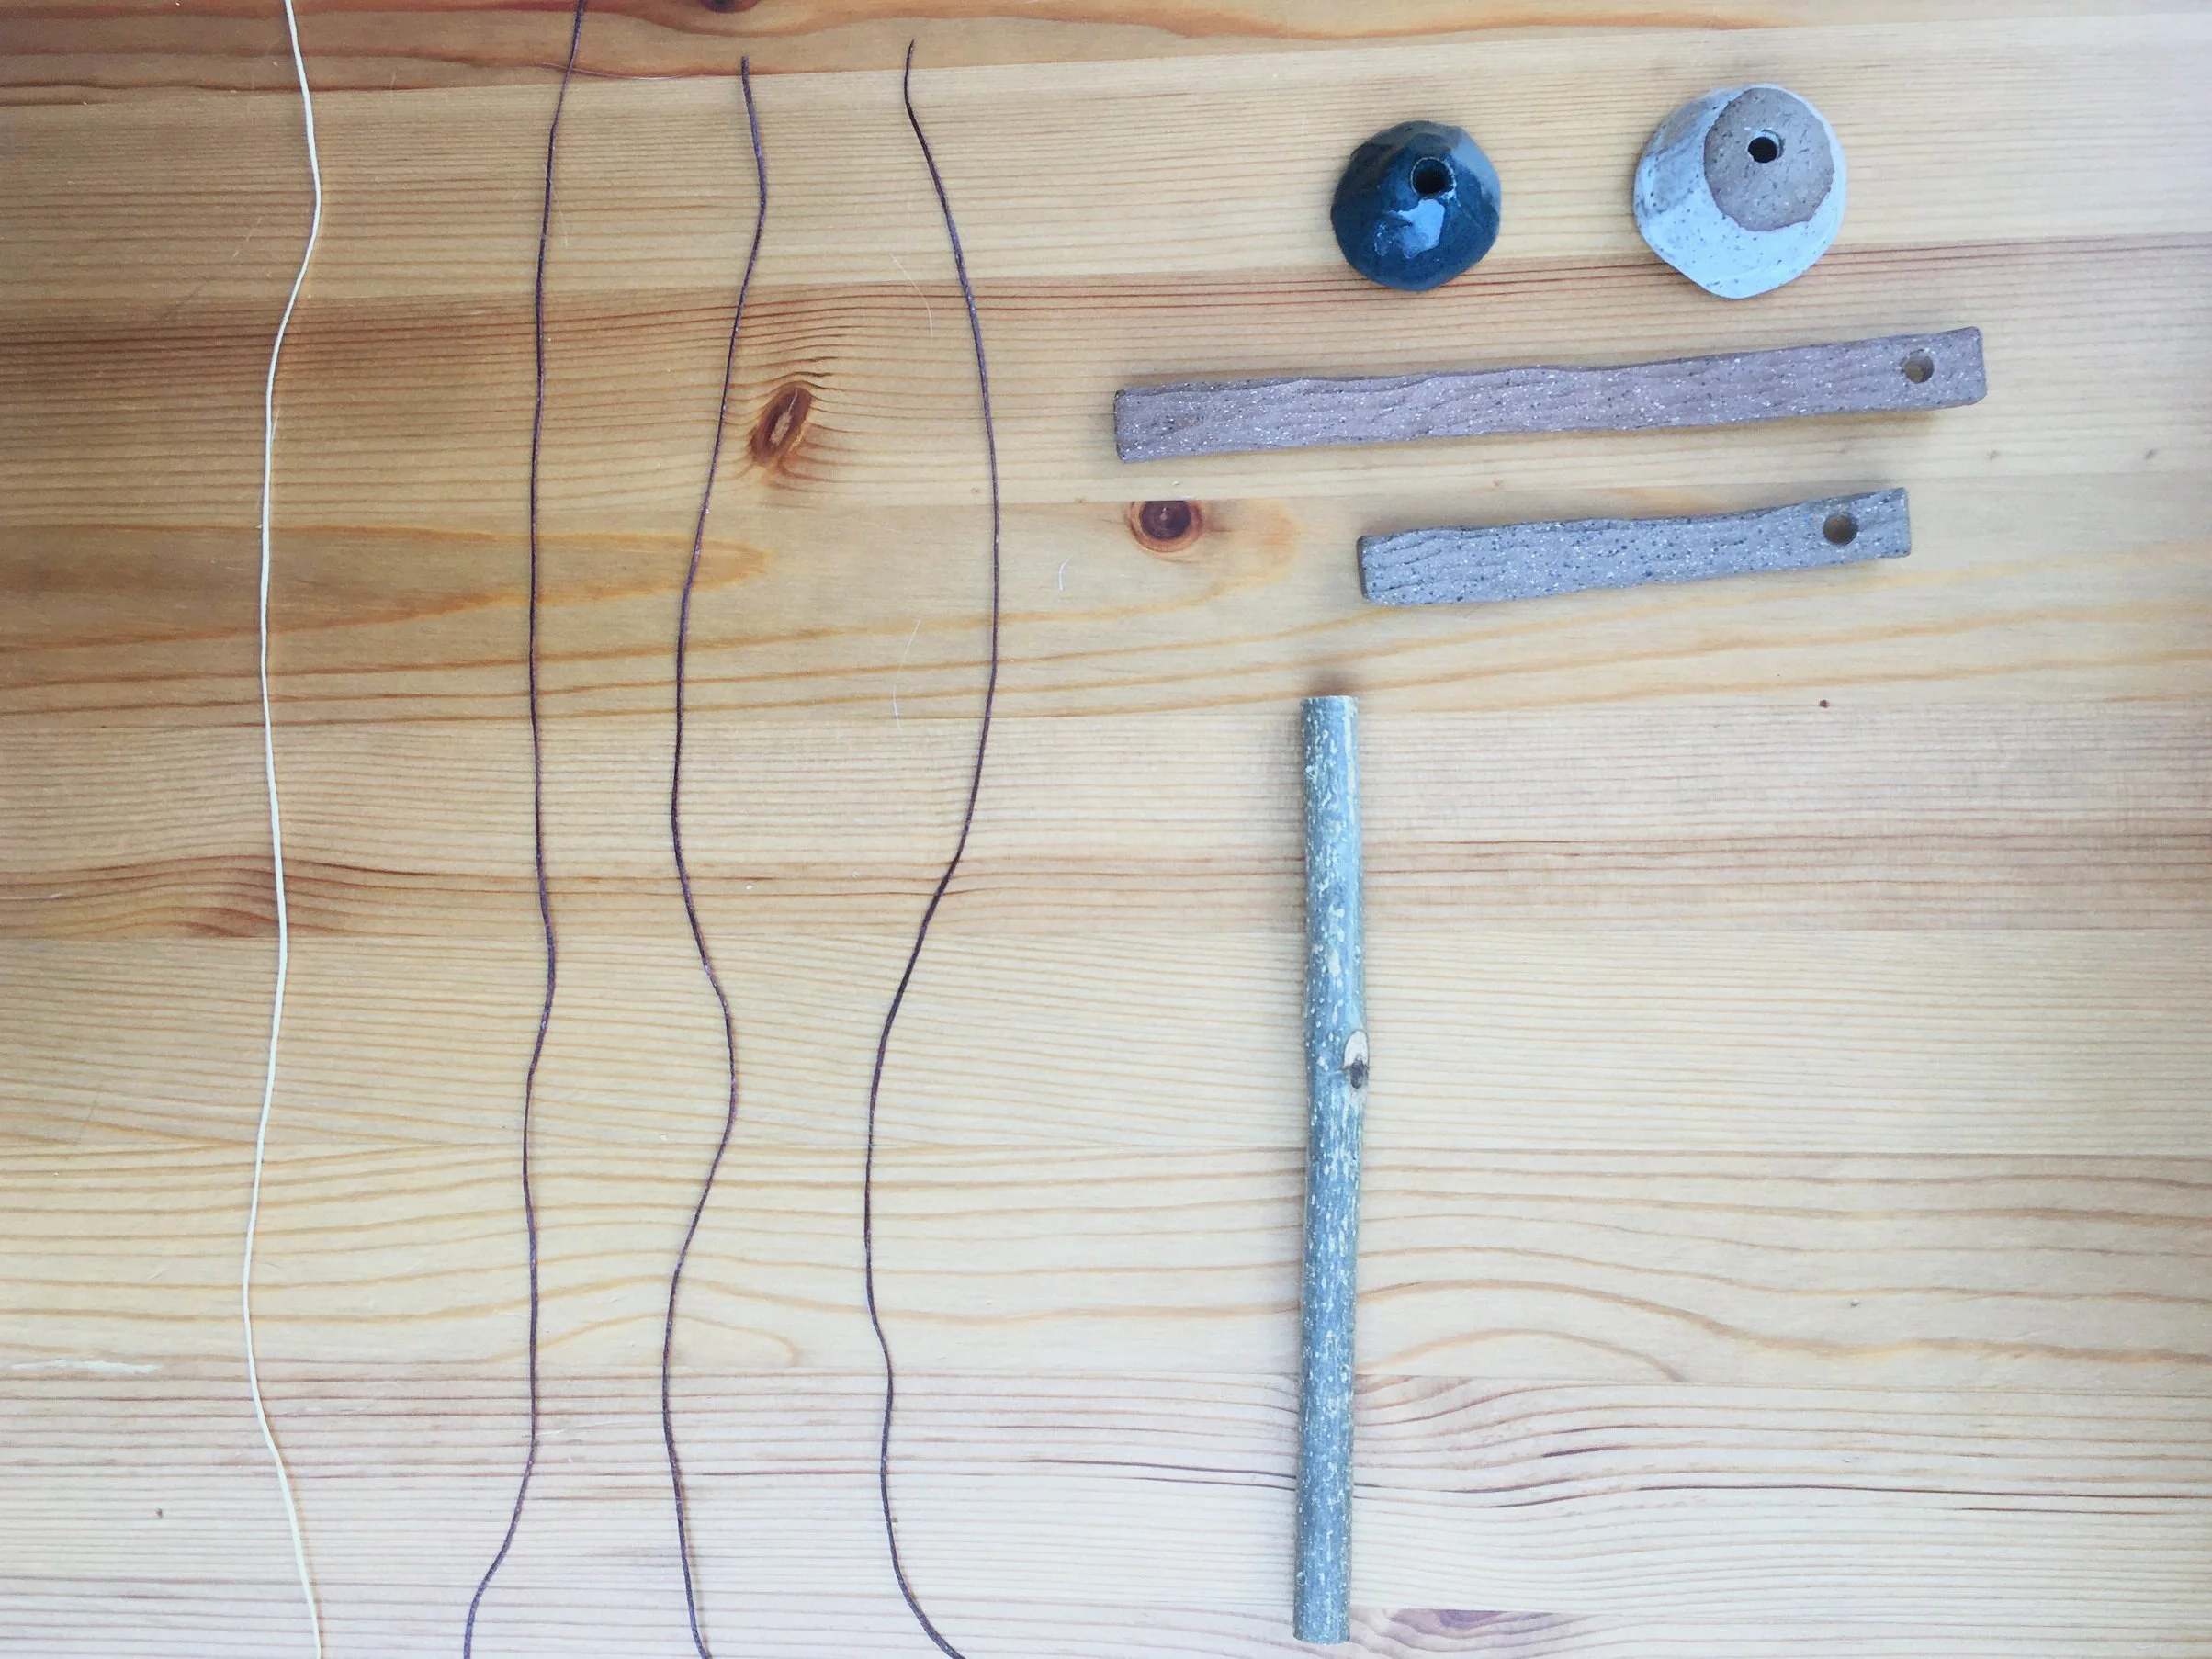
Kit Contents
All kits have 1 long string, 3 shorter strings, and 1 pre-drilled stick.
Some kits may have all bells or all chime sticks or an assortment of both.
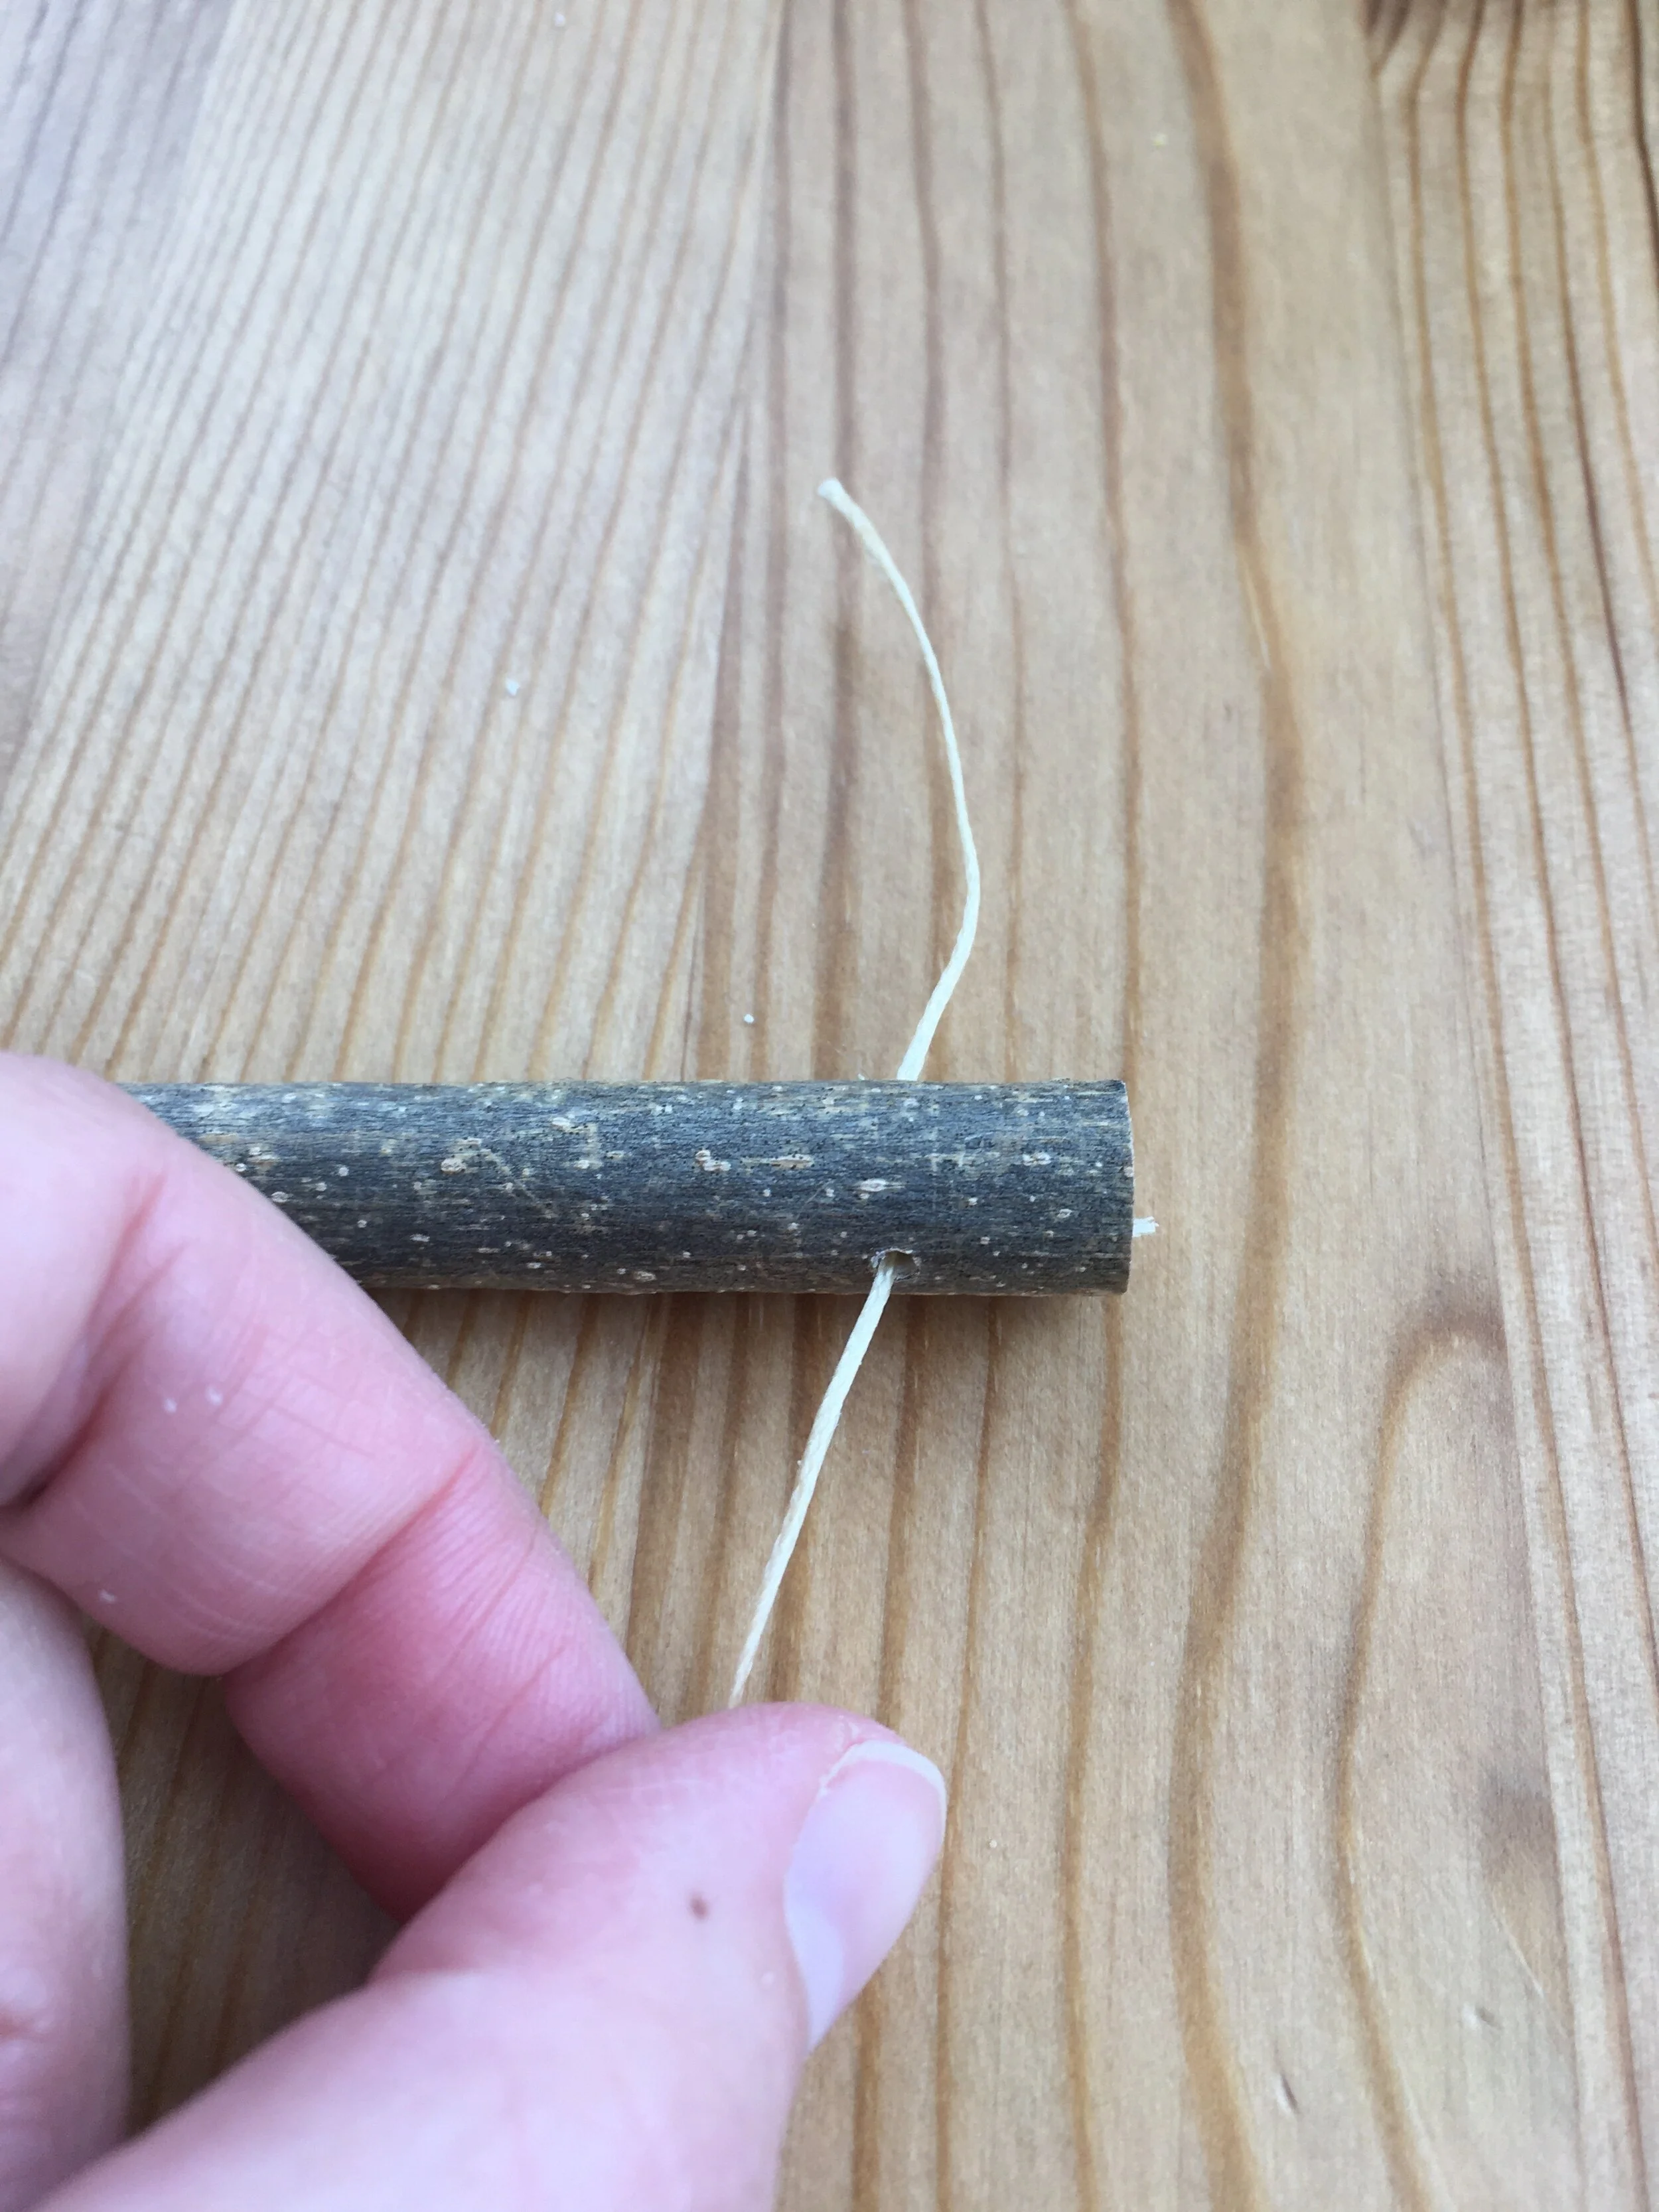
Step One: Attach long thread to pre-drilled stick
This will be the string you hang your chime from!
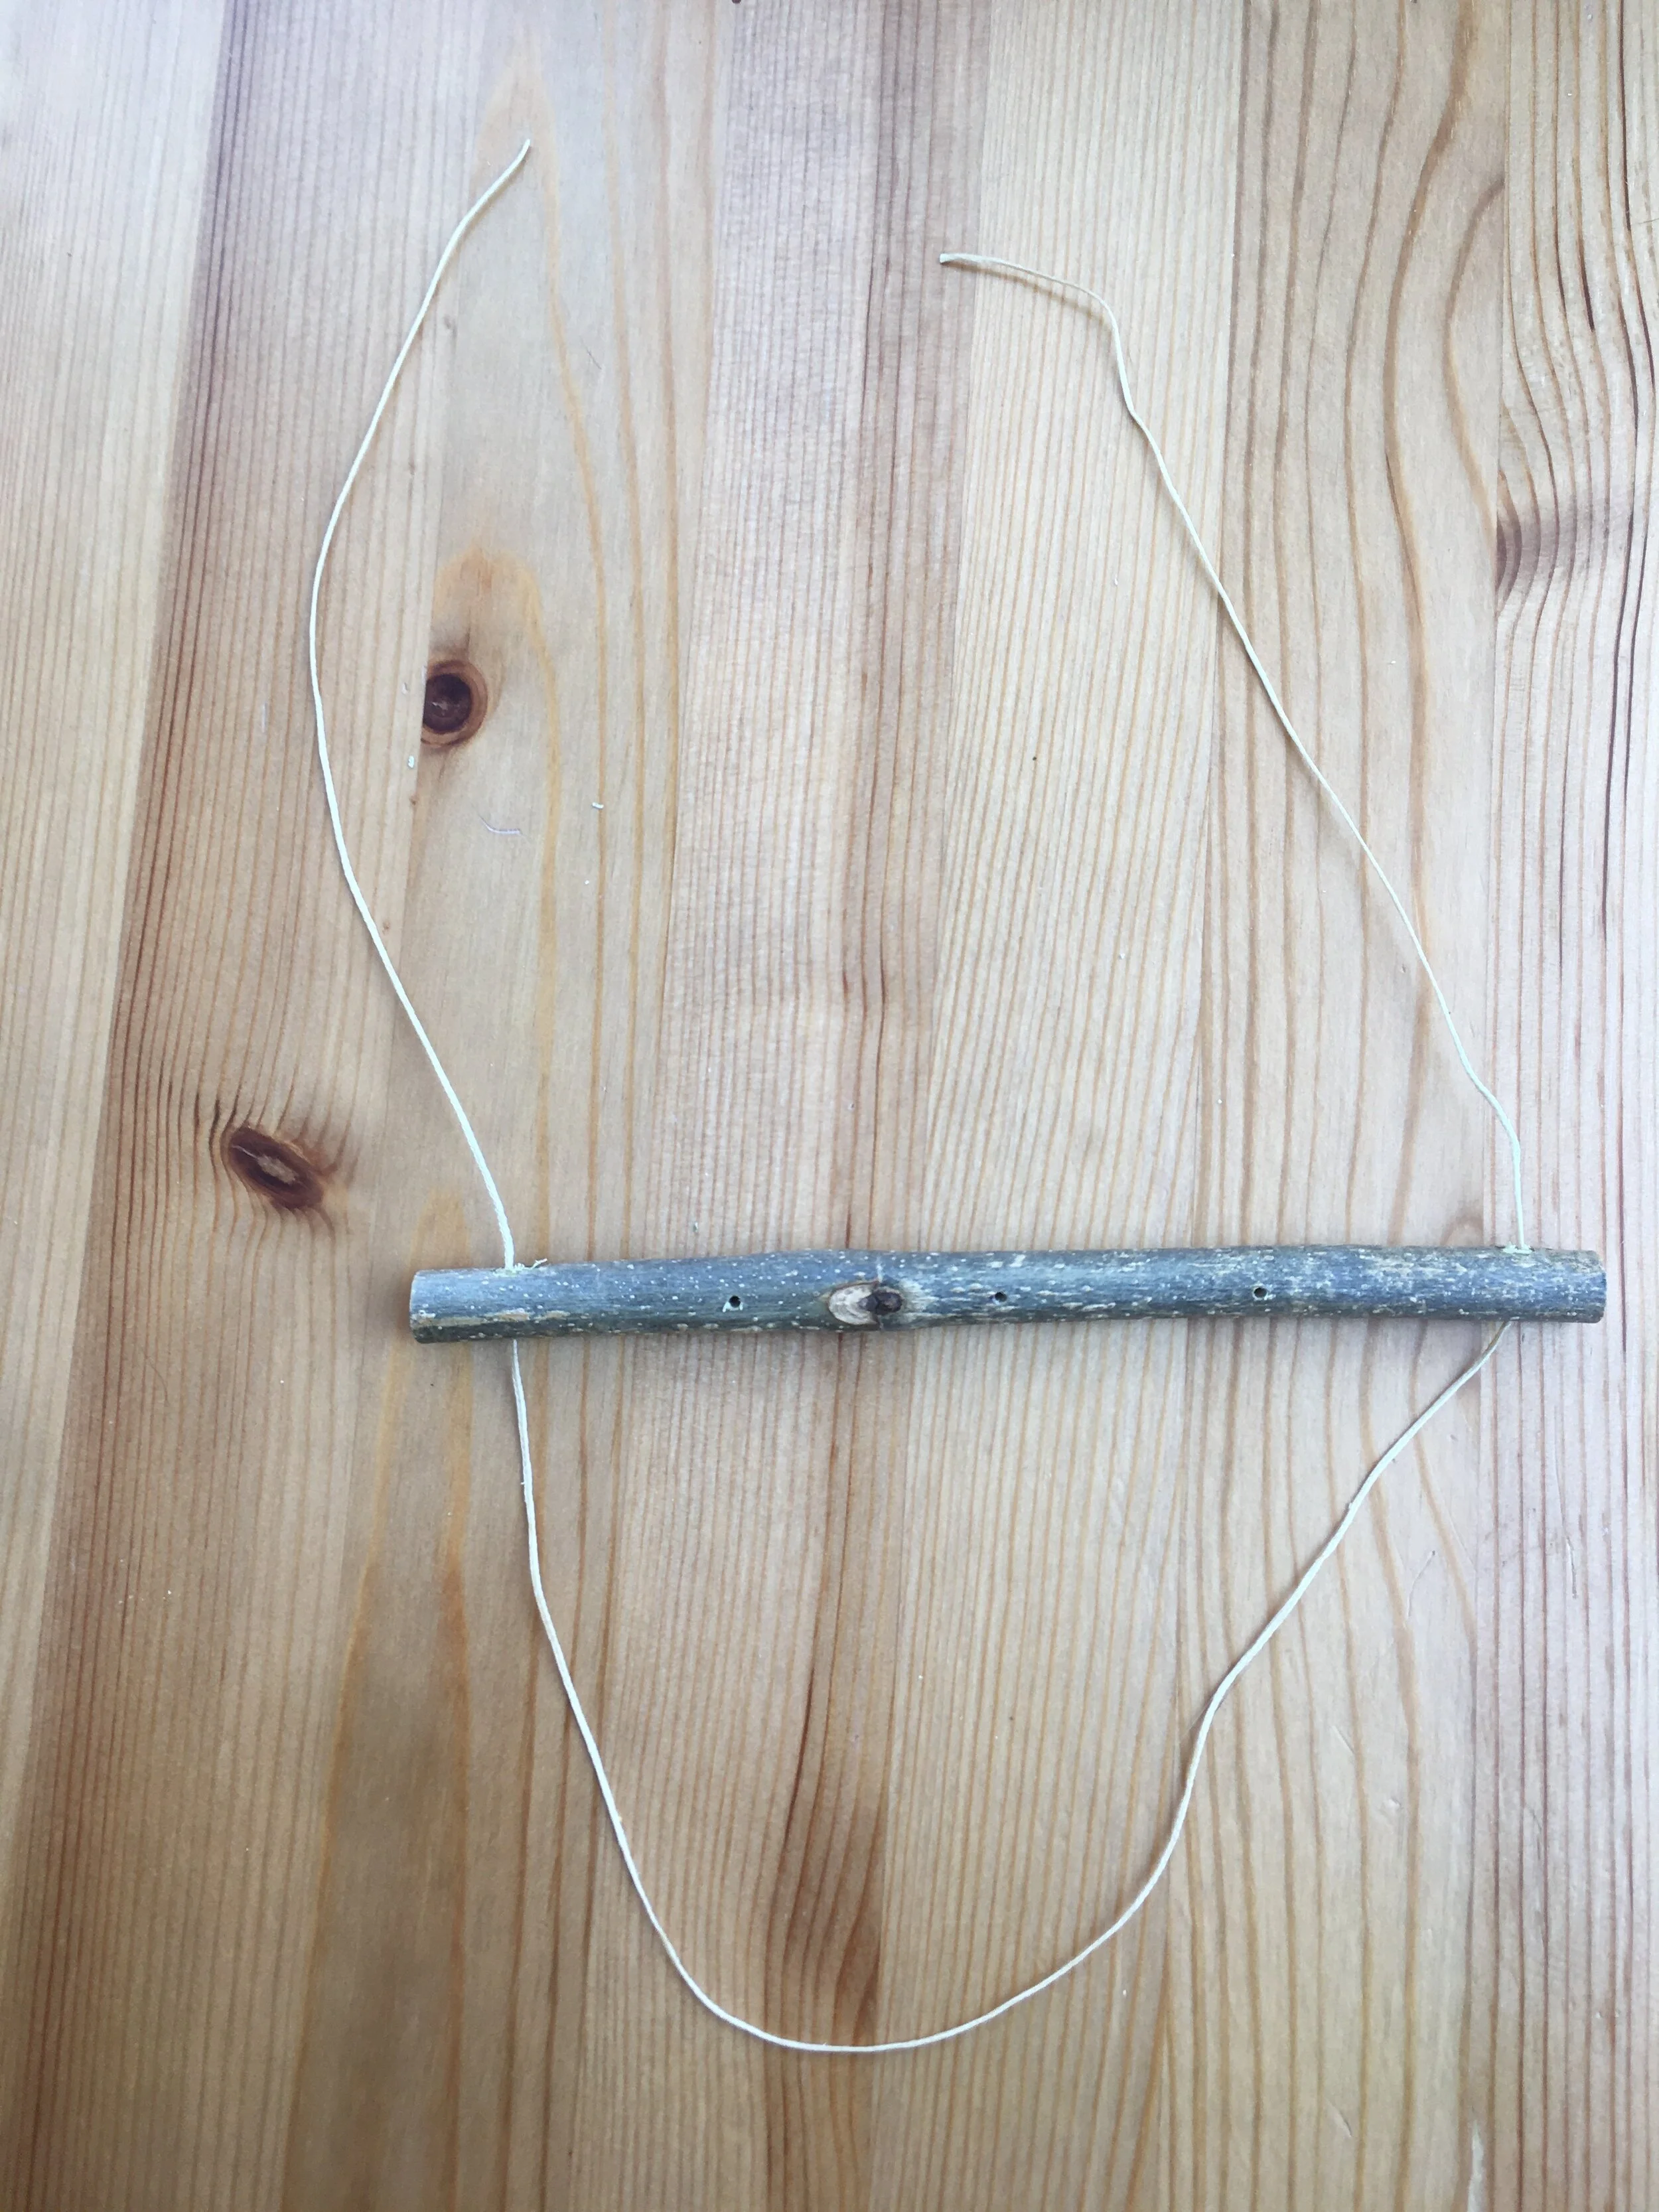
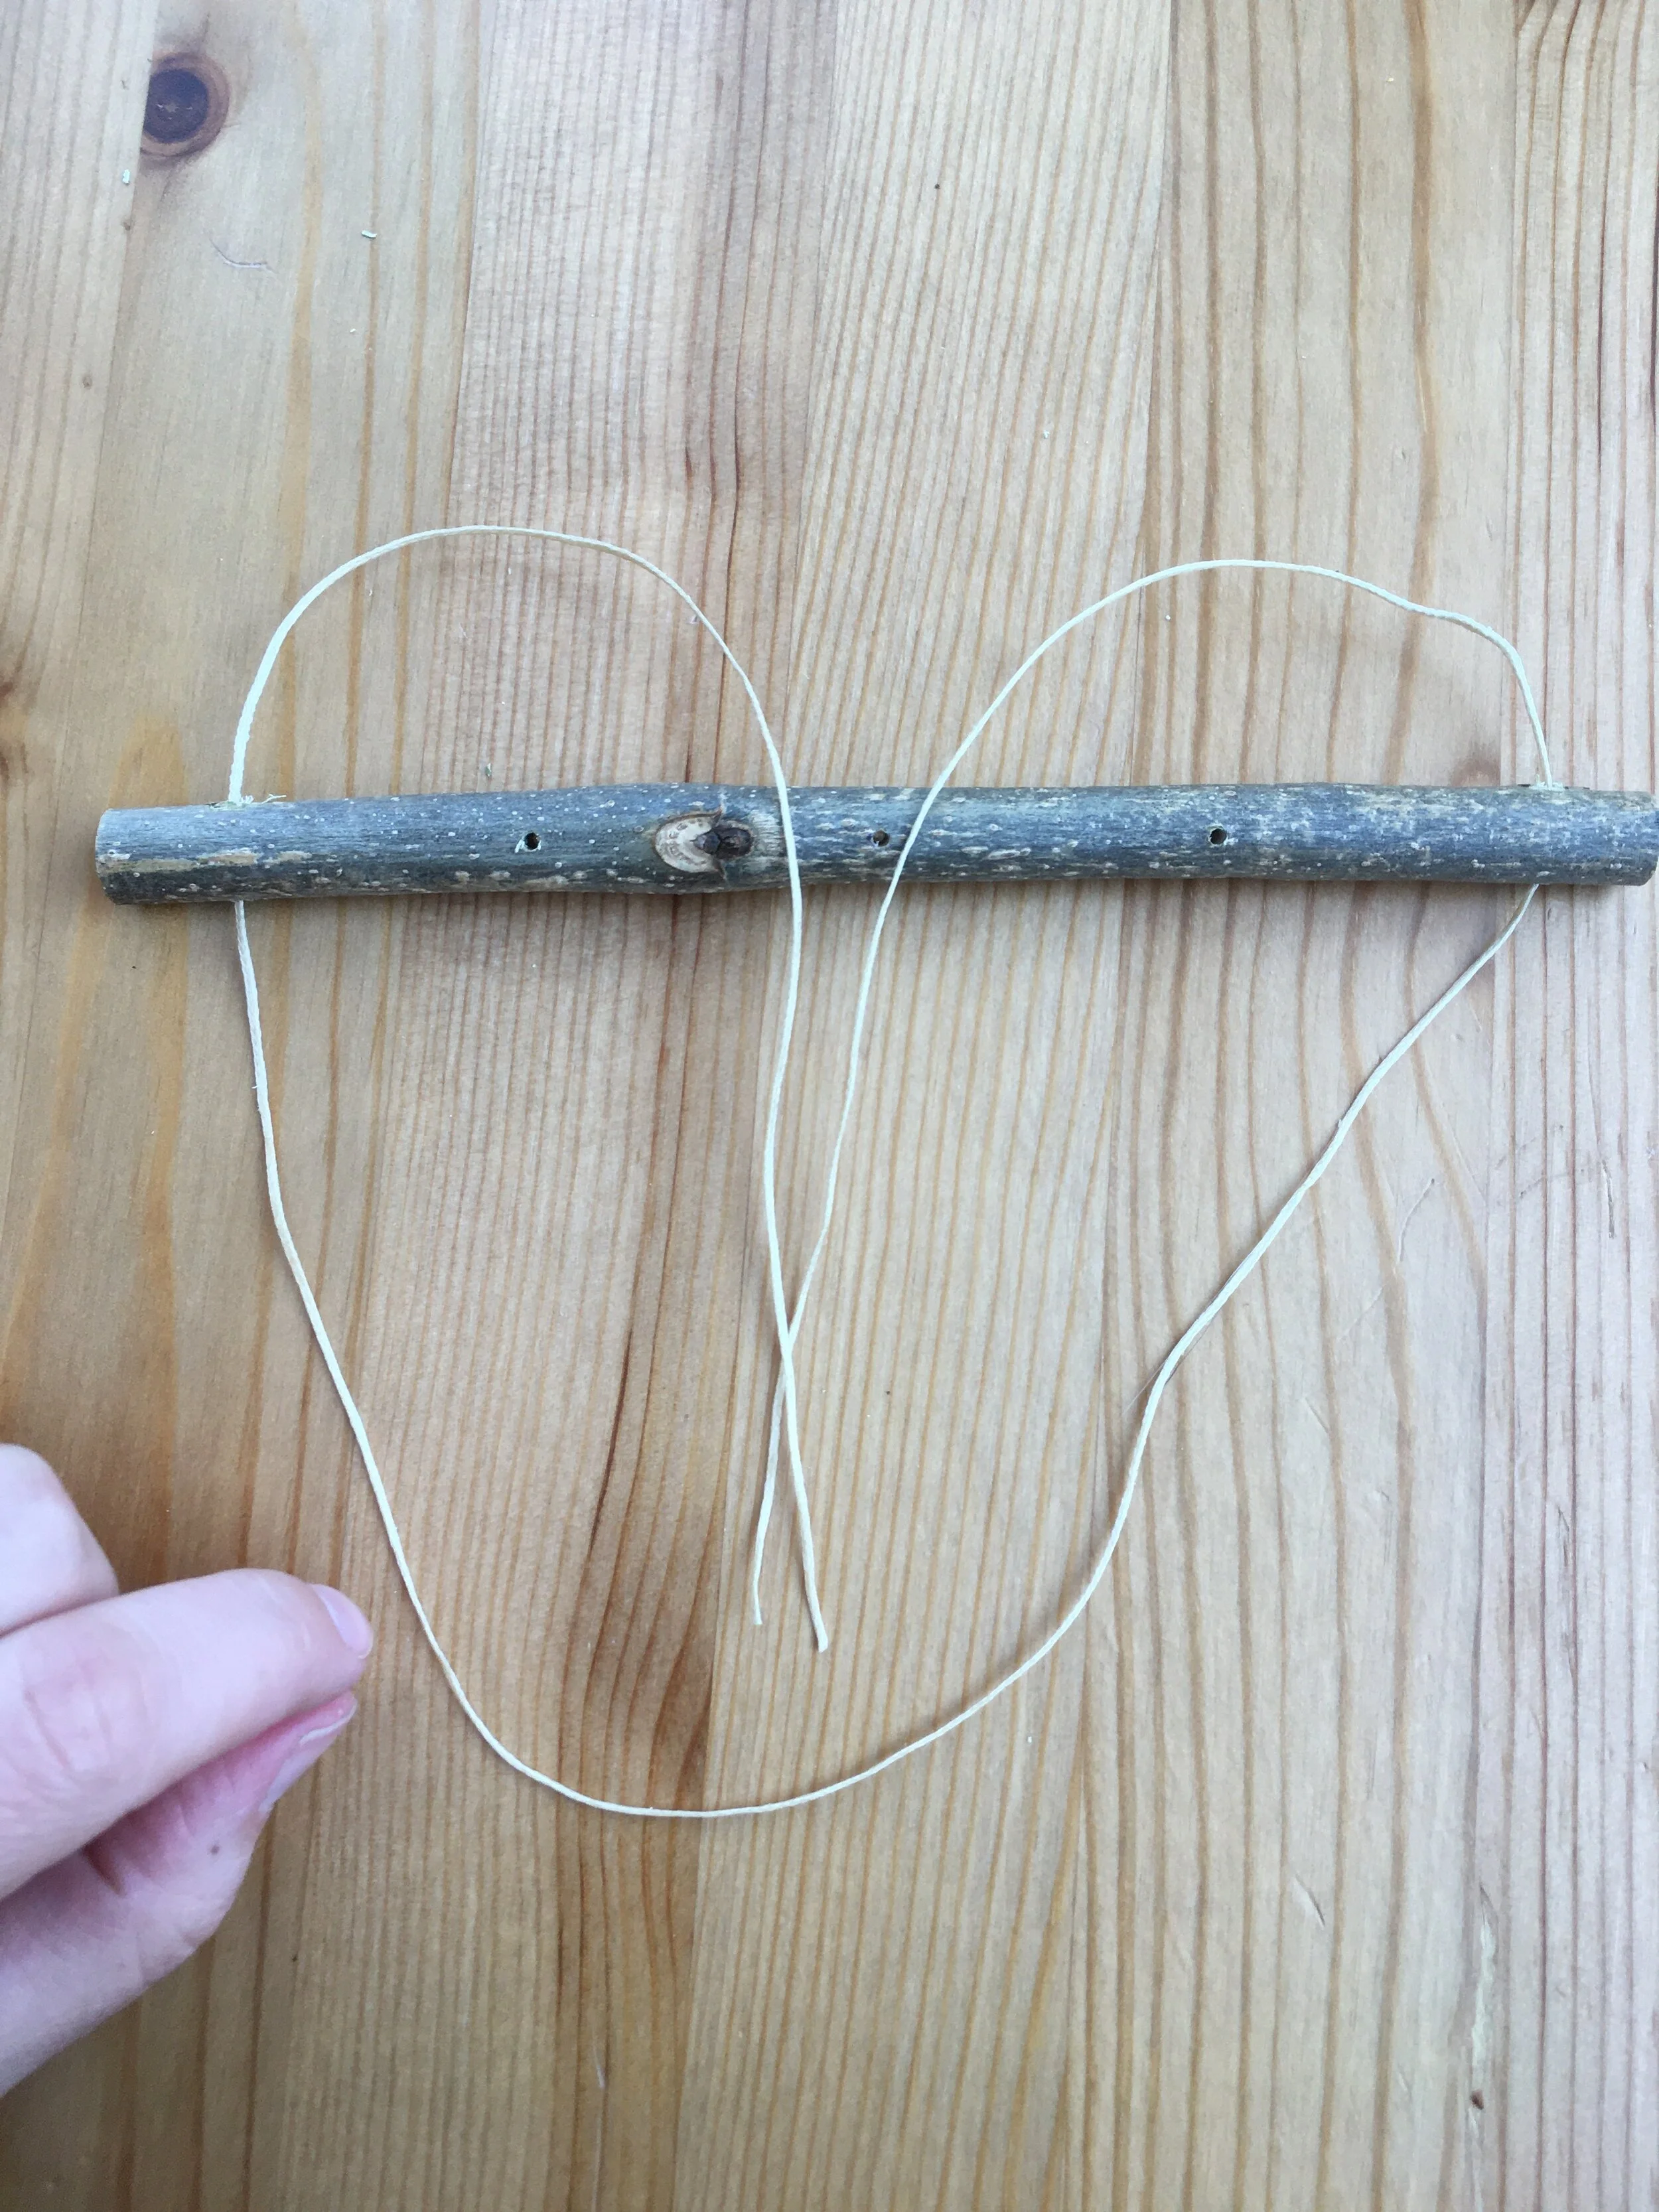
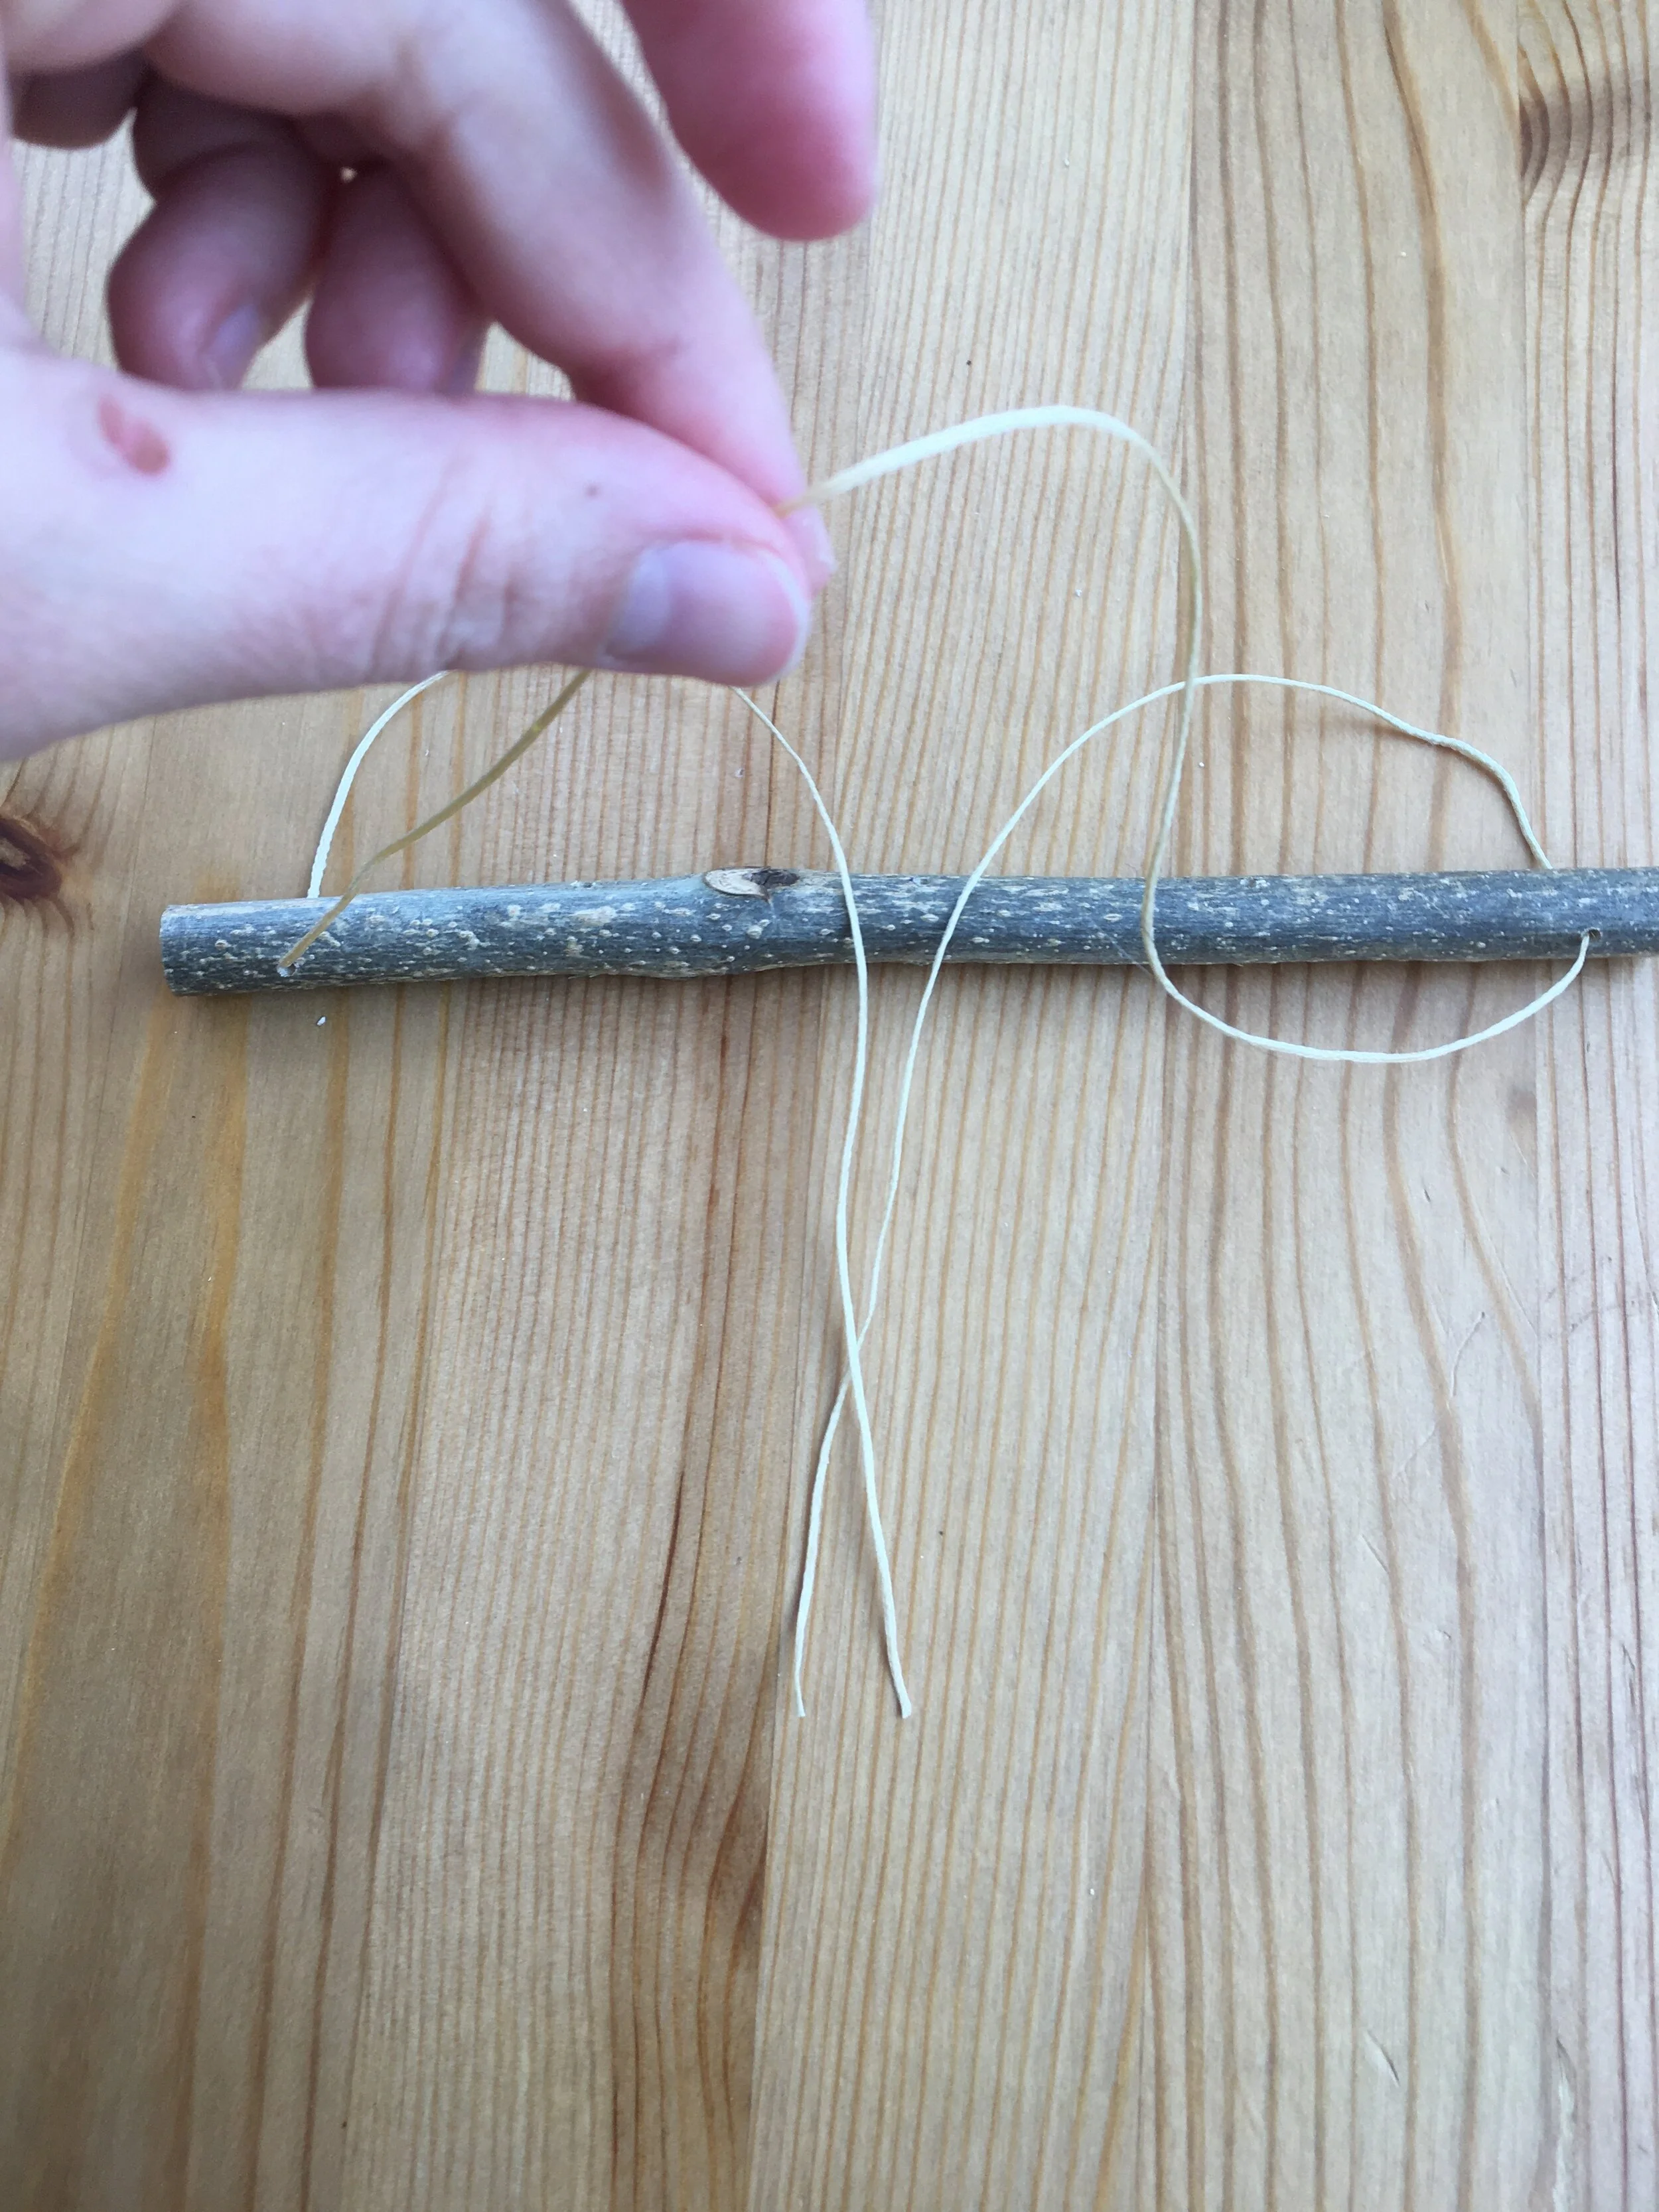
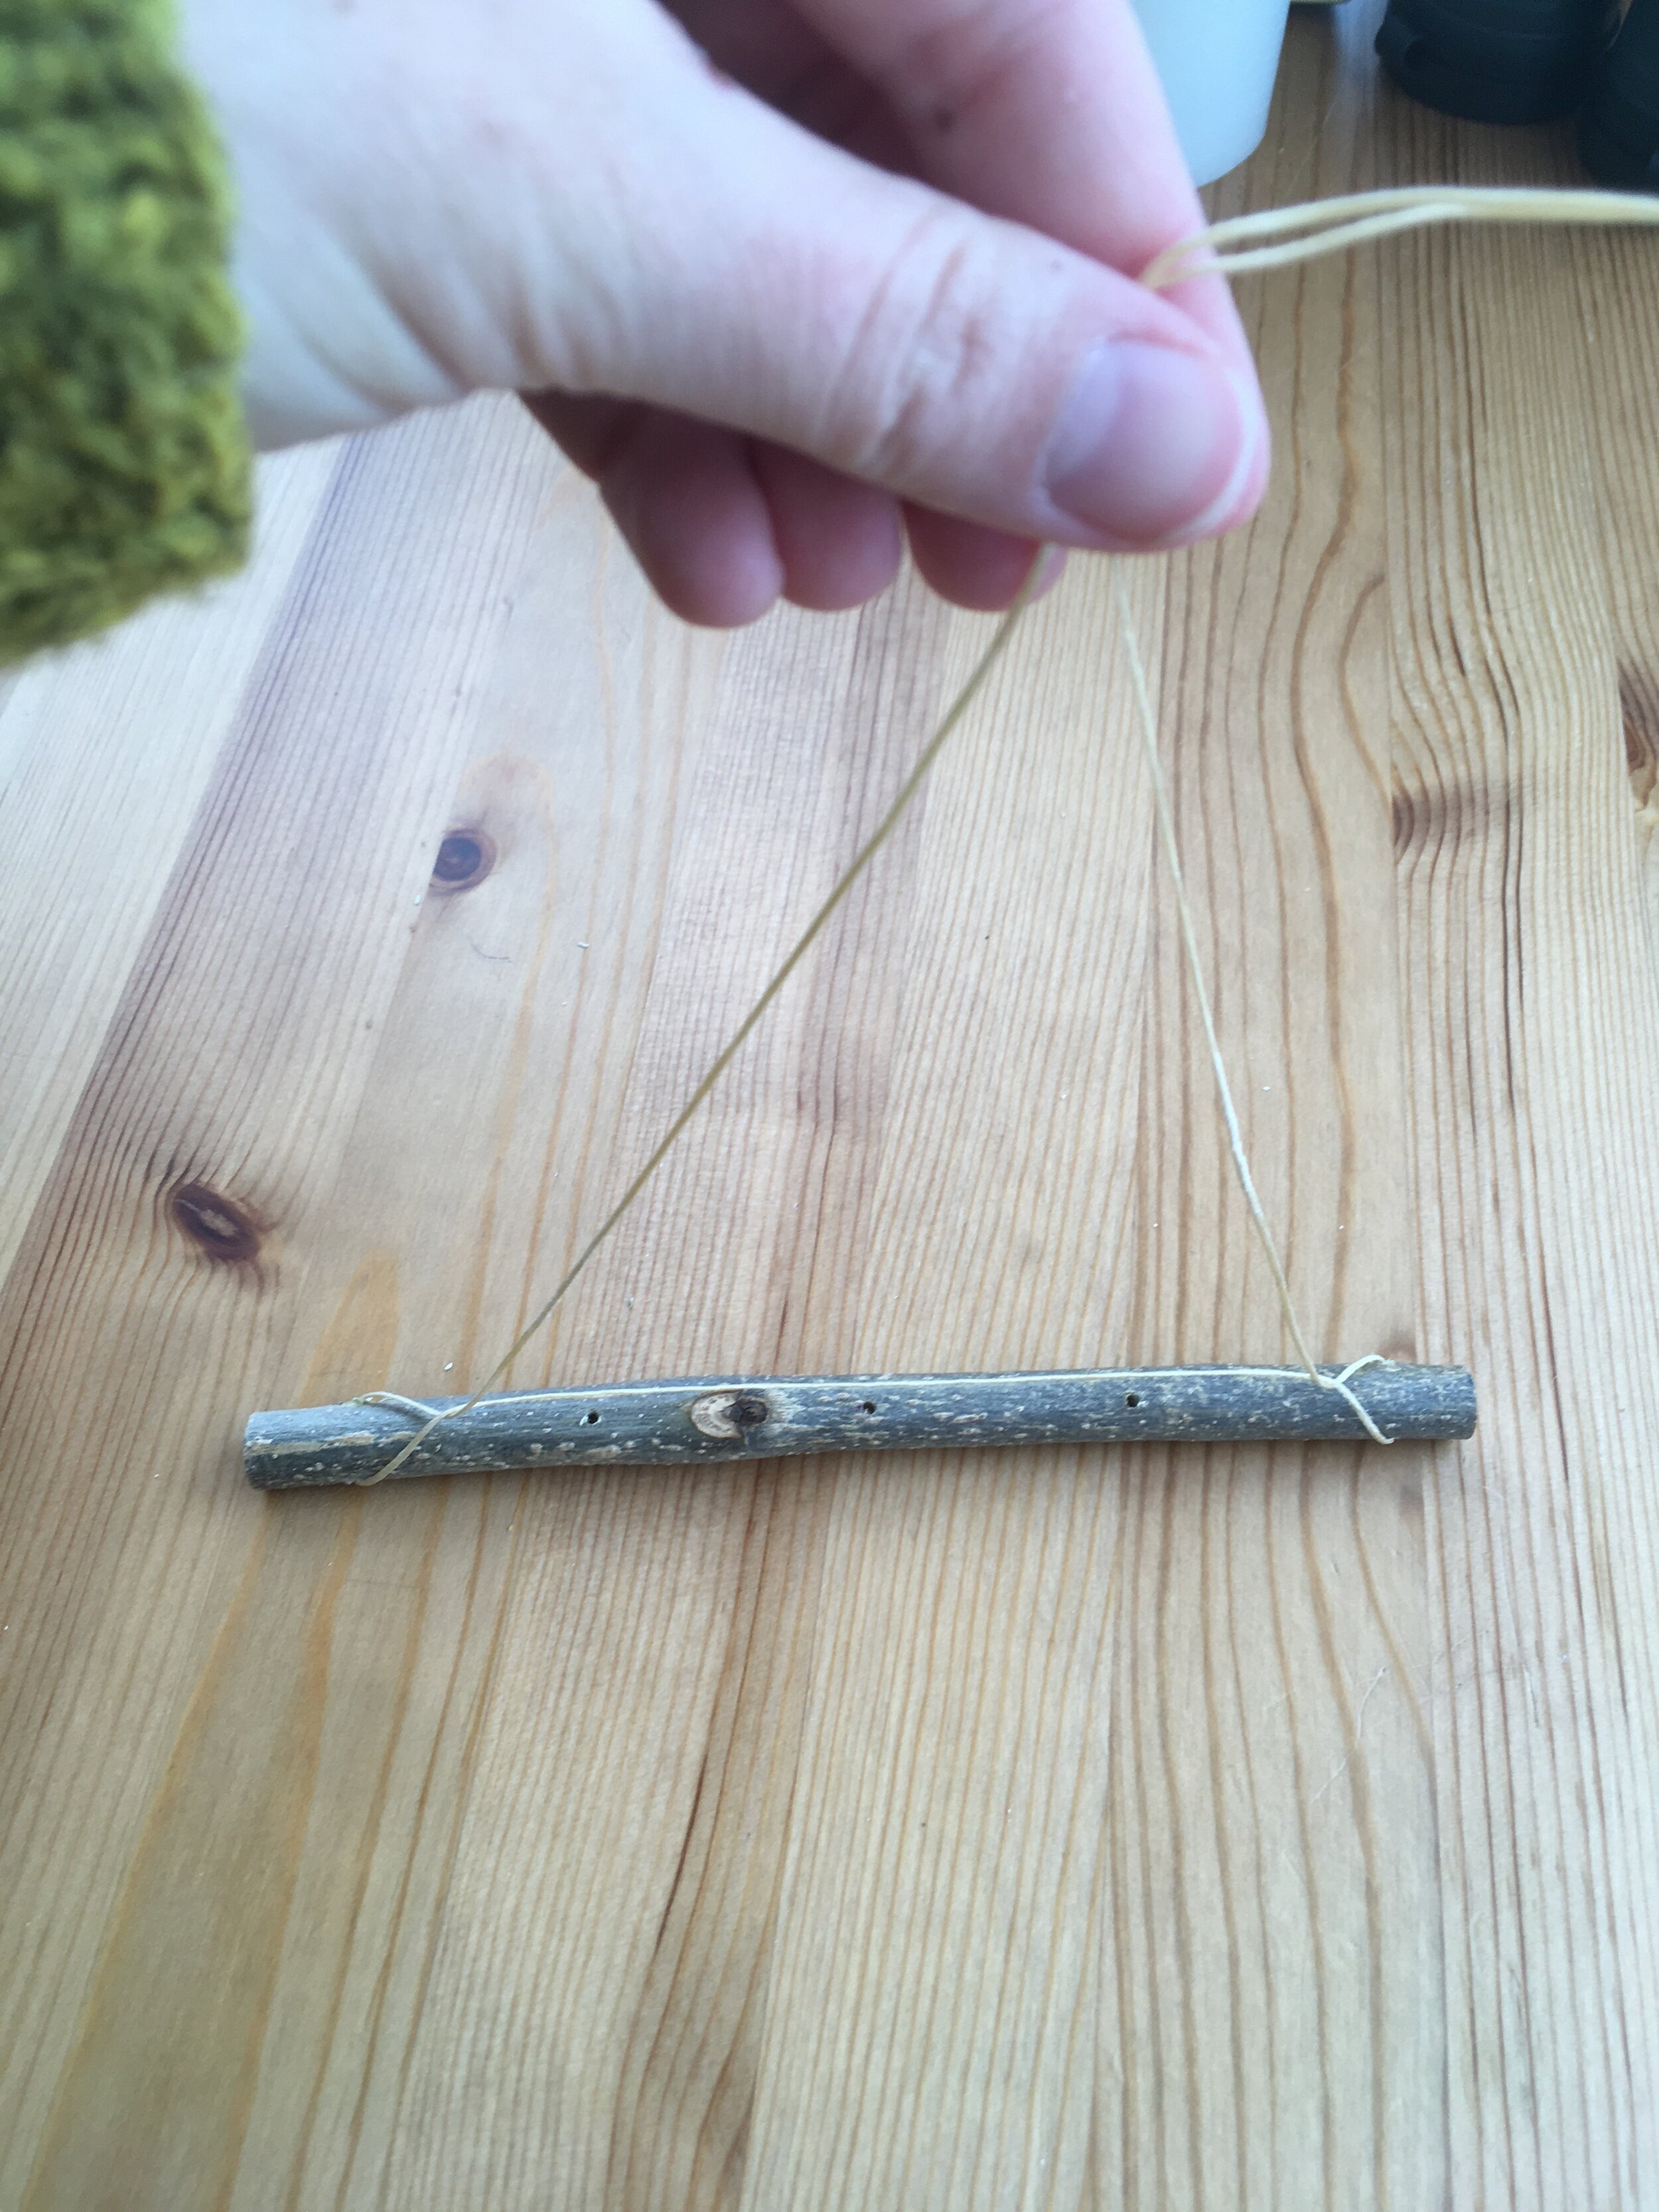
Thread the long string through the holes on each end of the stick.
Pull the ends over the stick and under the string, pull tight.
You have some creative license with the knotting at the top, make it as decorative or as useful as you like.
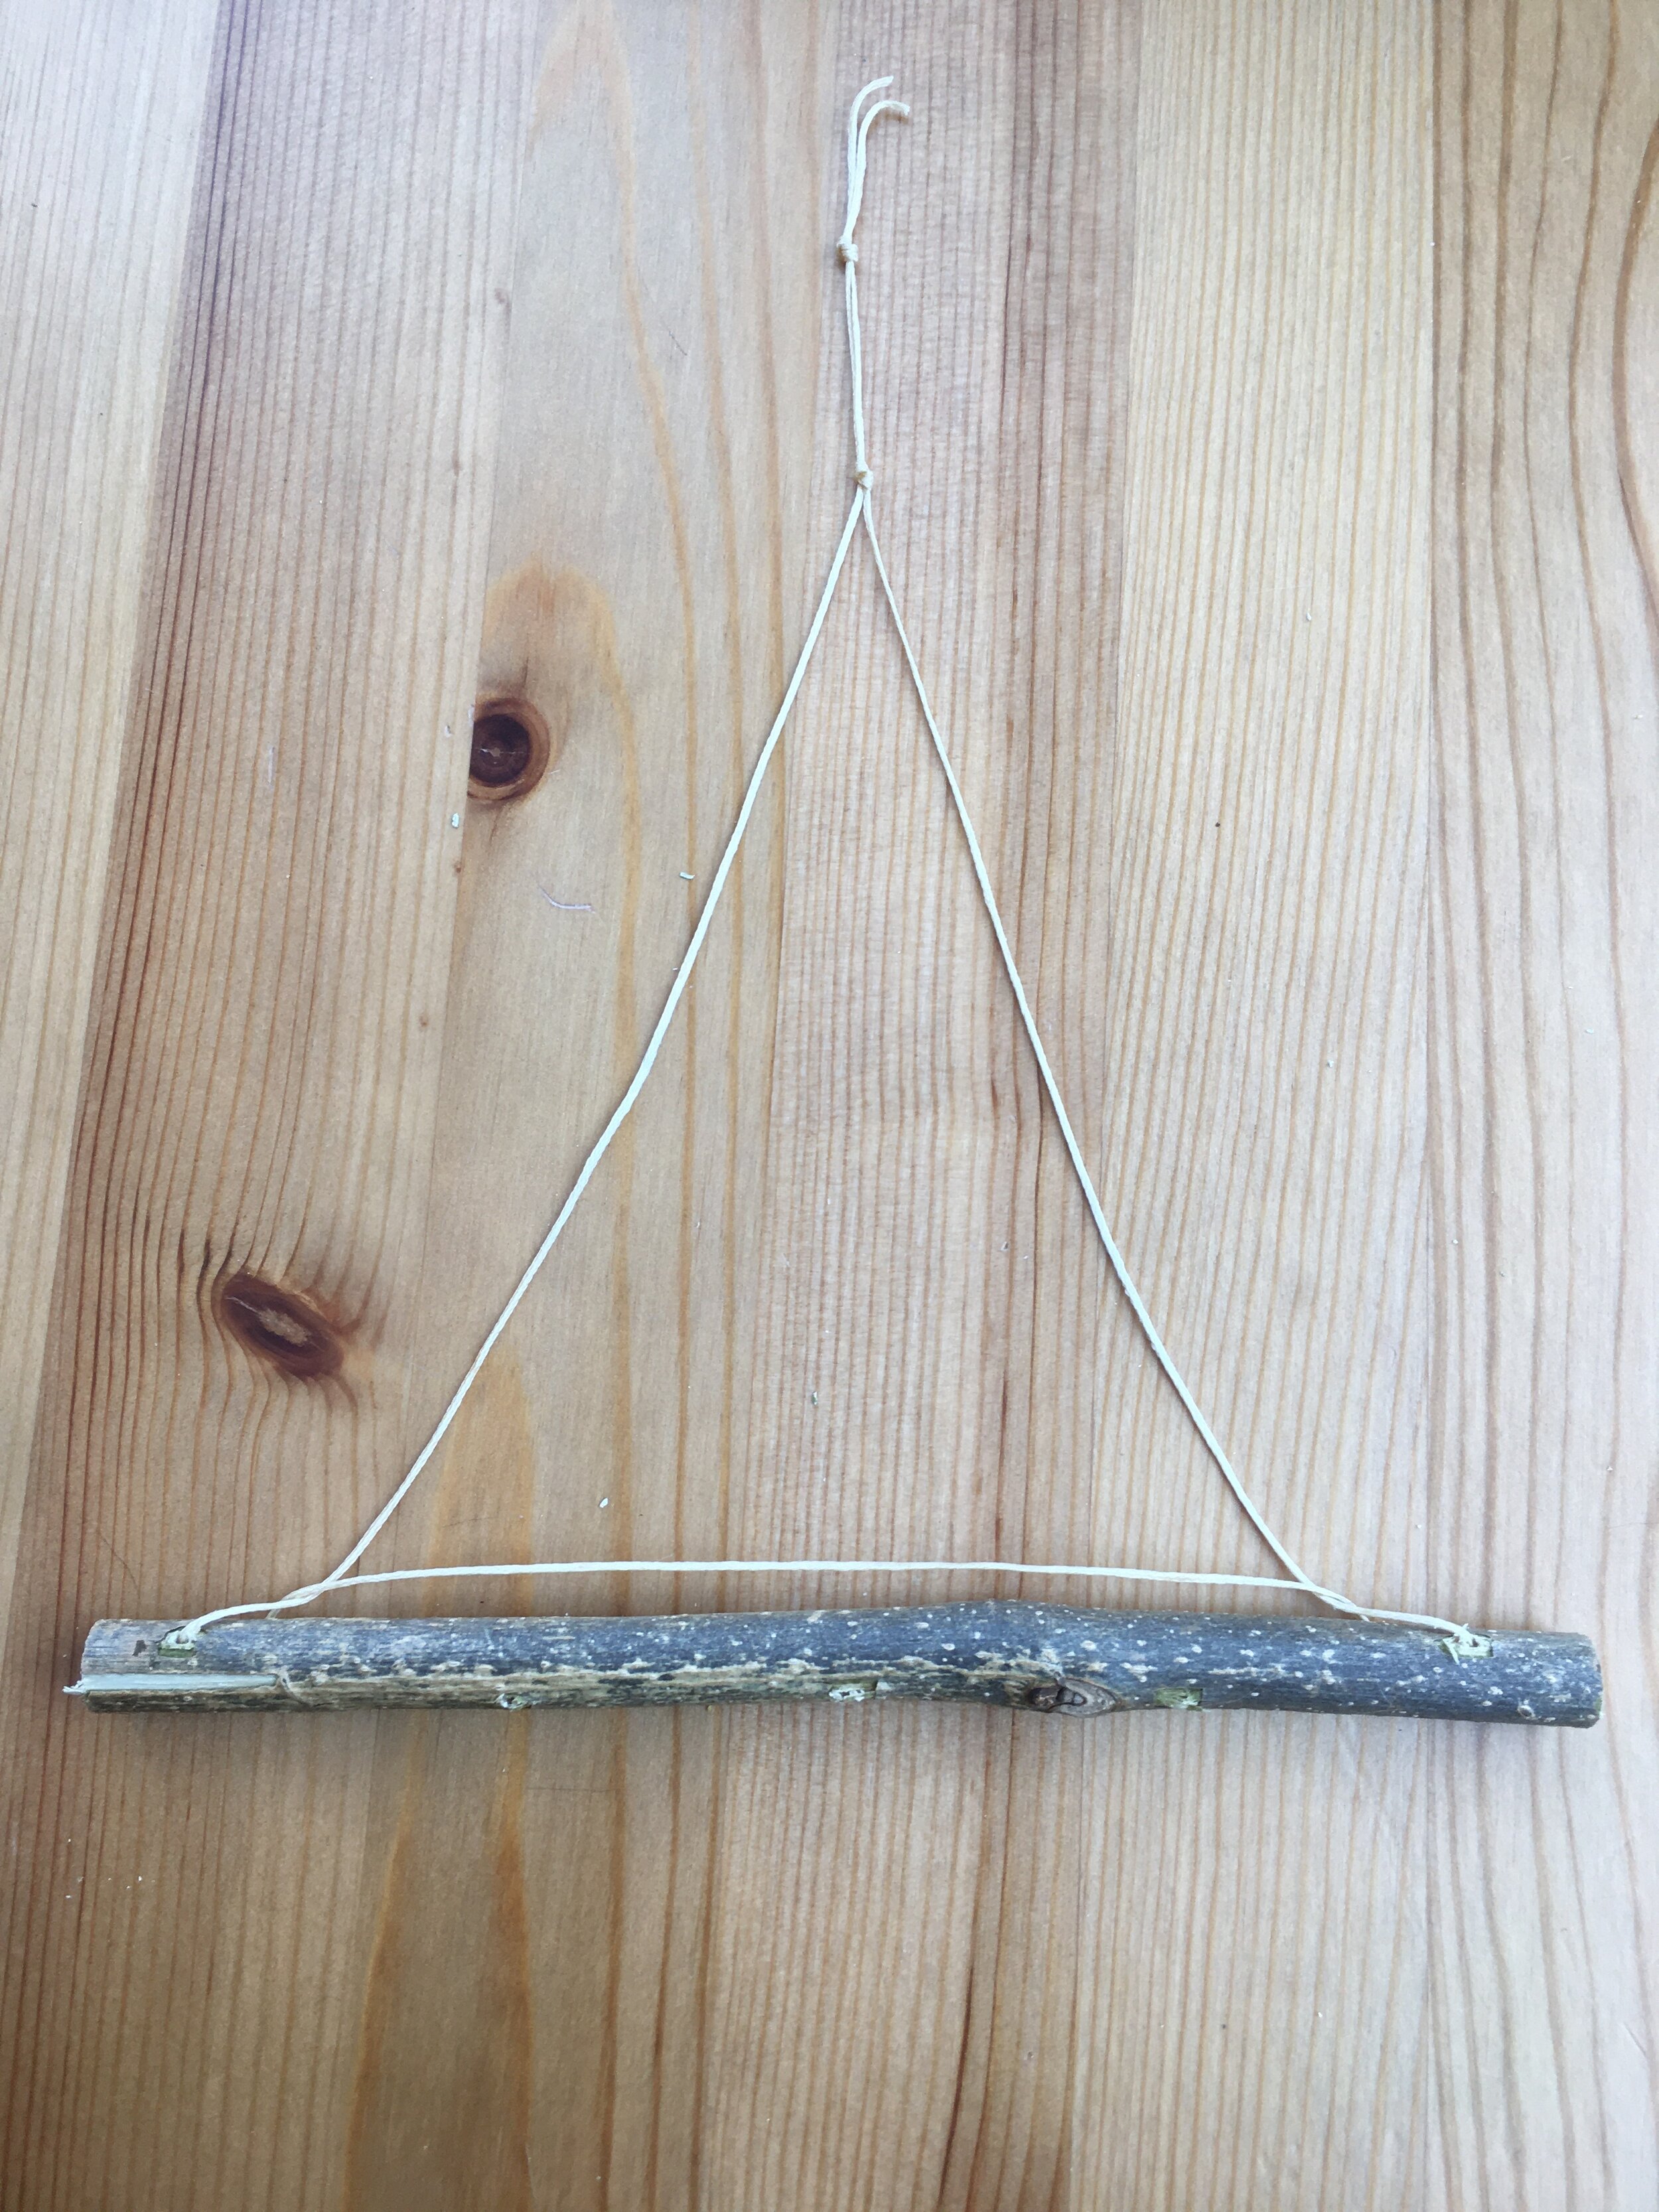
I’ve tied 2 knots with space between them.
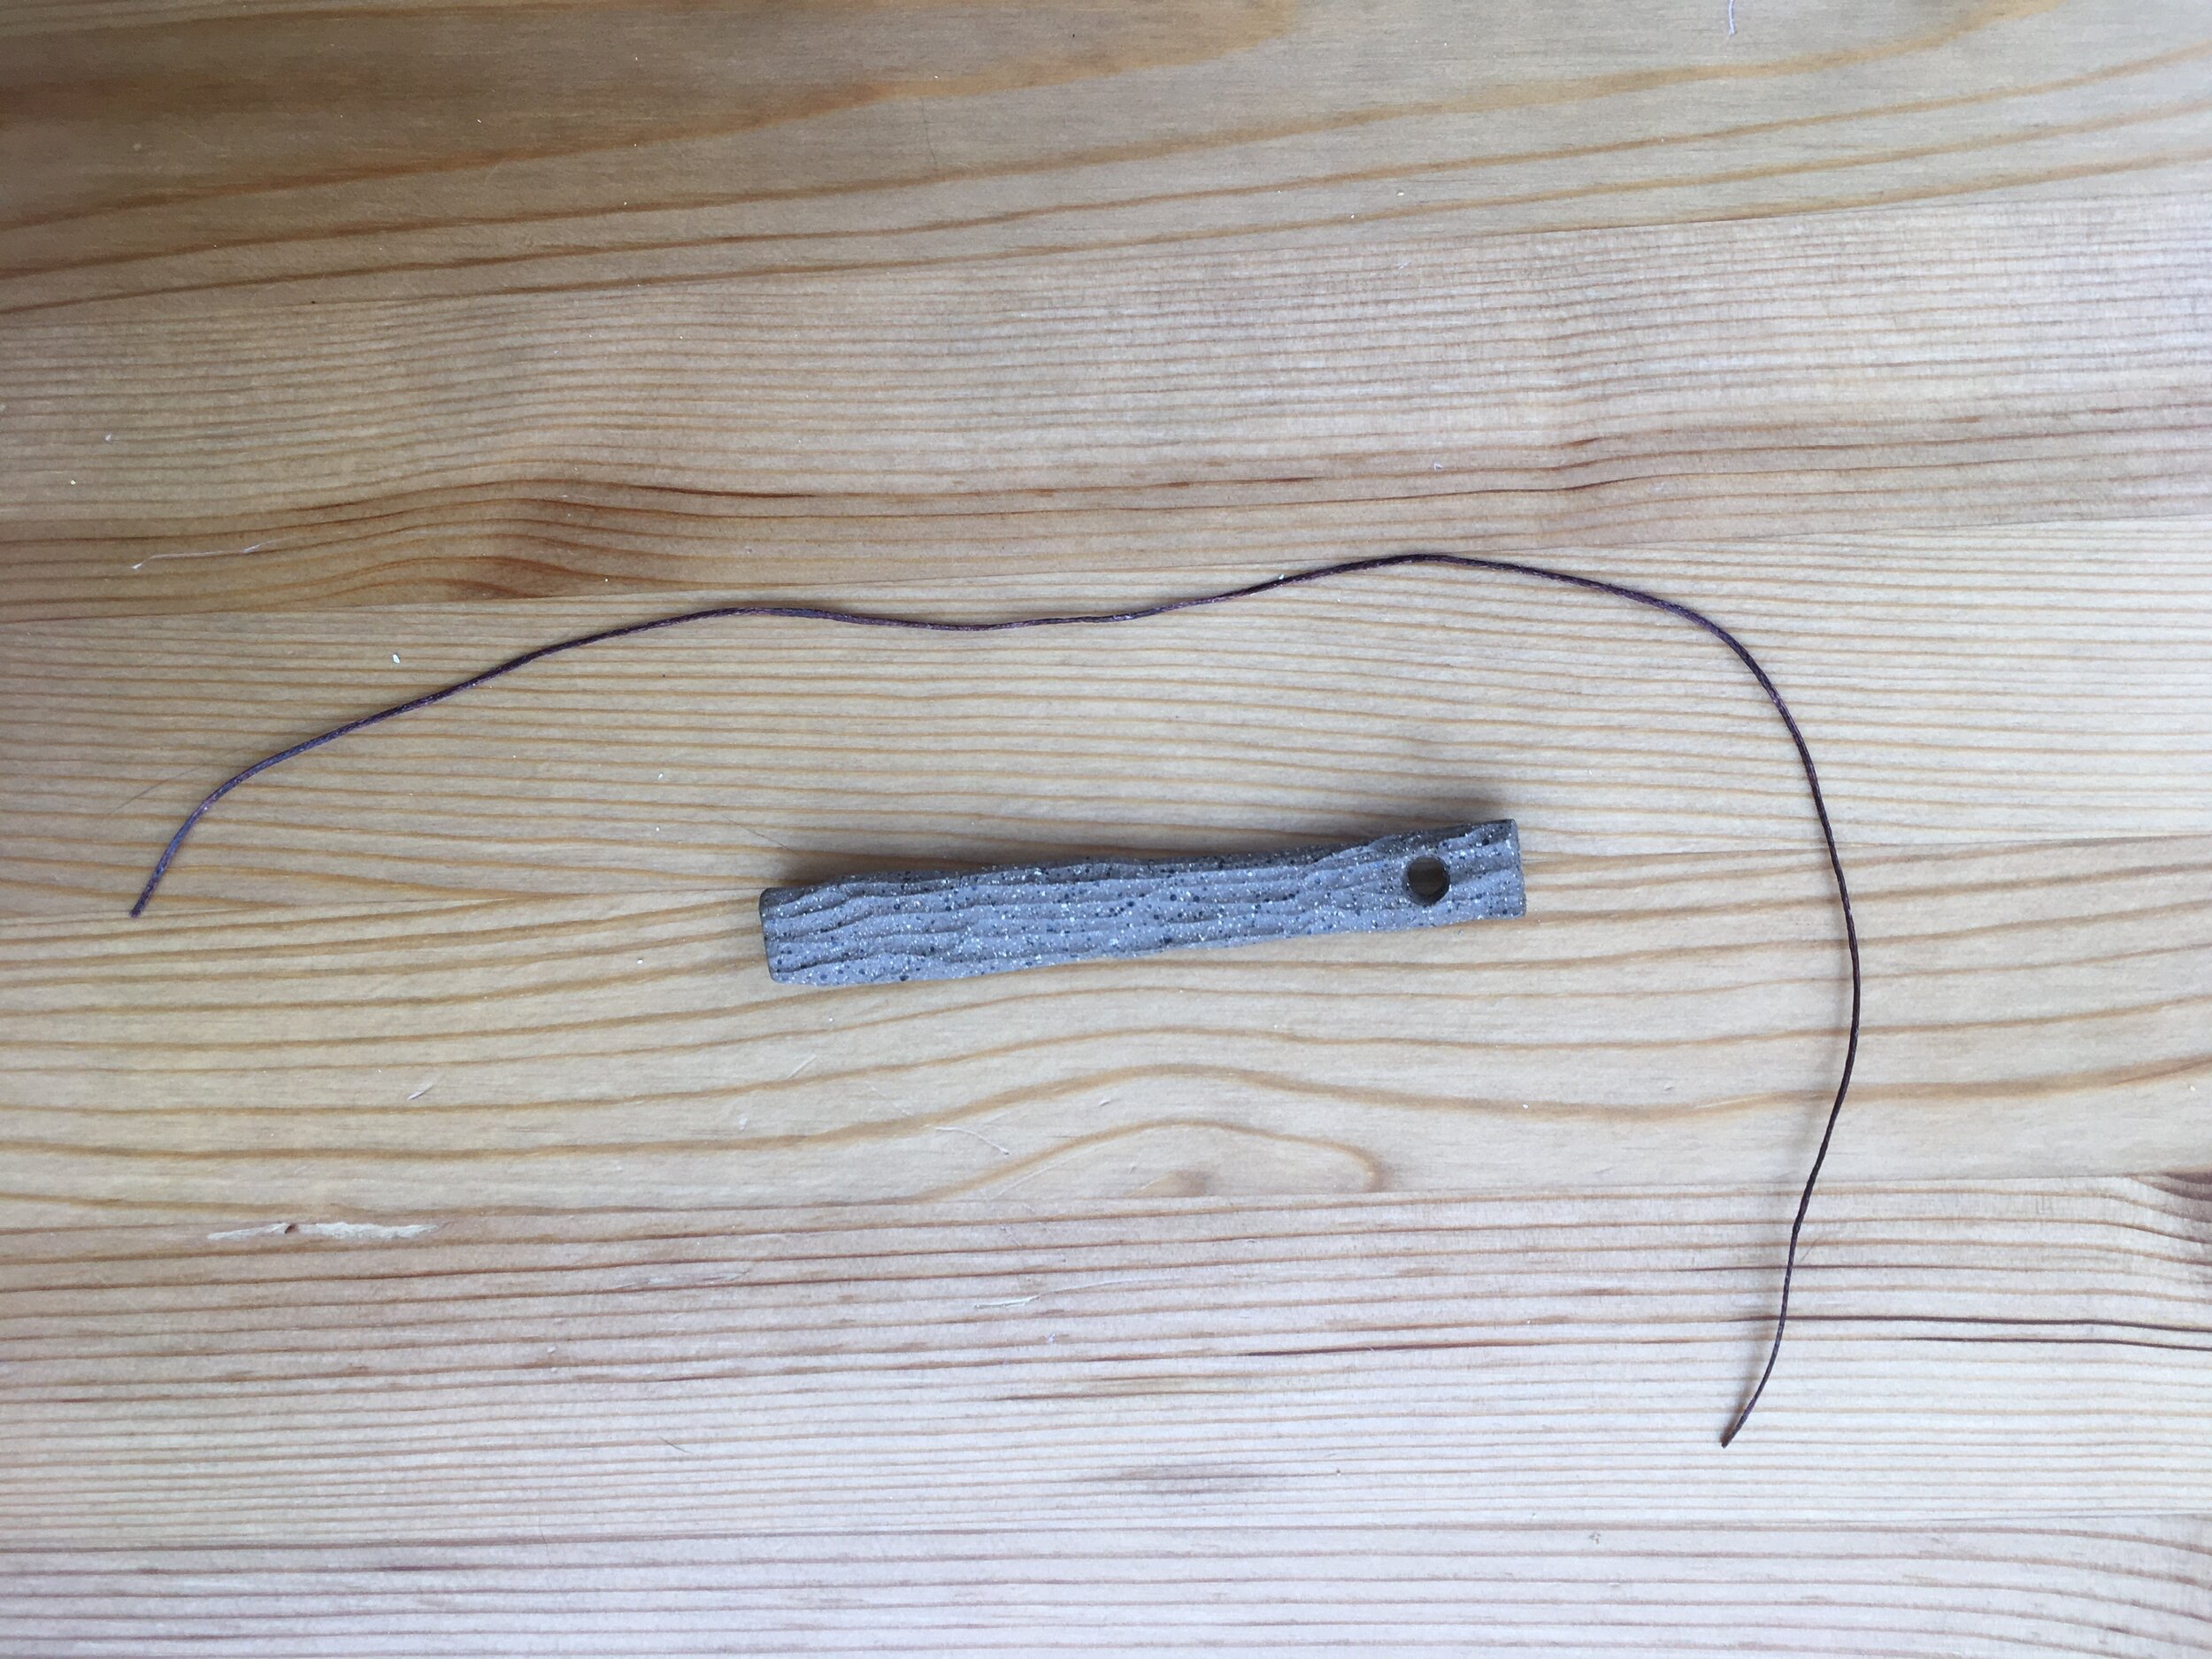
Step Two: Attach string to chime stick
If your kit did not have chime sticks just skip over this part.
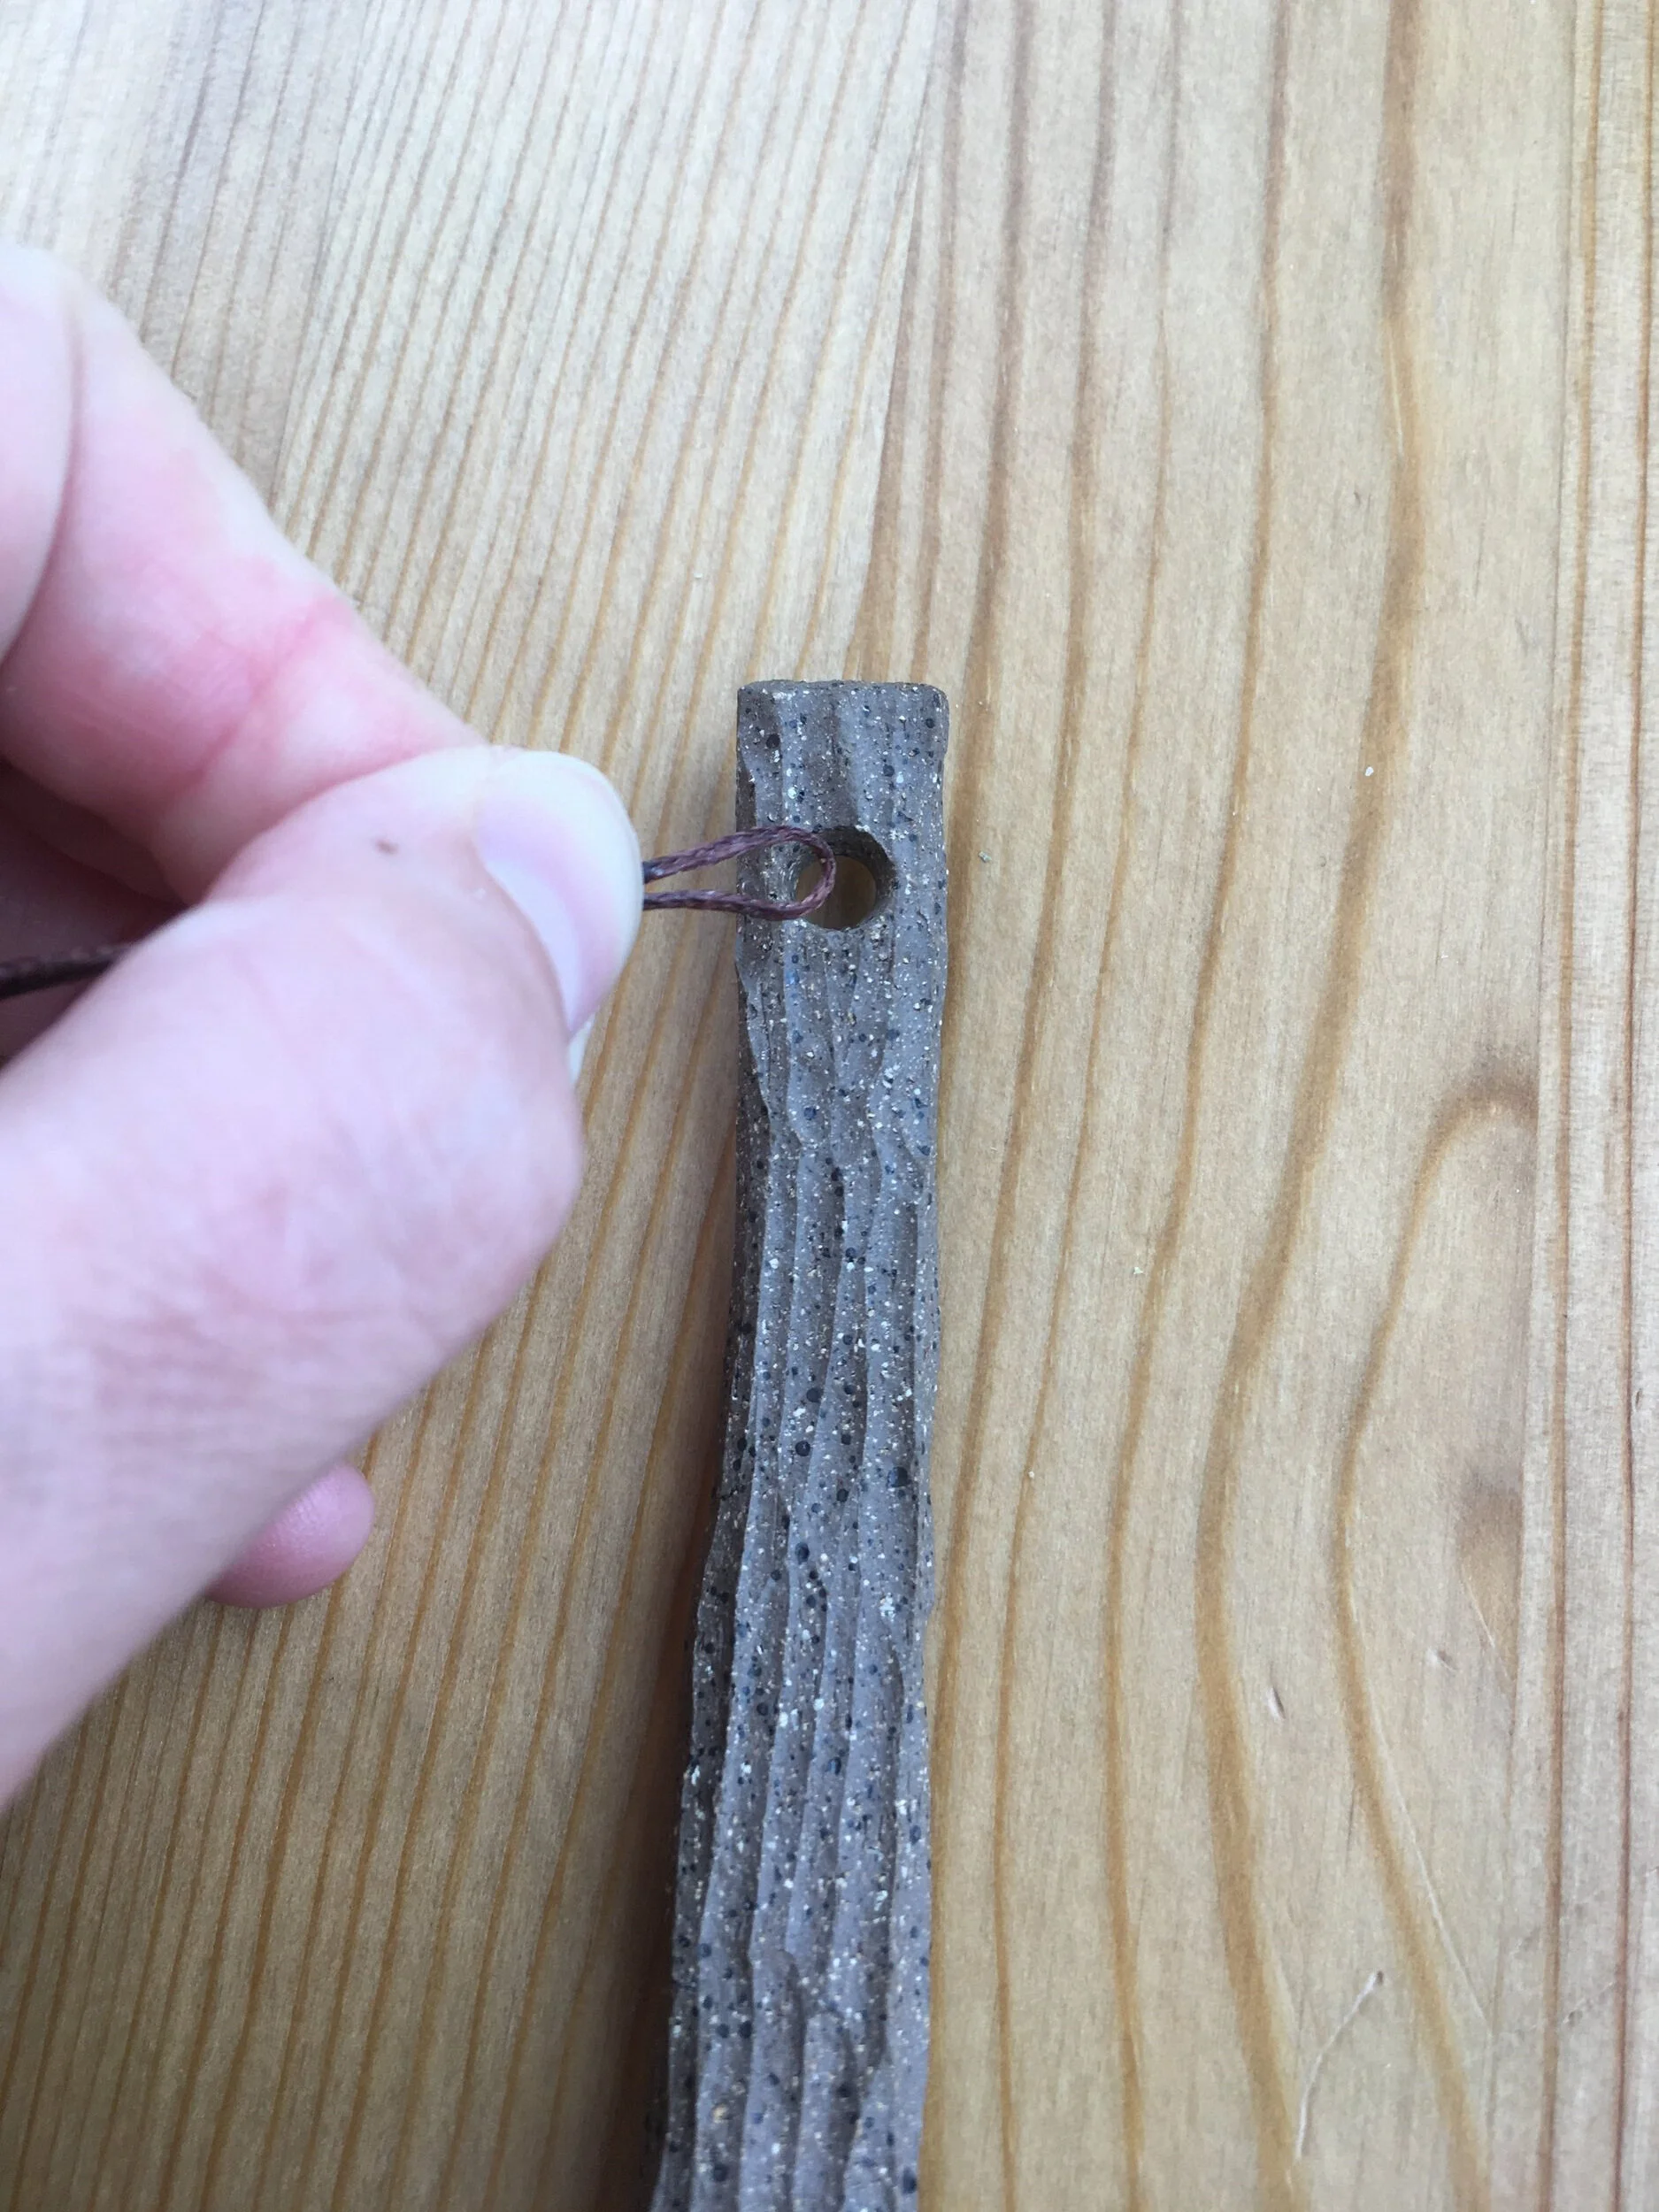
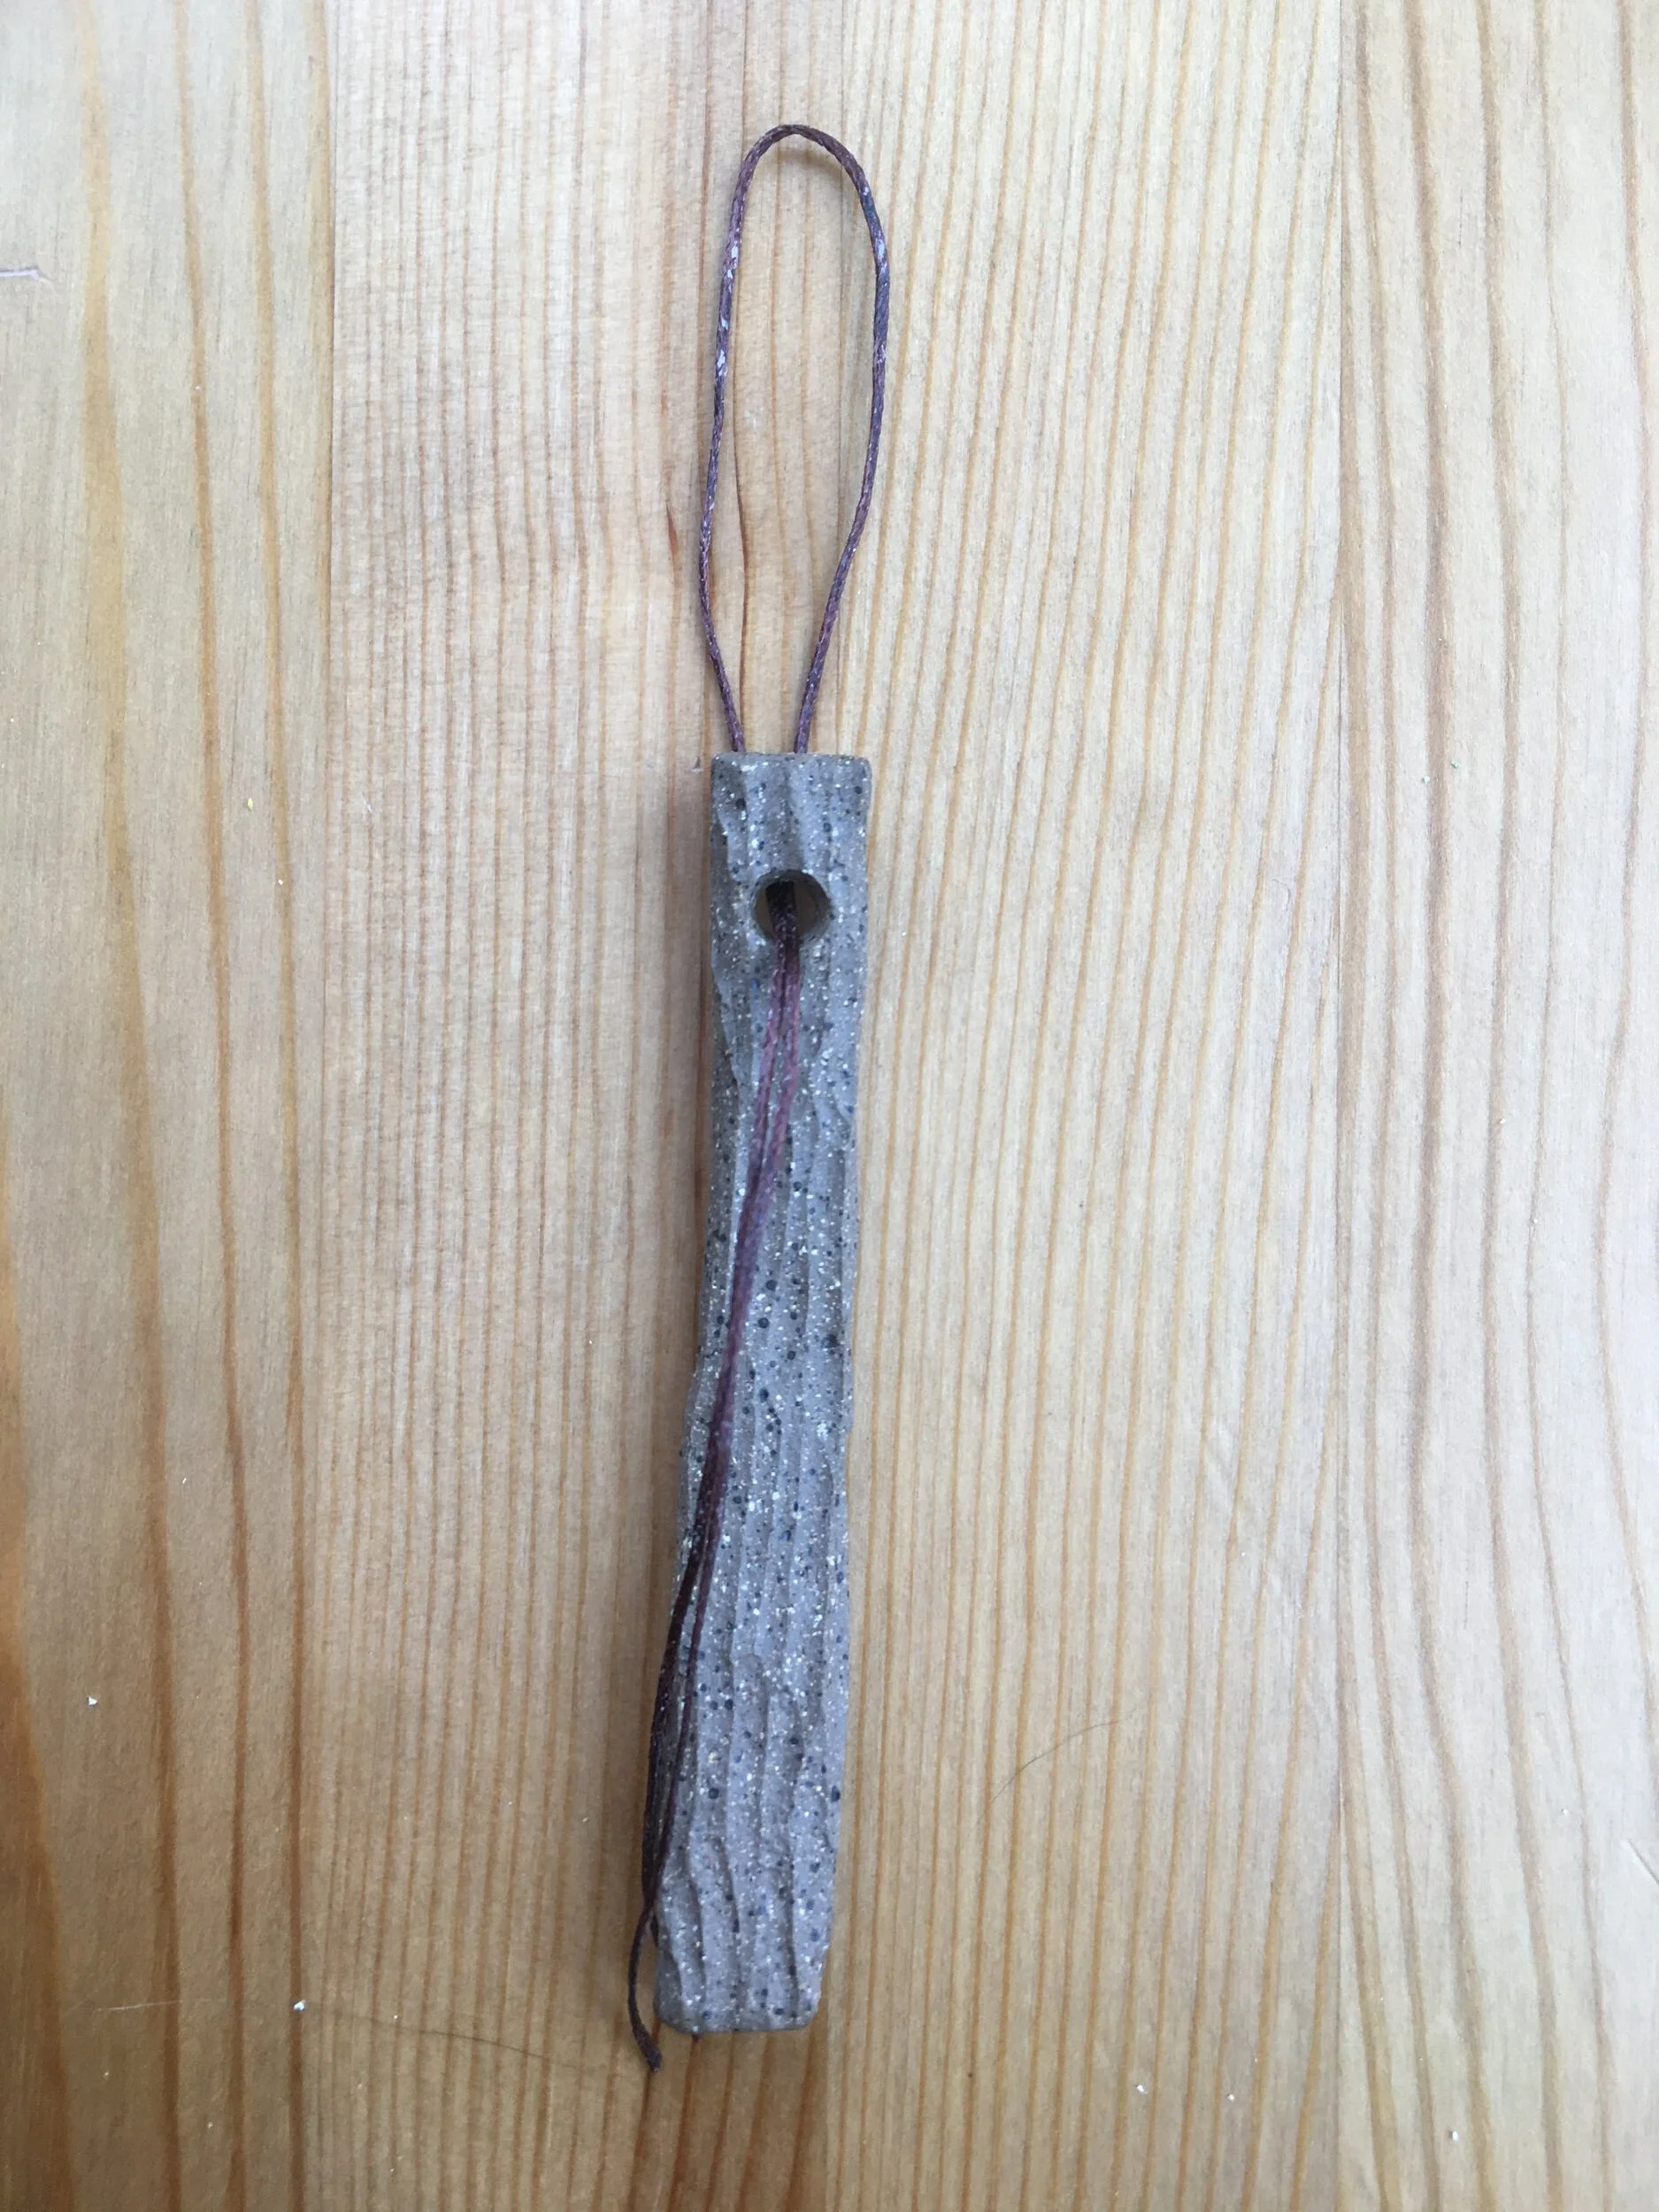
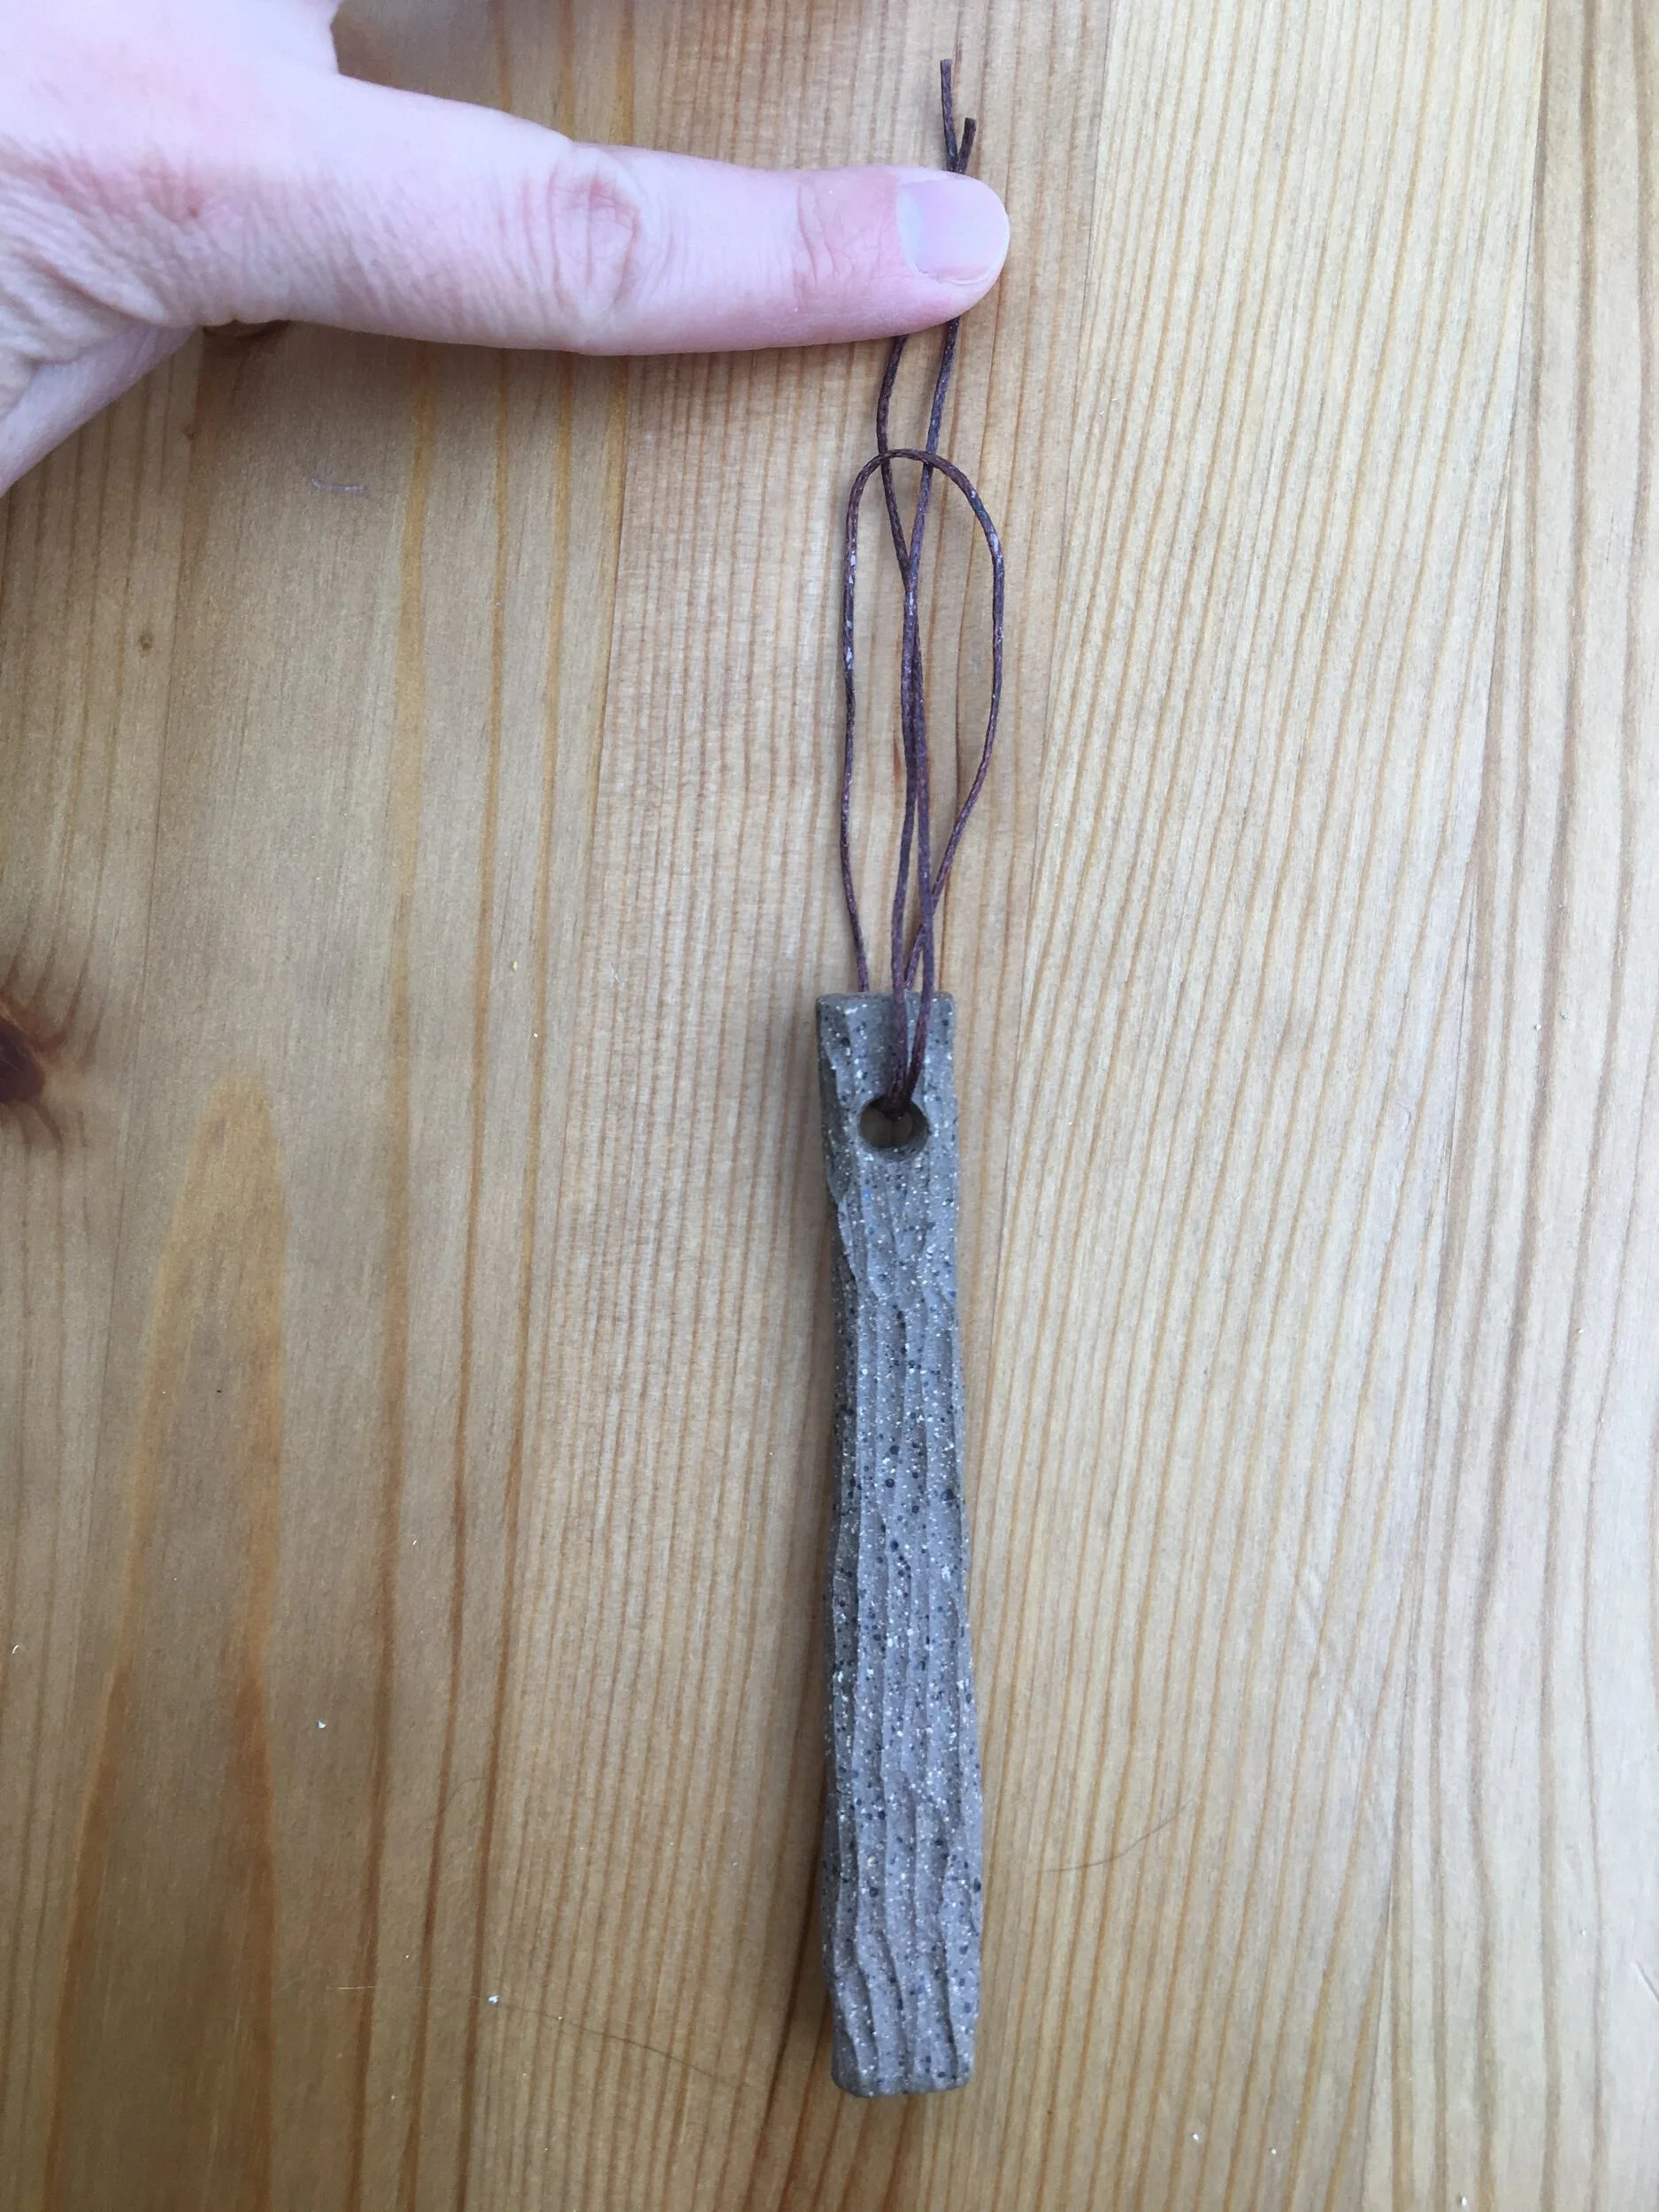
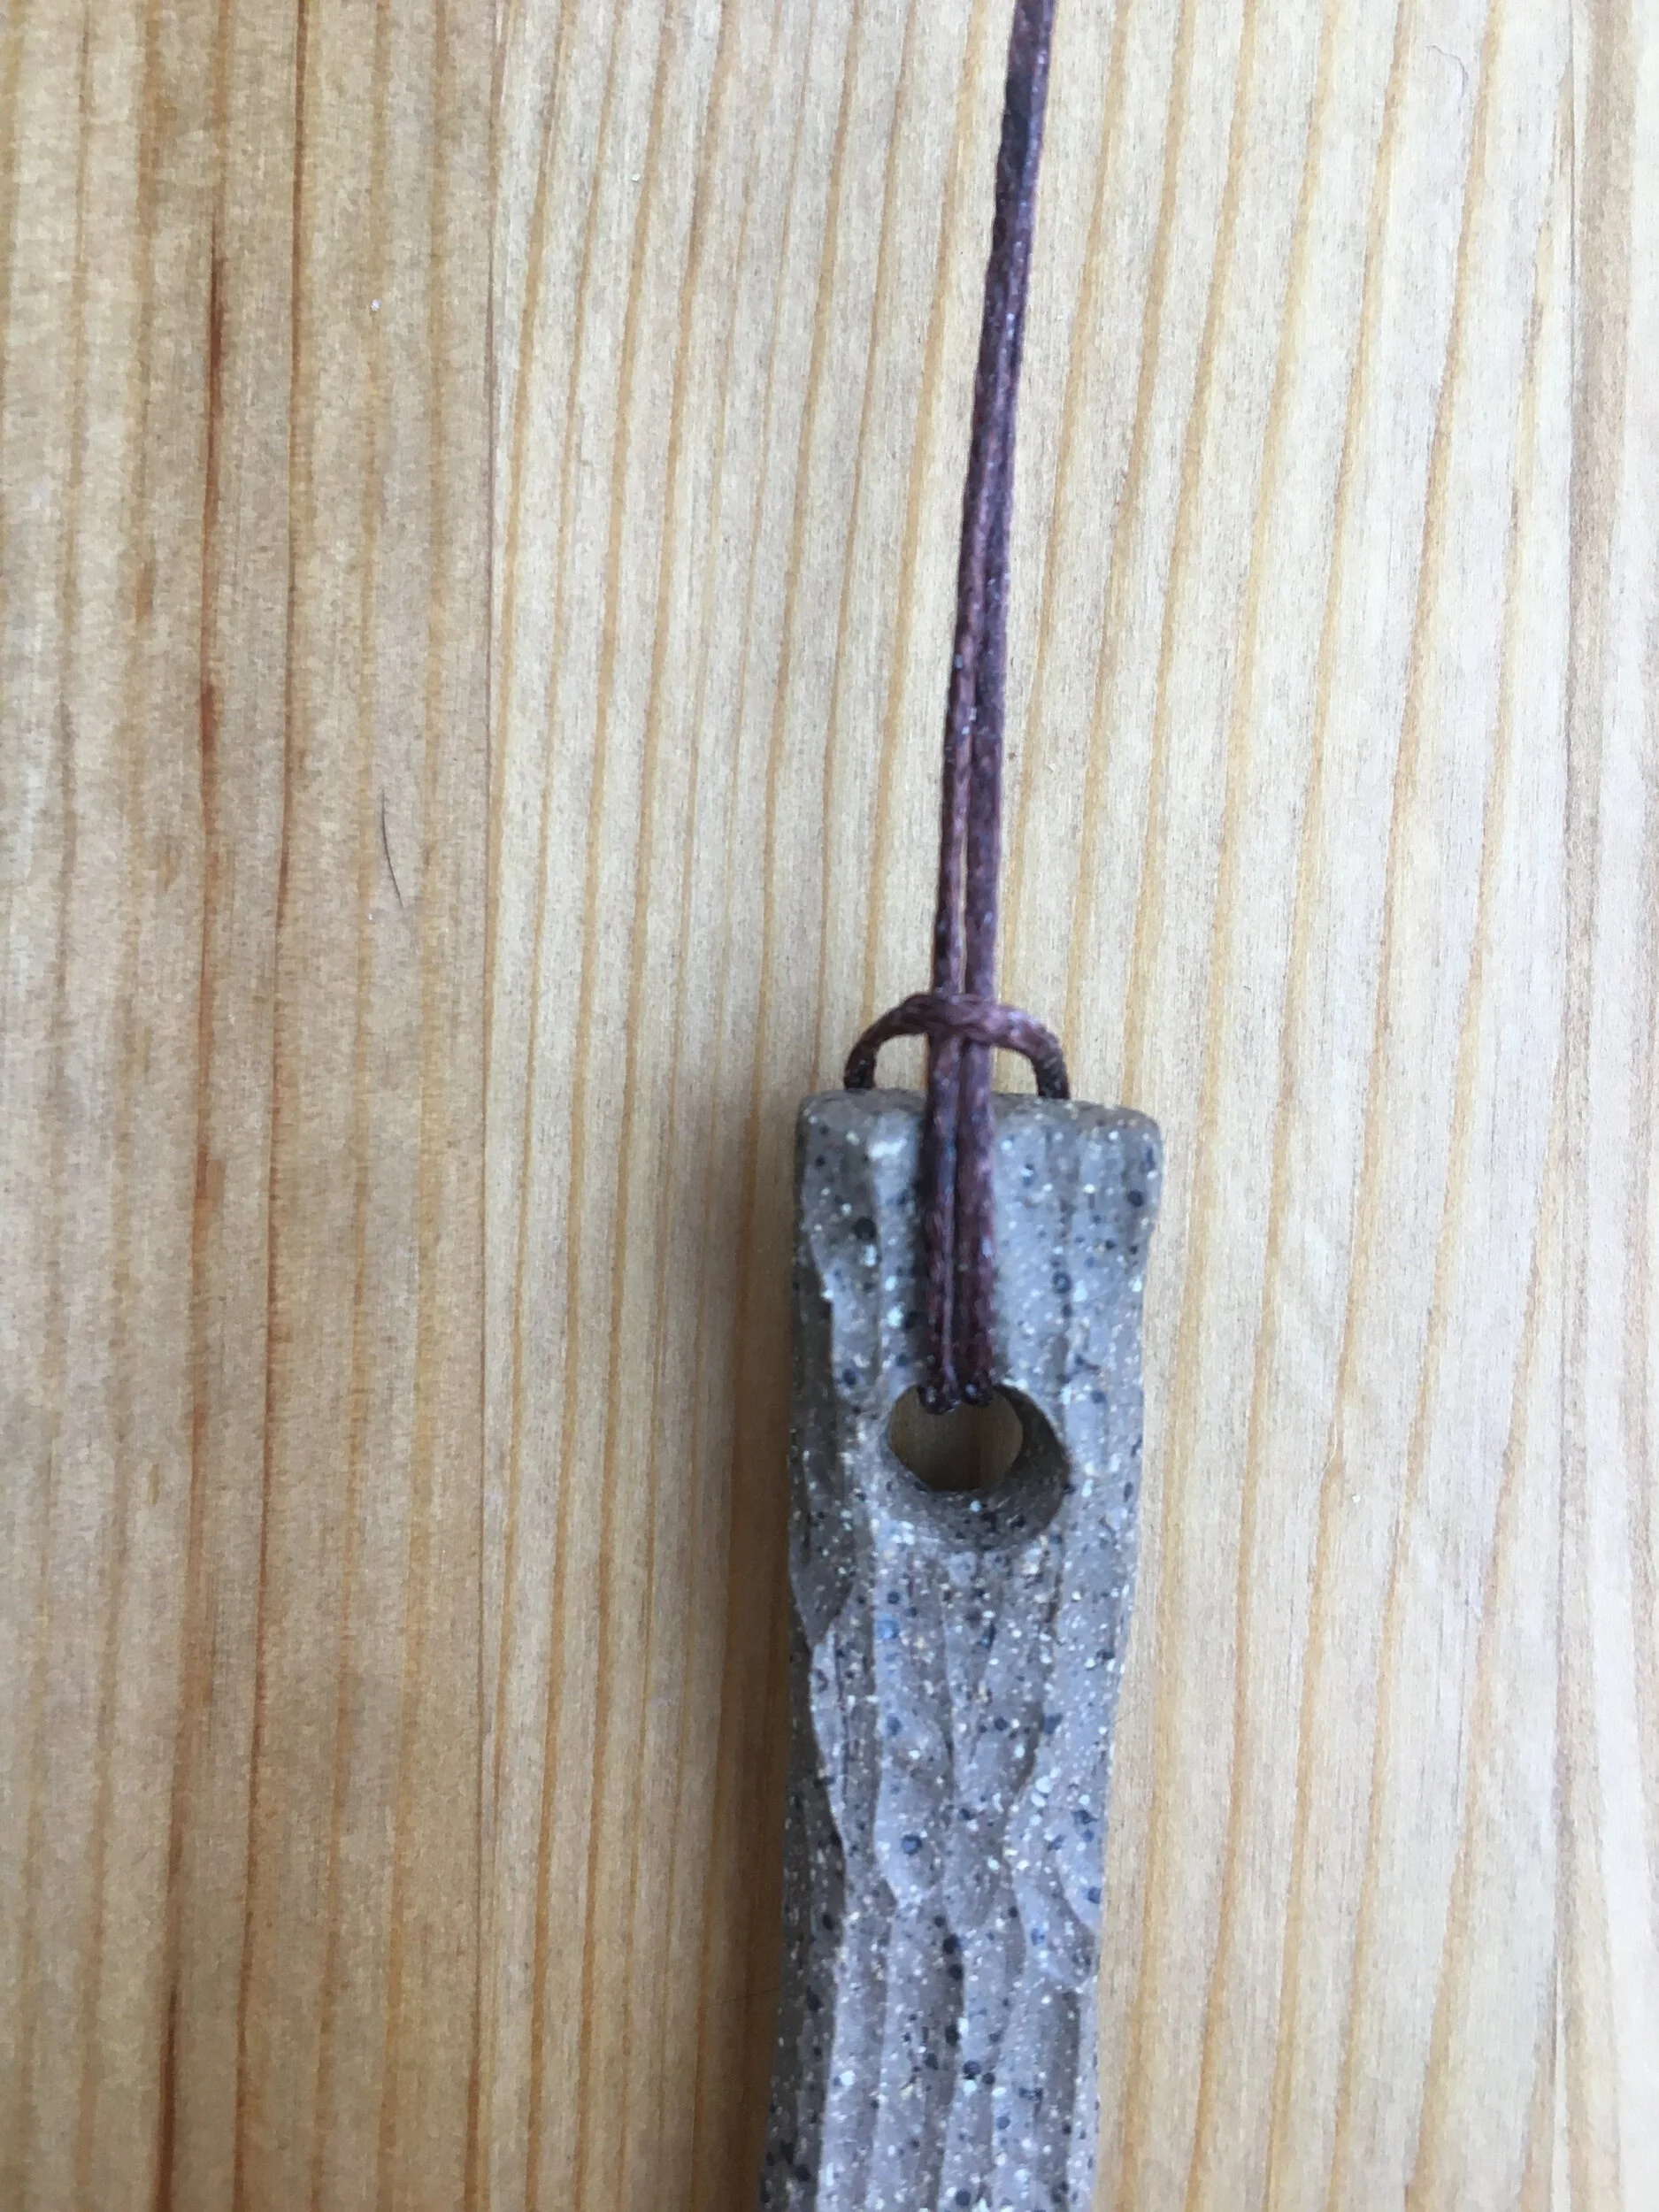
Fold thread in half and thread through chime stick. Pull the two loose ends of string under the string loop and pull tight.
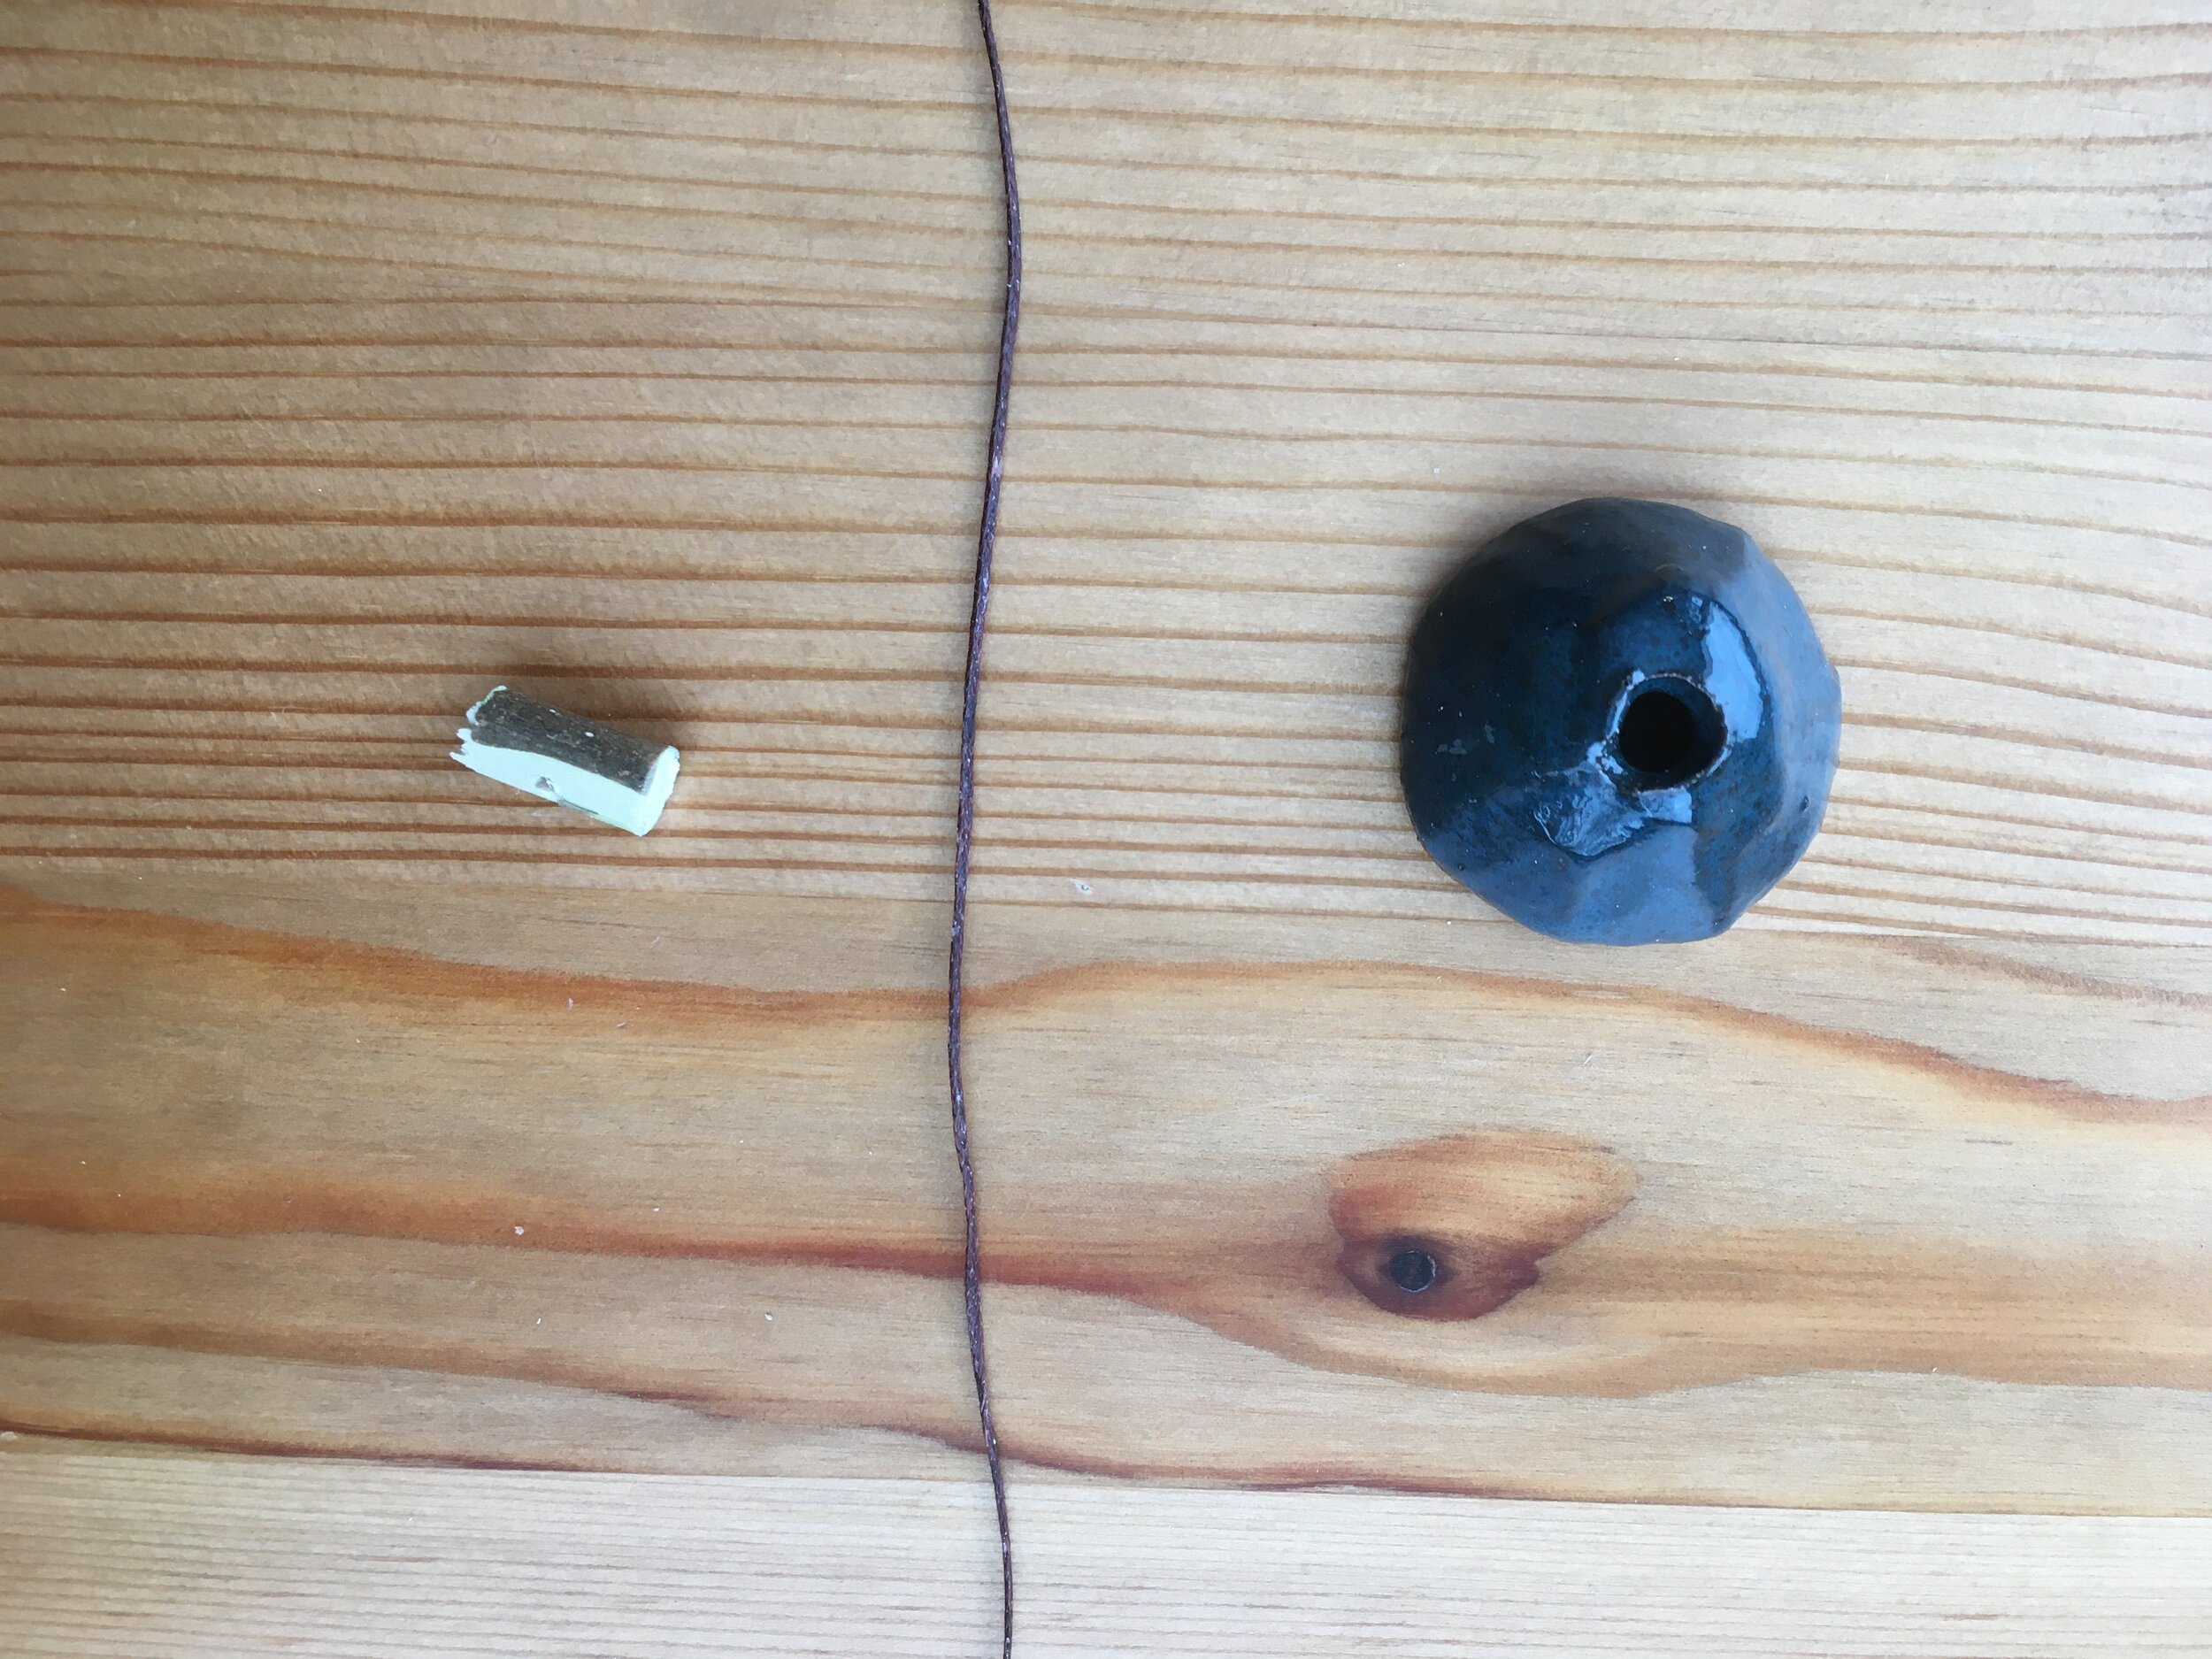
Step Three: Attach the bell
Some of you have received beads with your bells. I didn’t have any, so I drilled a hole into a small piece of stick.
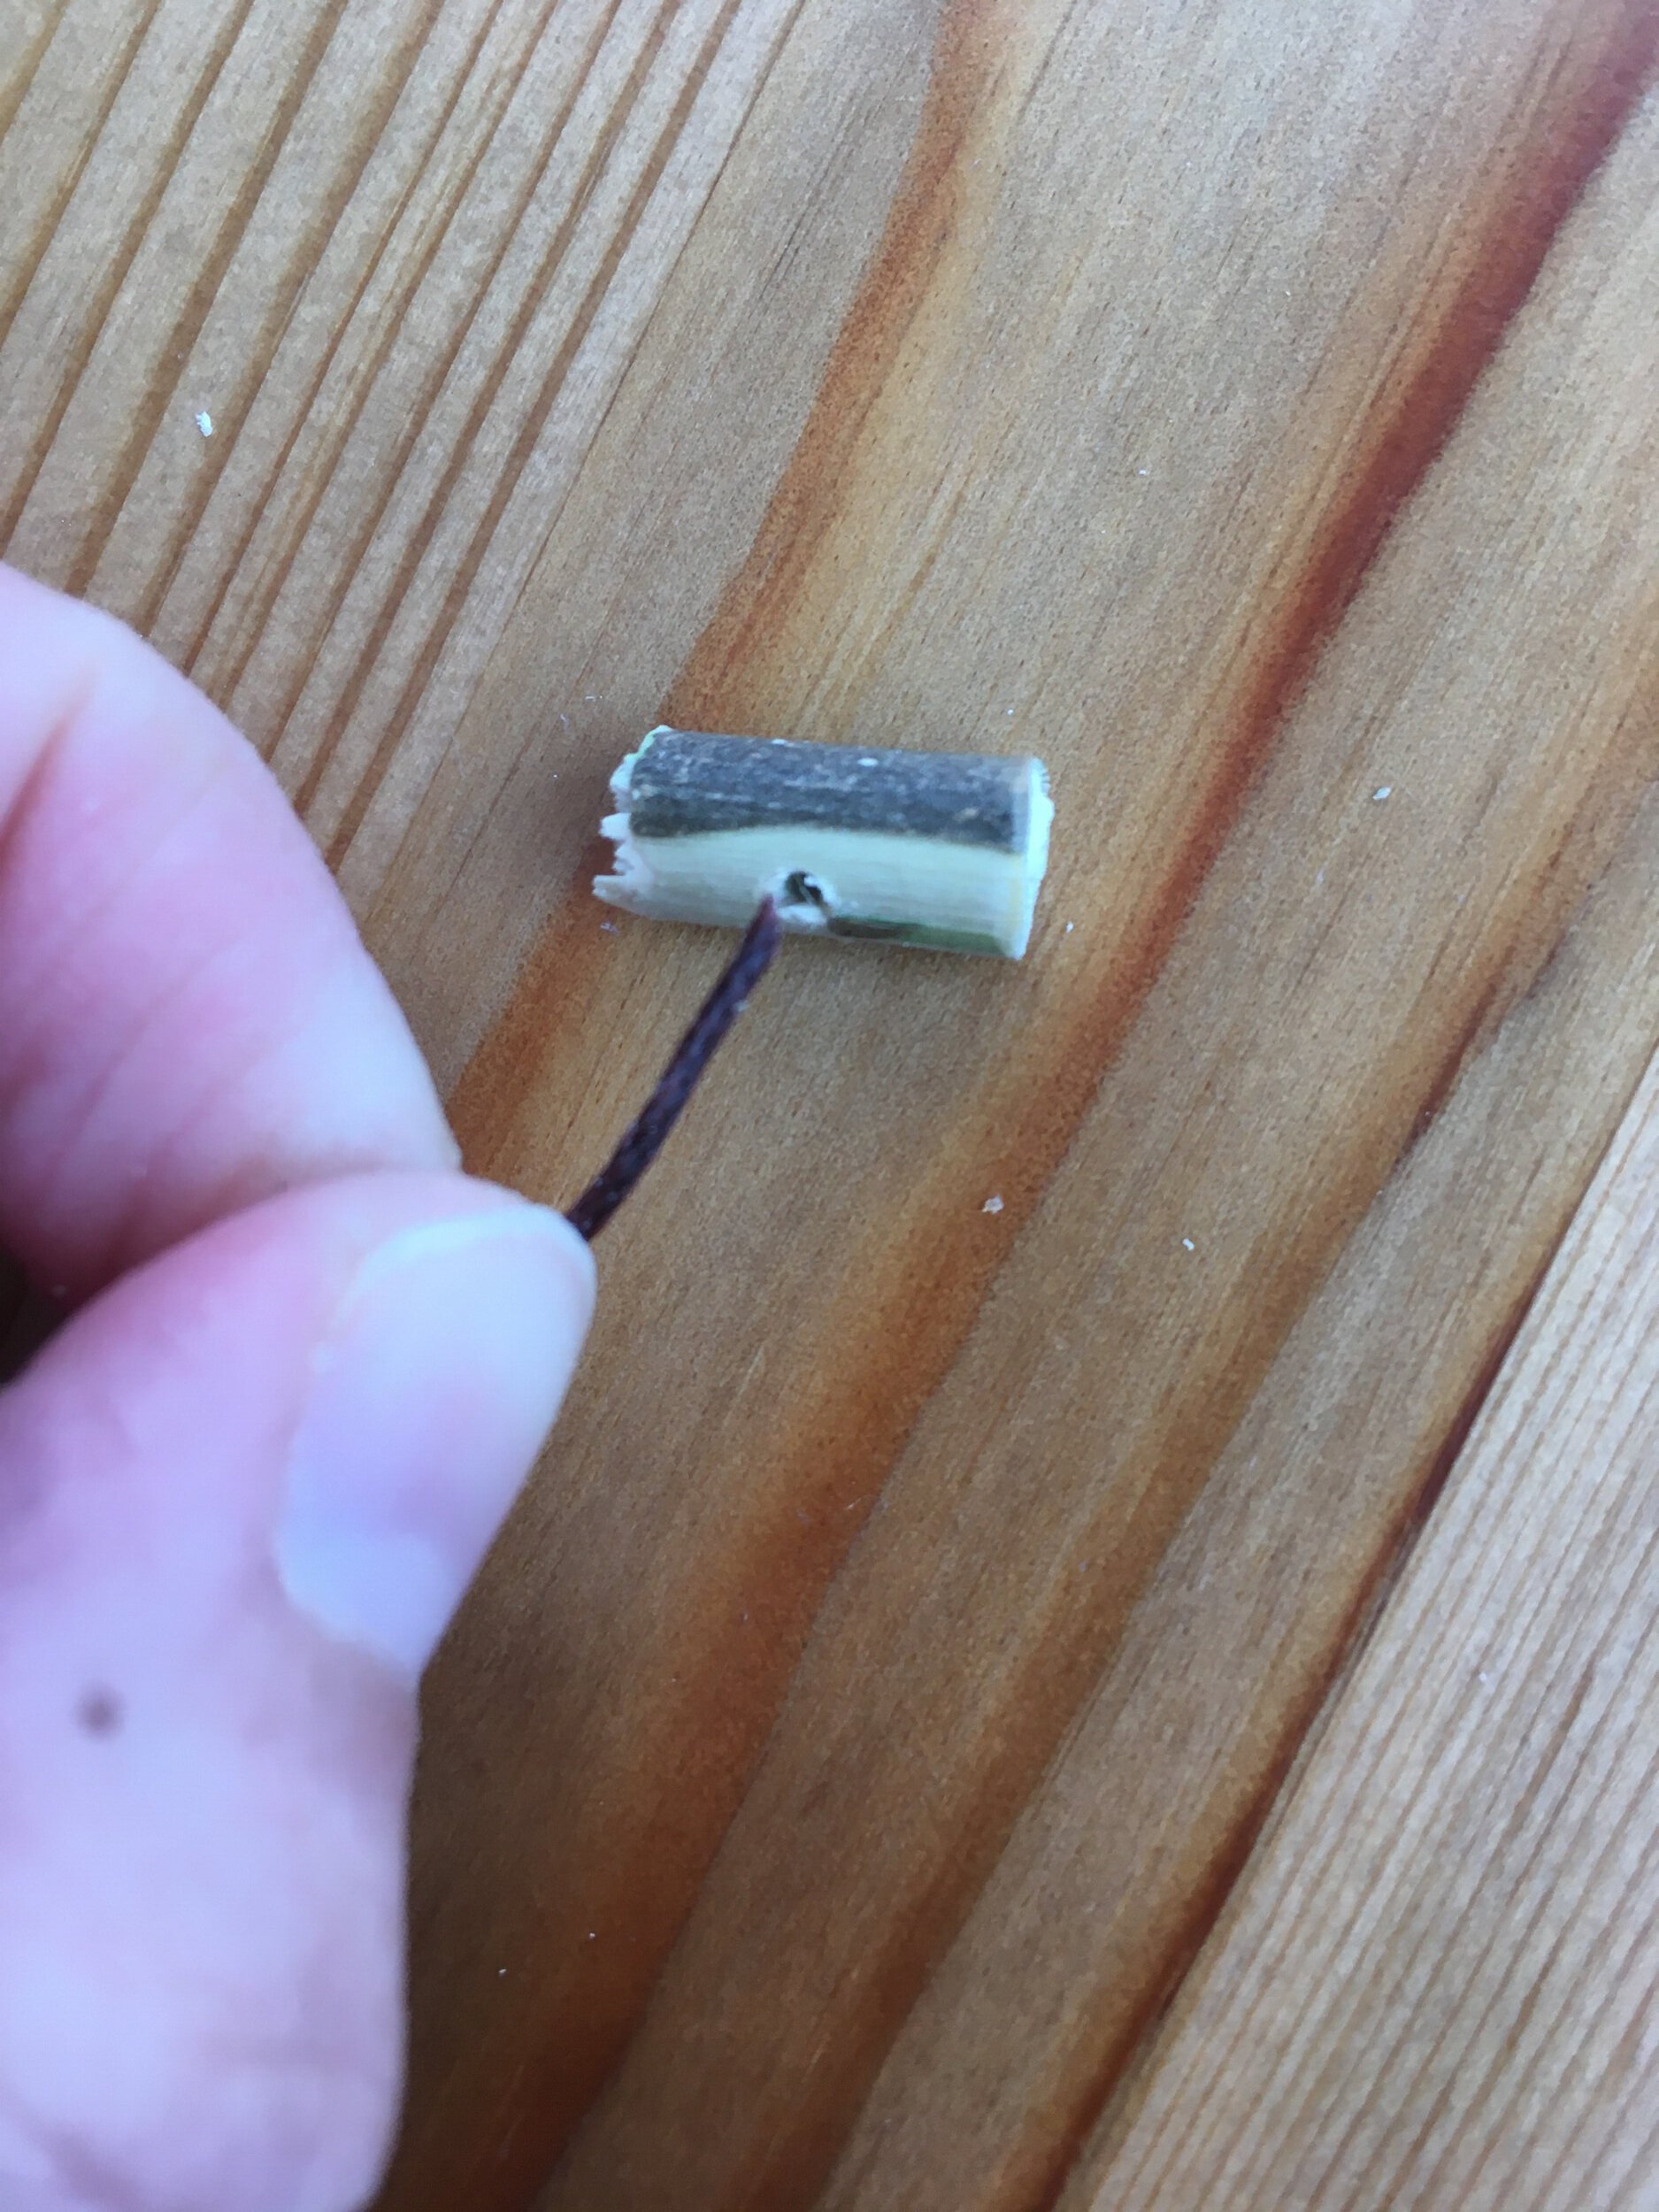
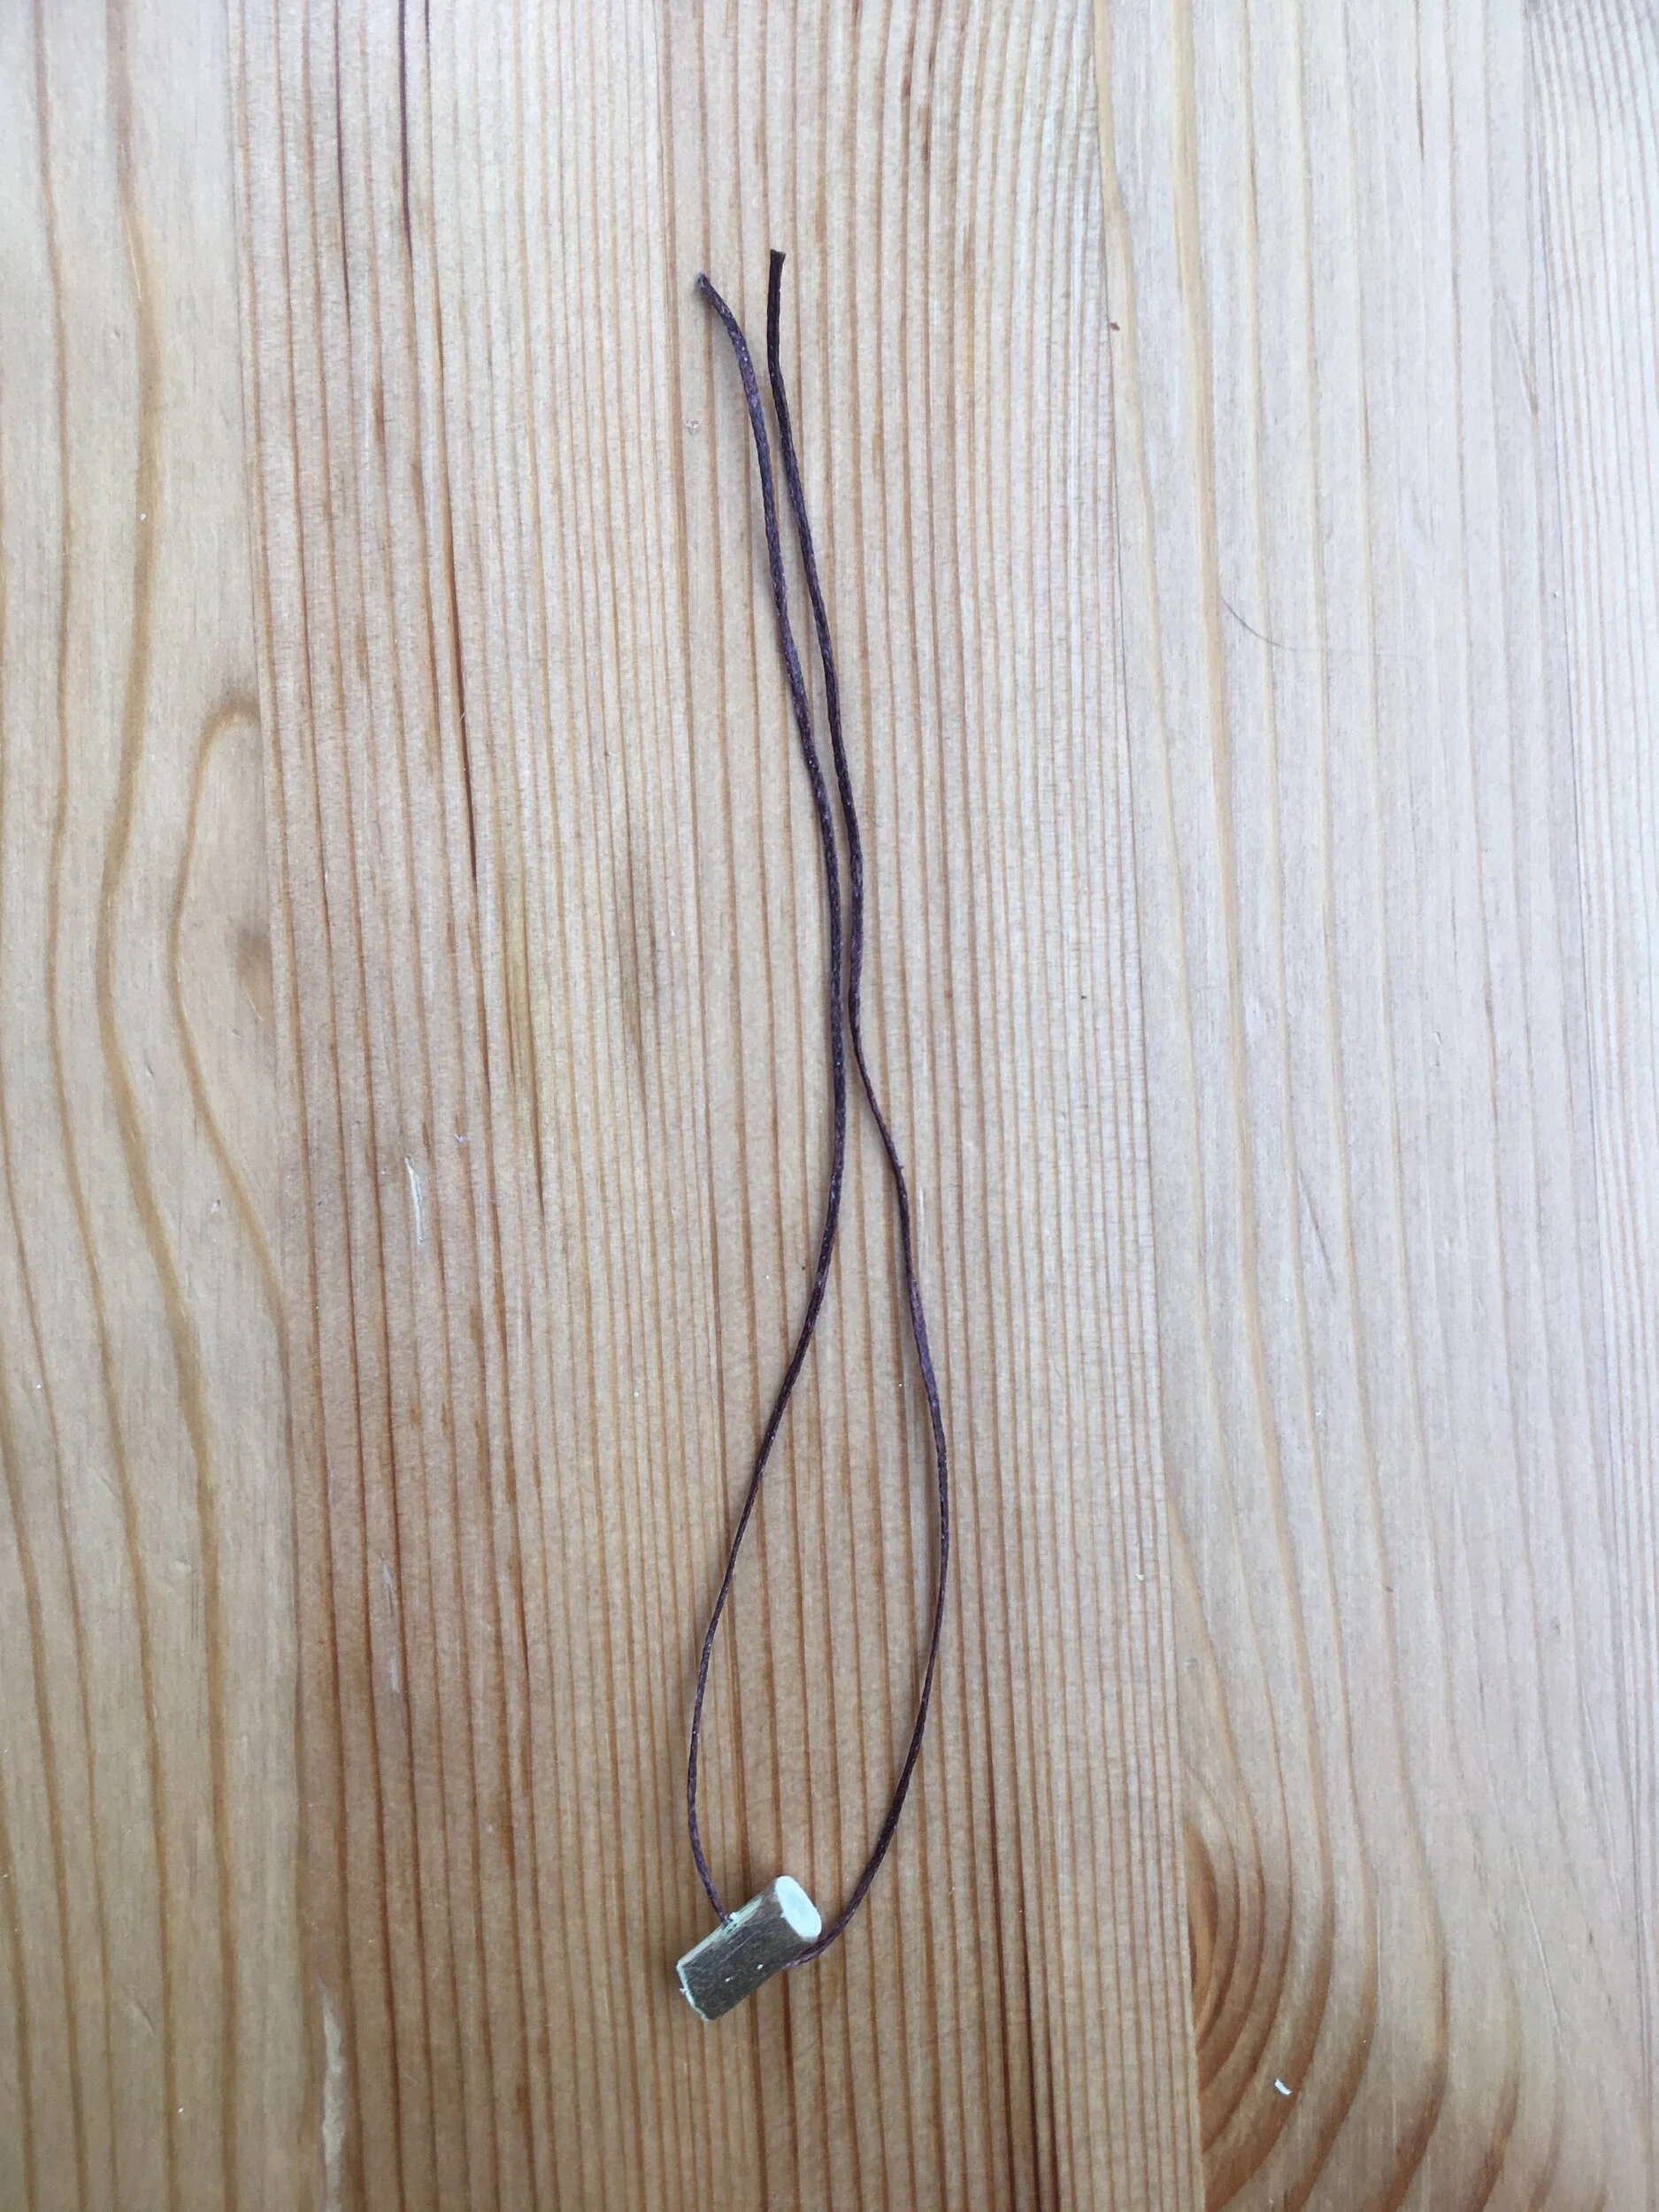
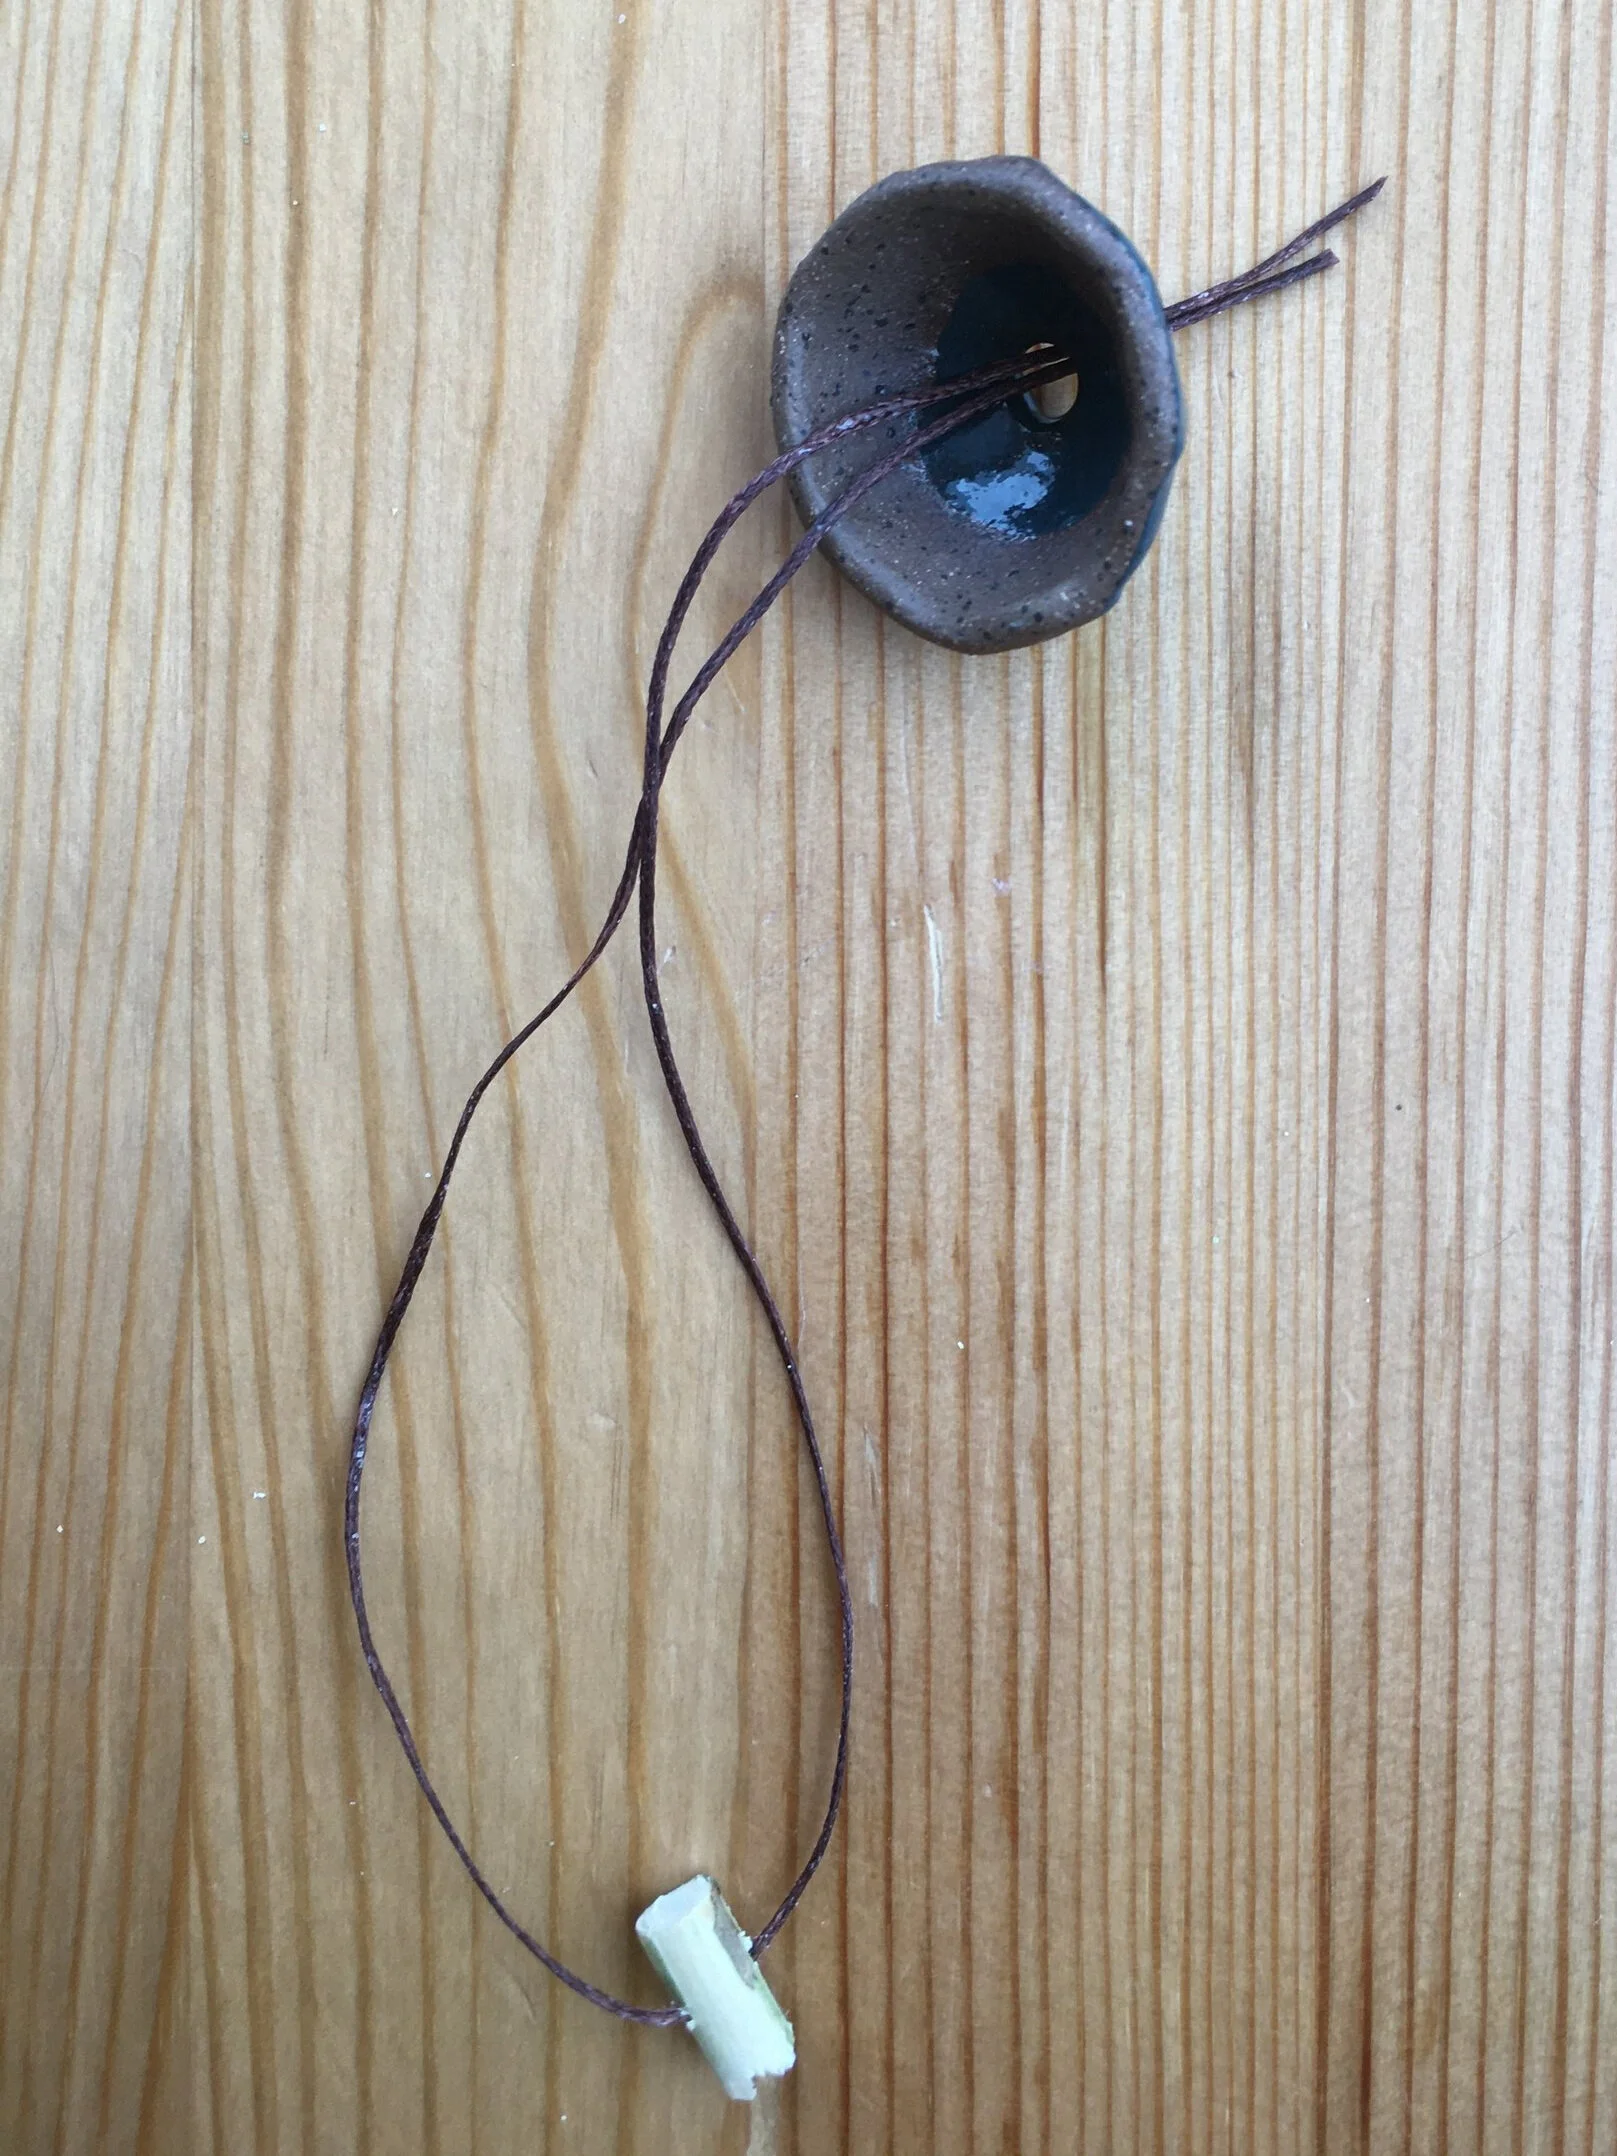
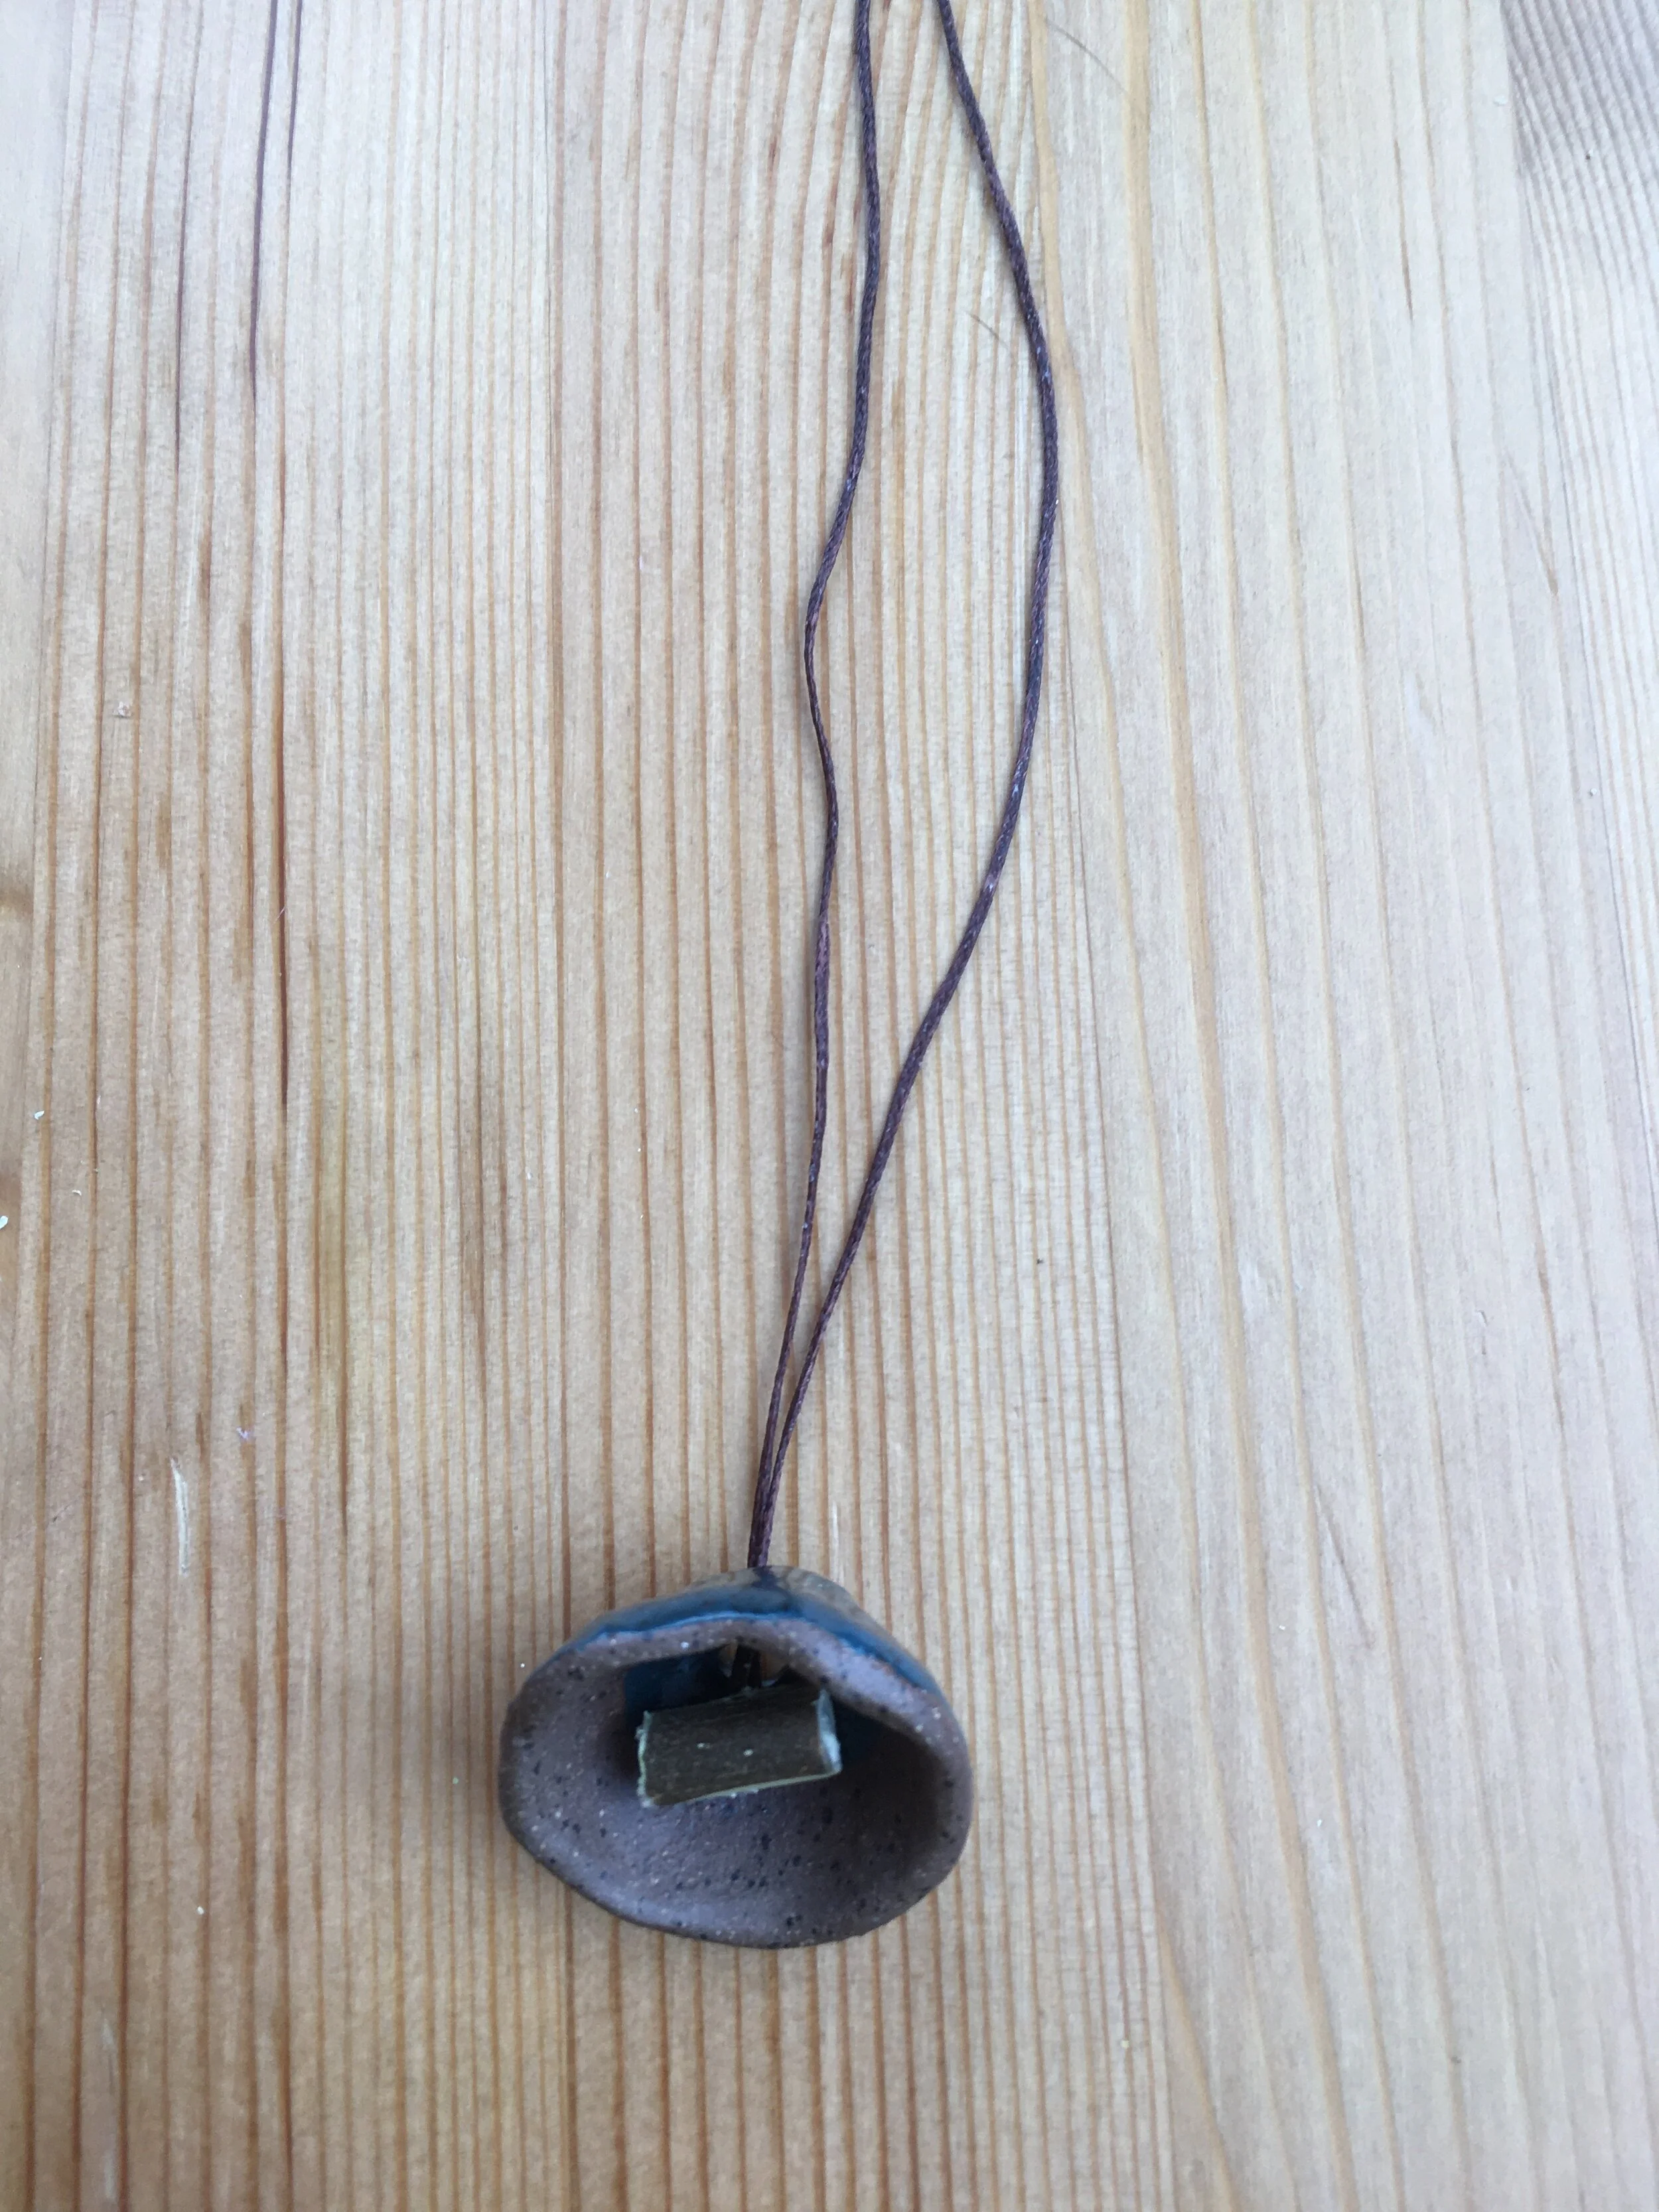
Thread string through bead. Fold string in half with bead at the bottom. Keeping string ends together thread string through the underside of the bell. The bead (if big enough) will keep the string from falling through the bell.
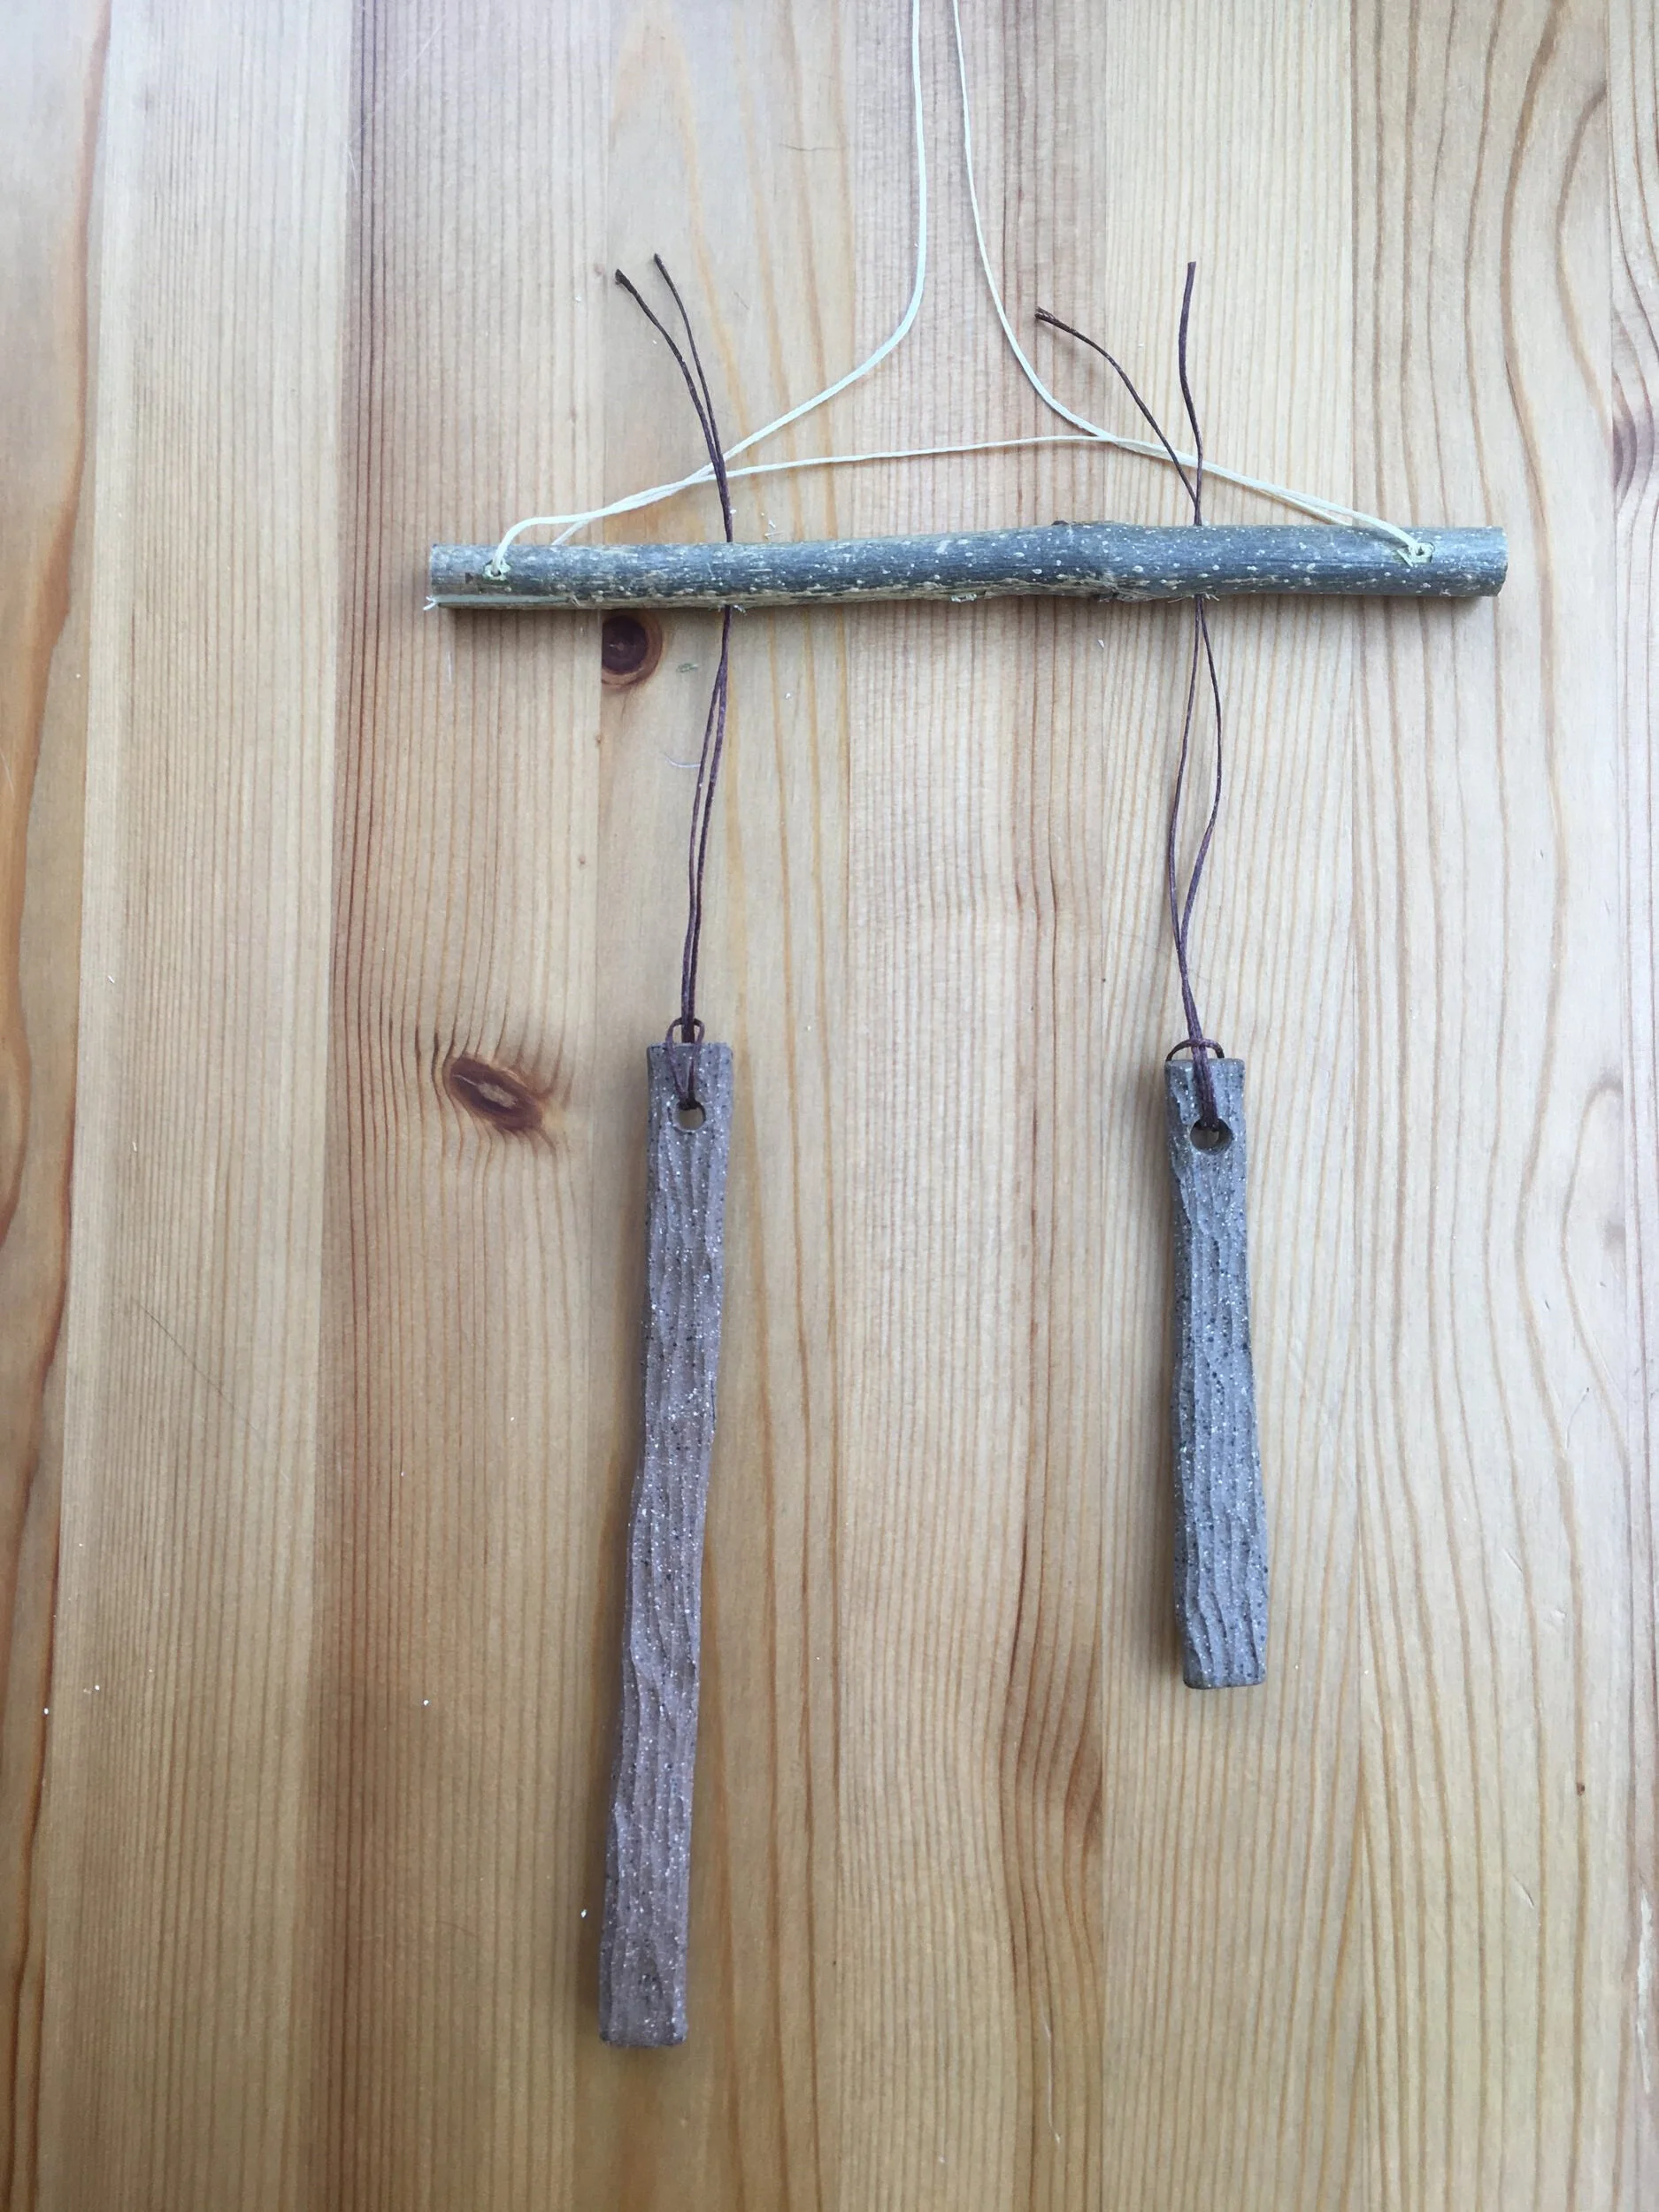
Step Four: Attach chime sticks
(Version 1)
Version 1 is the straight forward method of assembly.
I have more sticks than bells in this example. If your kit is the opposite use the method in step four to attach bells instead.
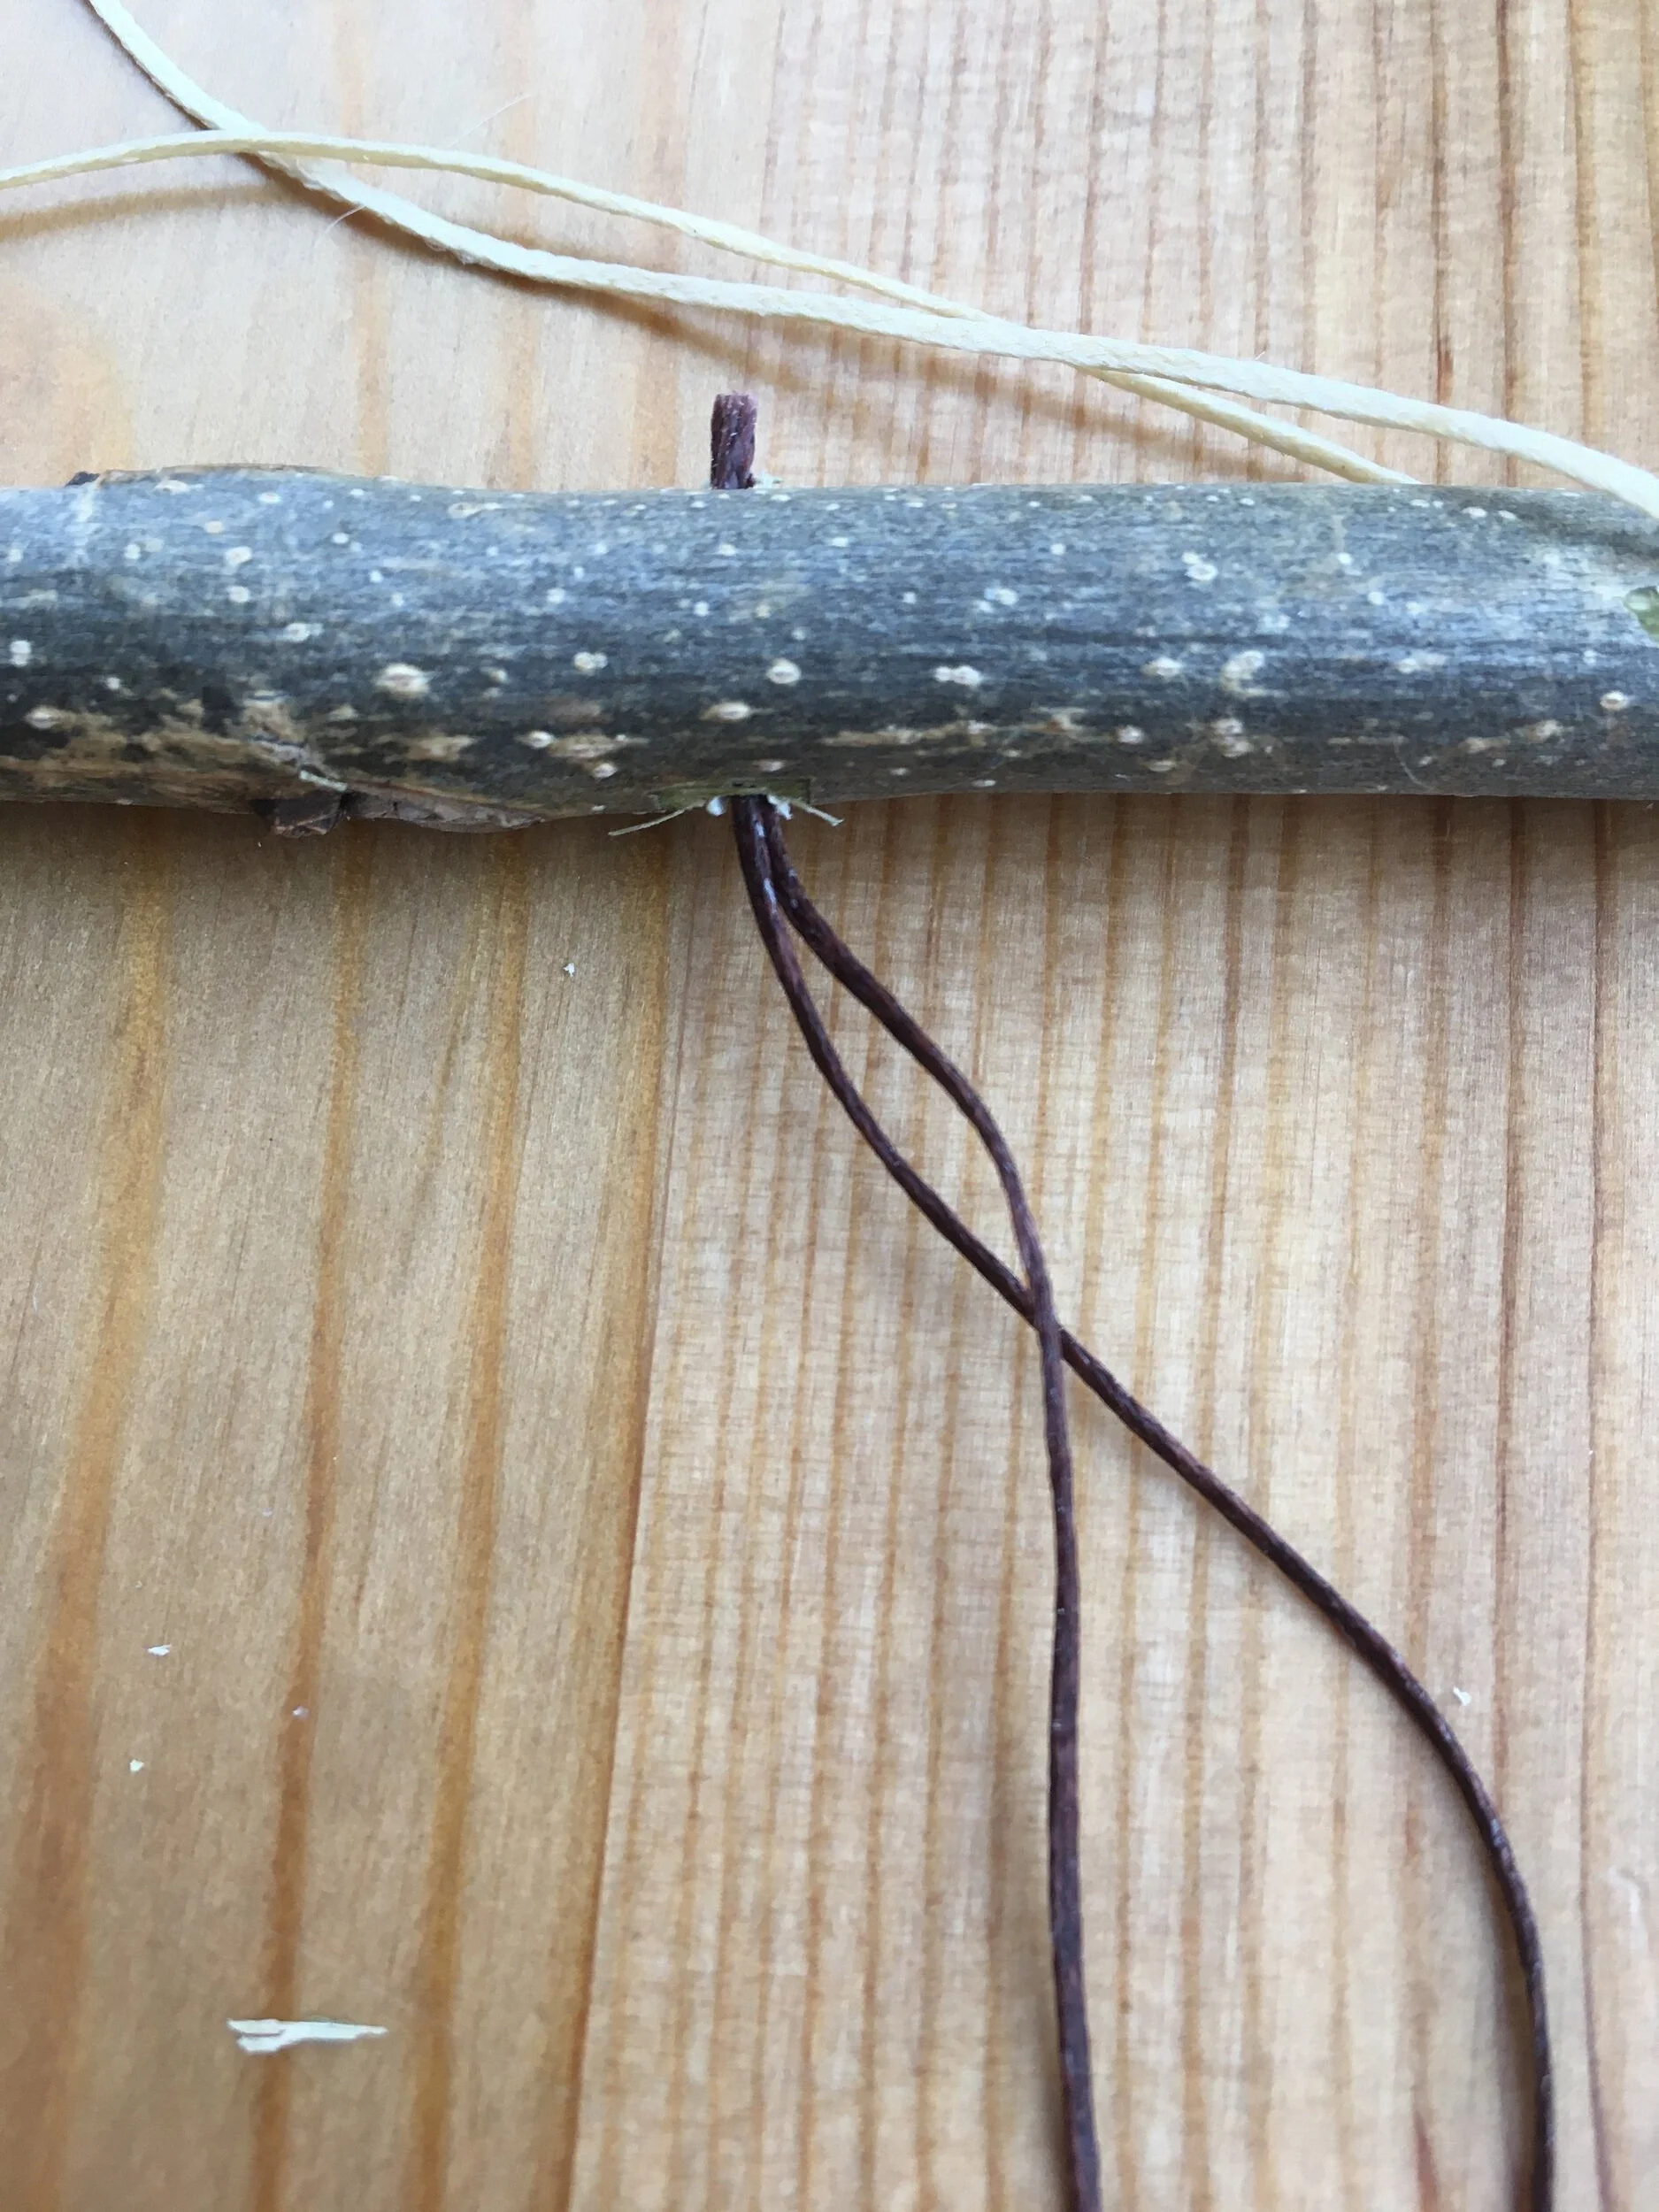
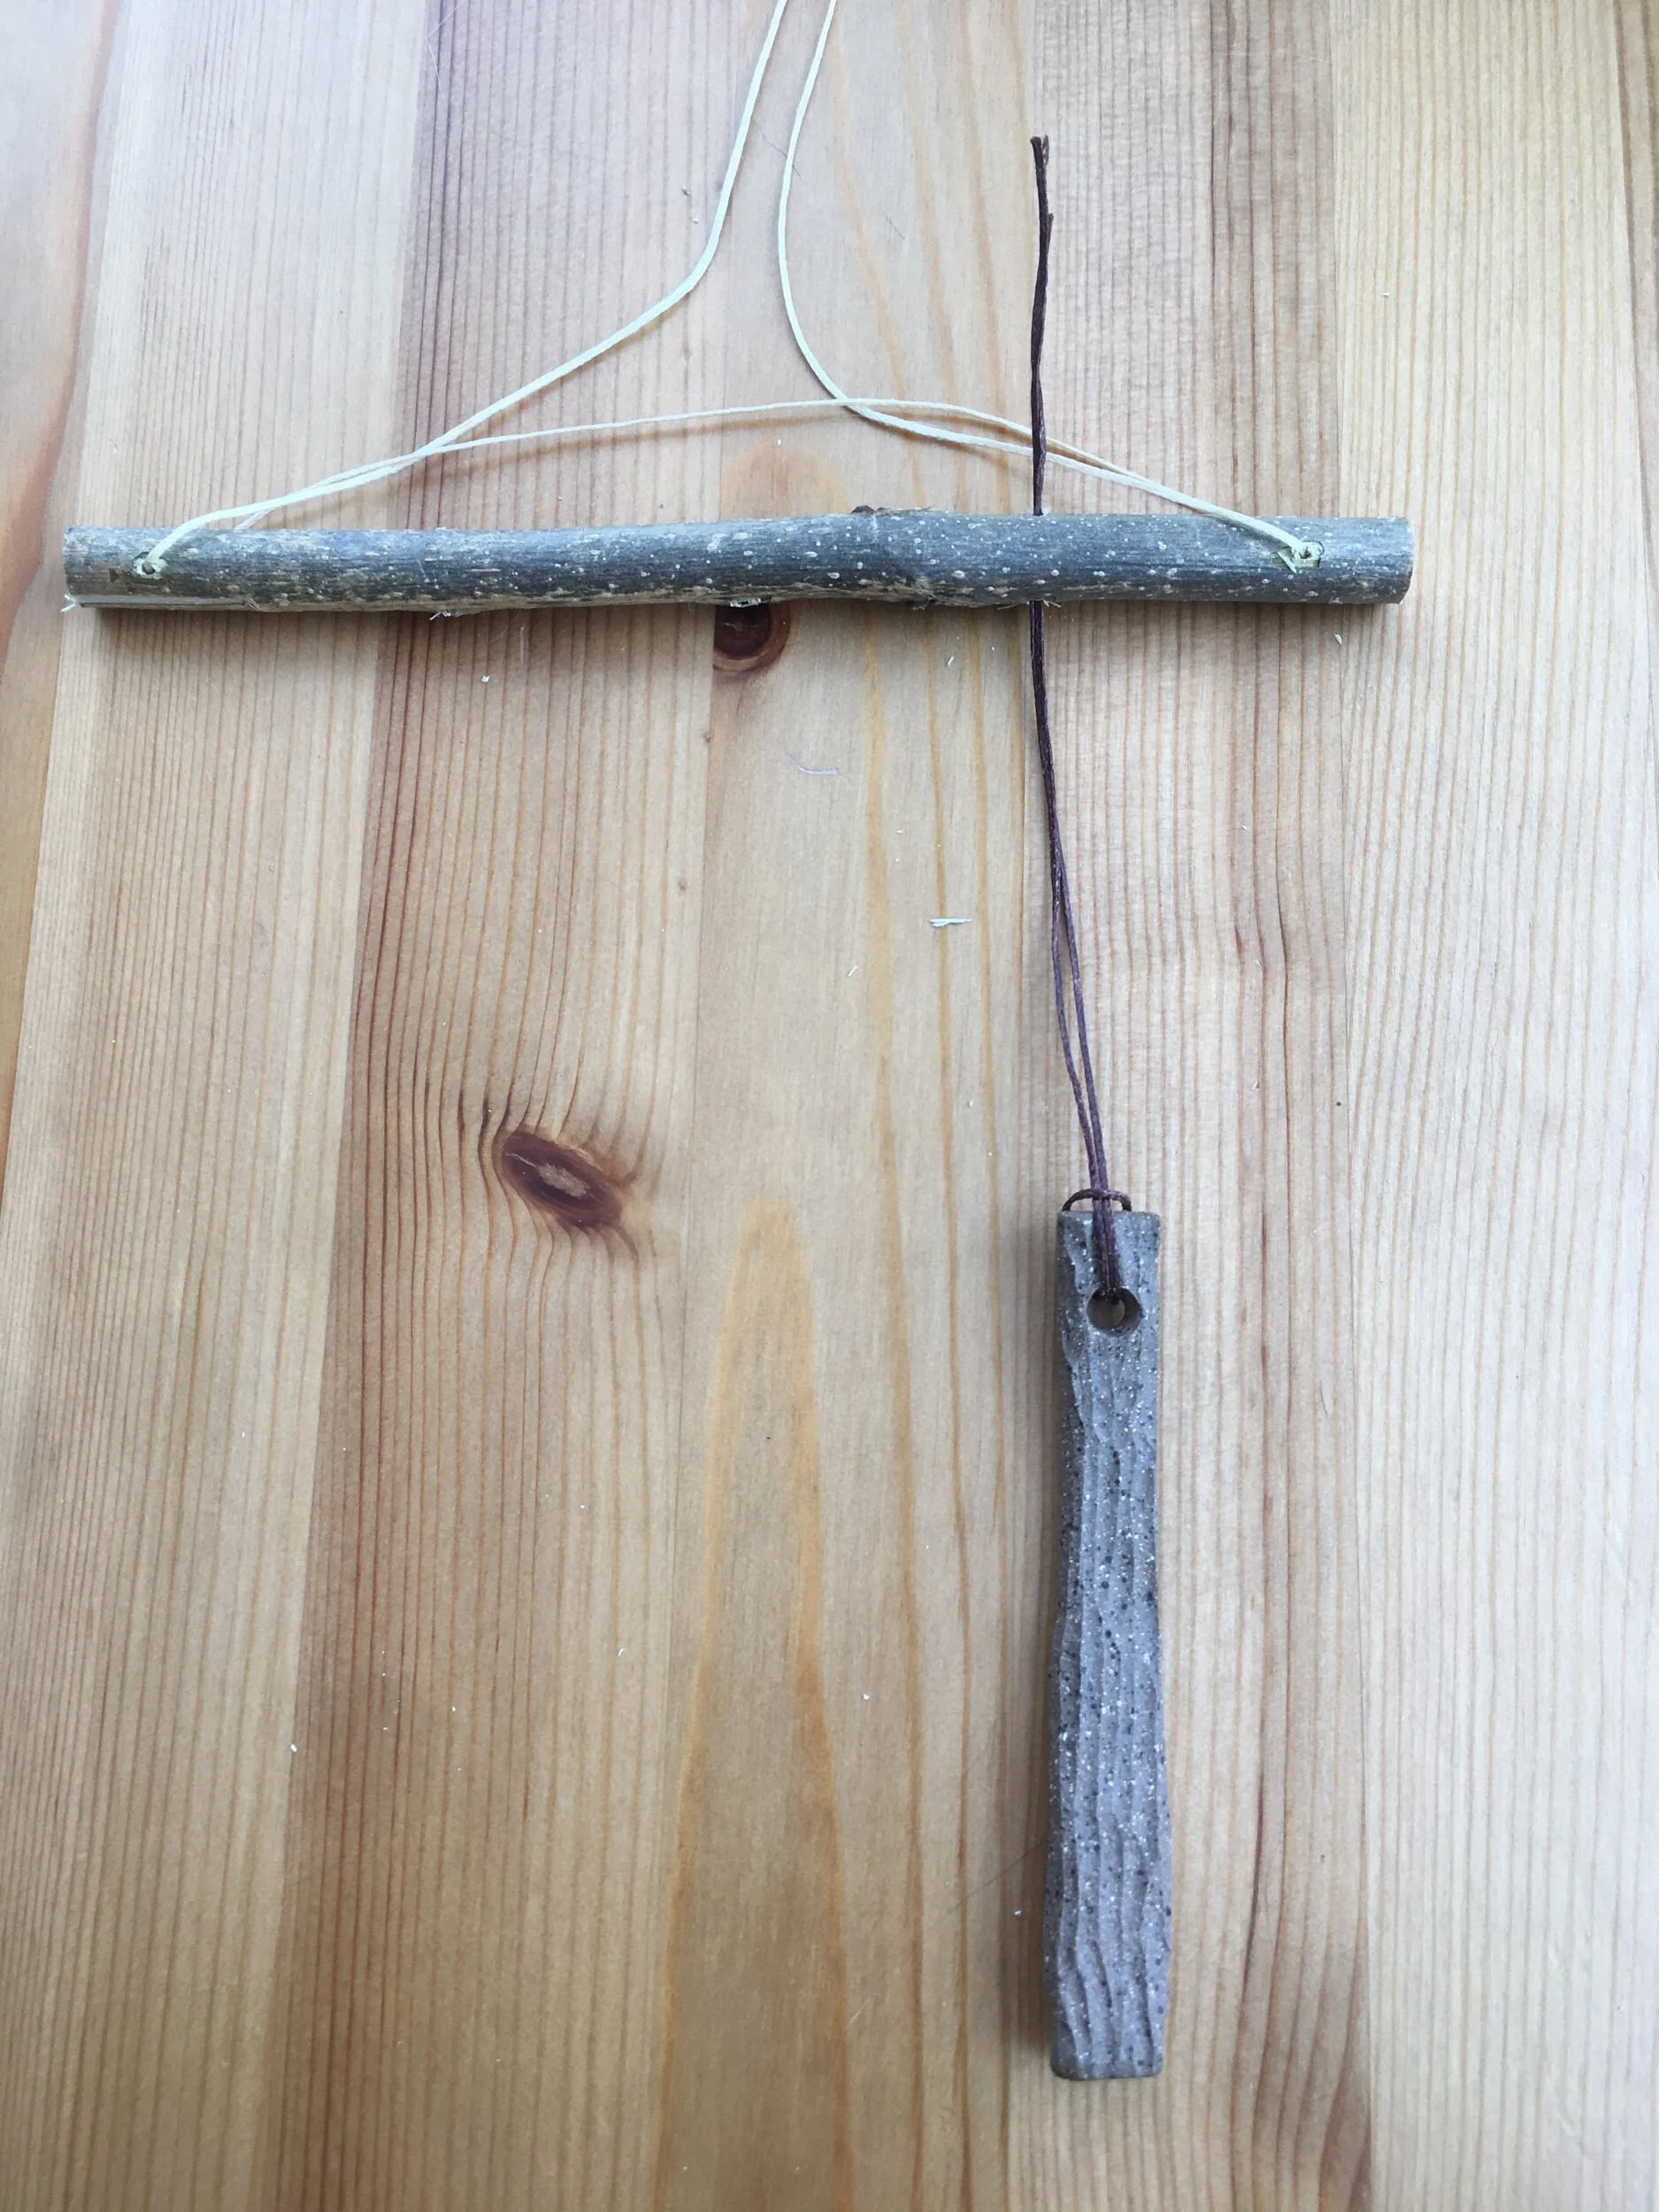
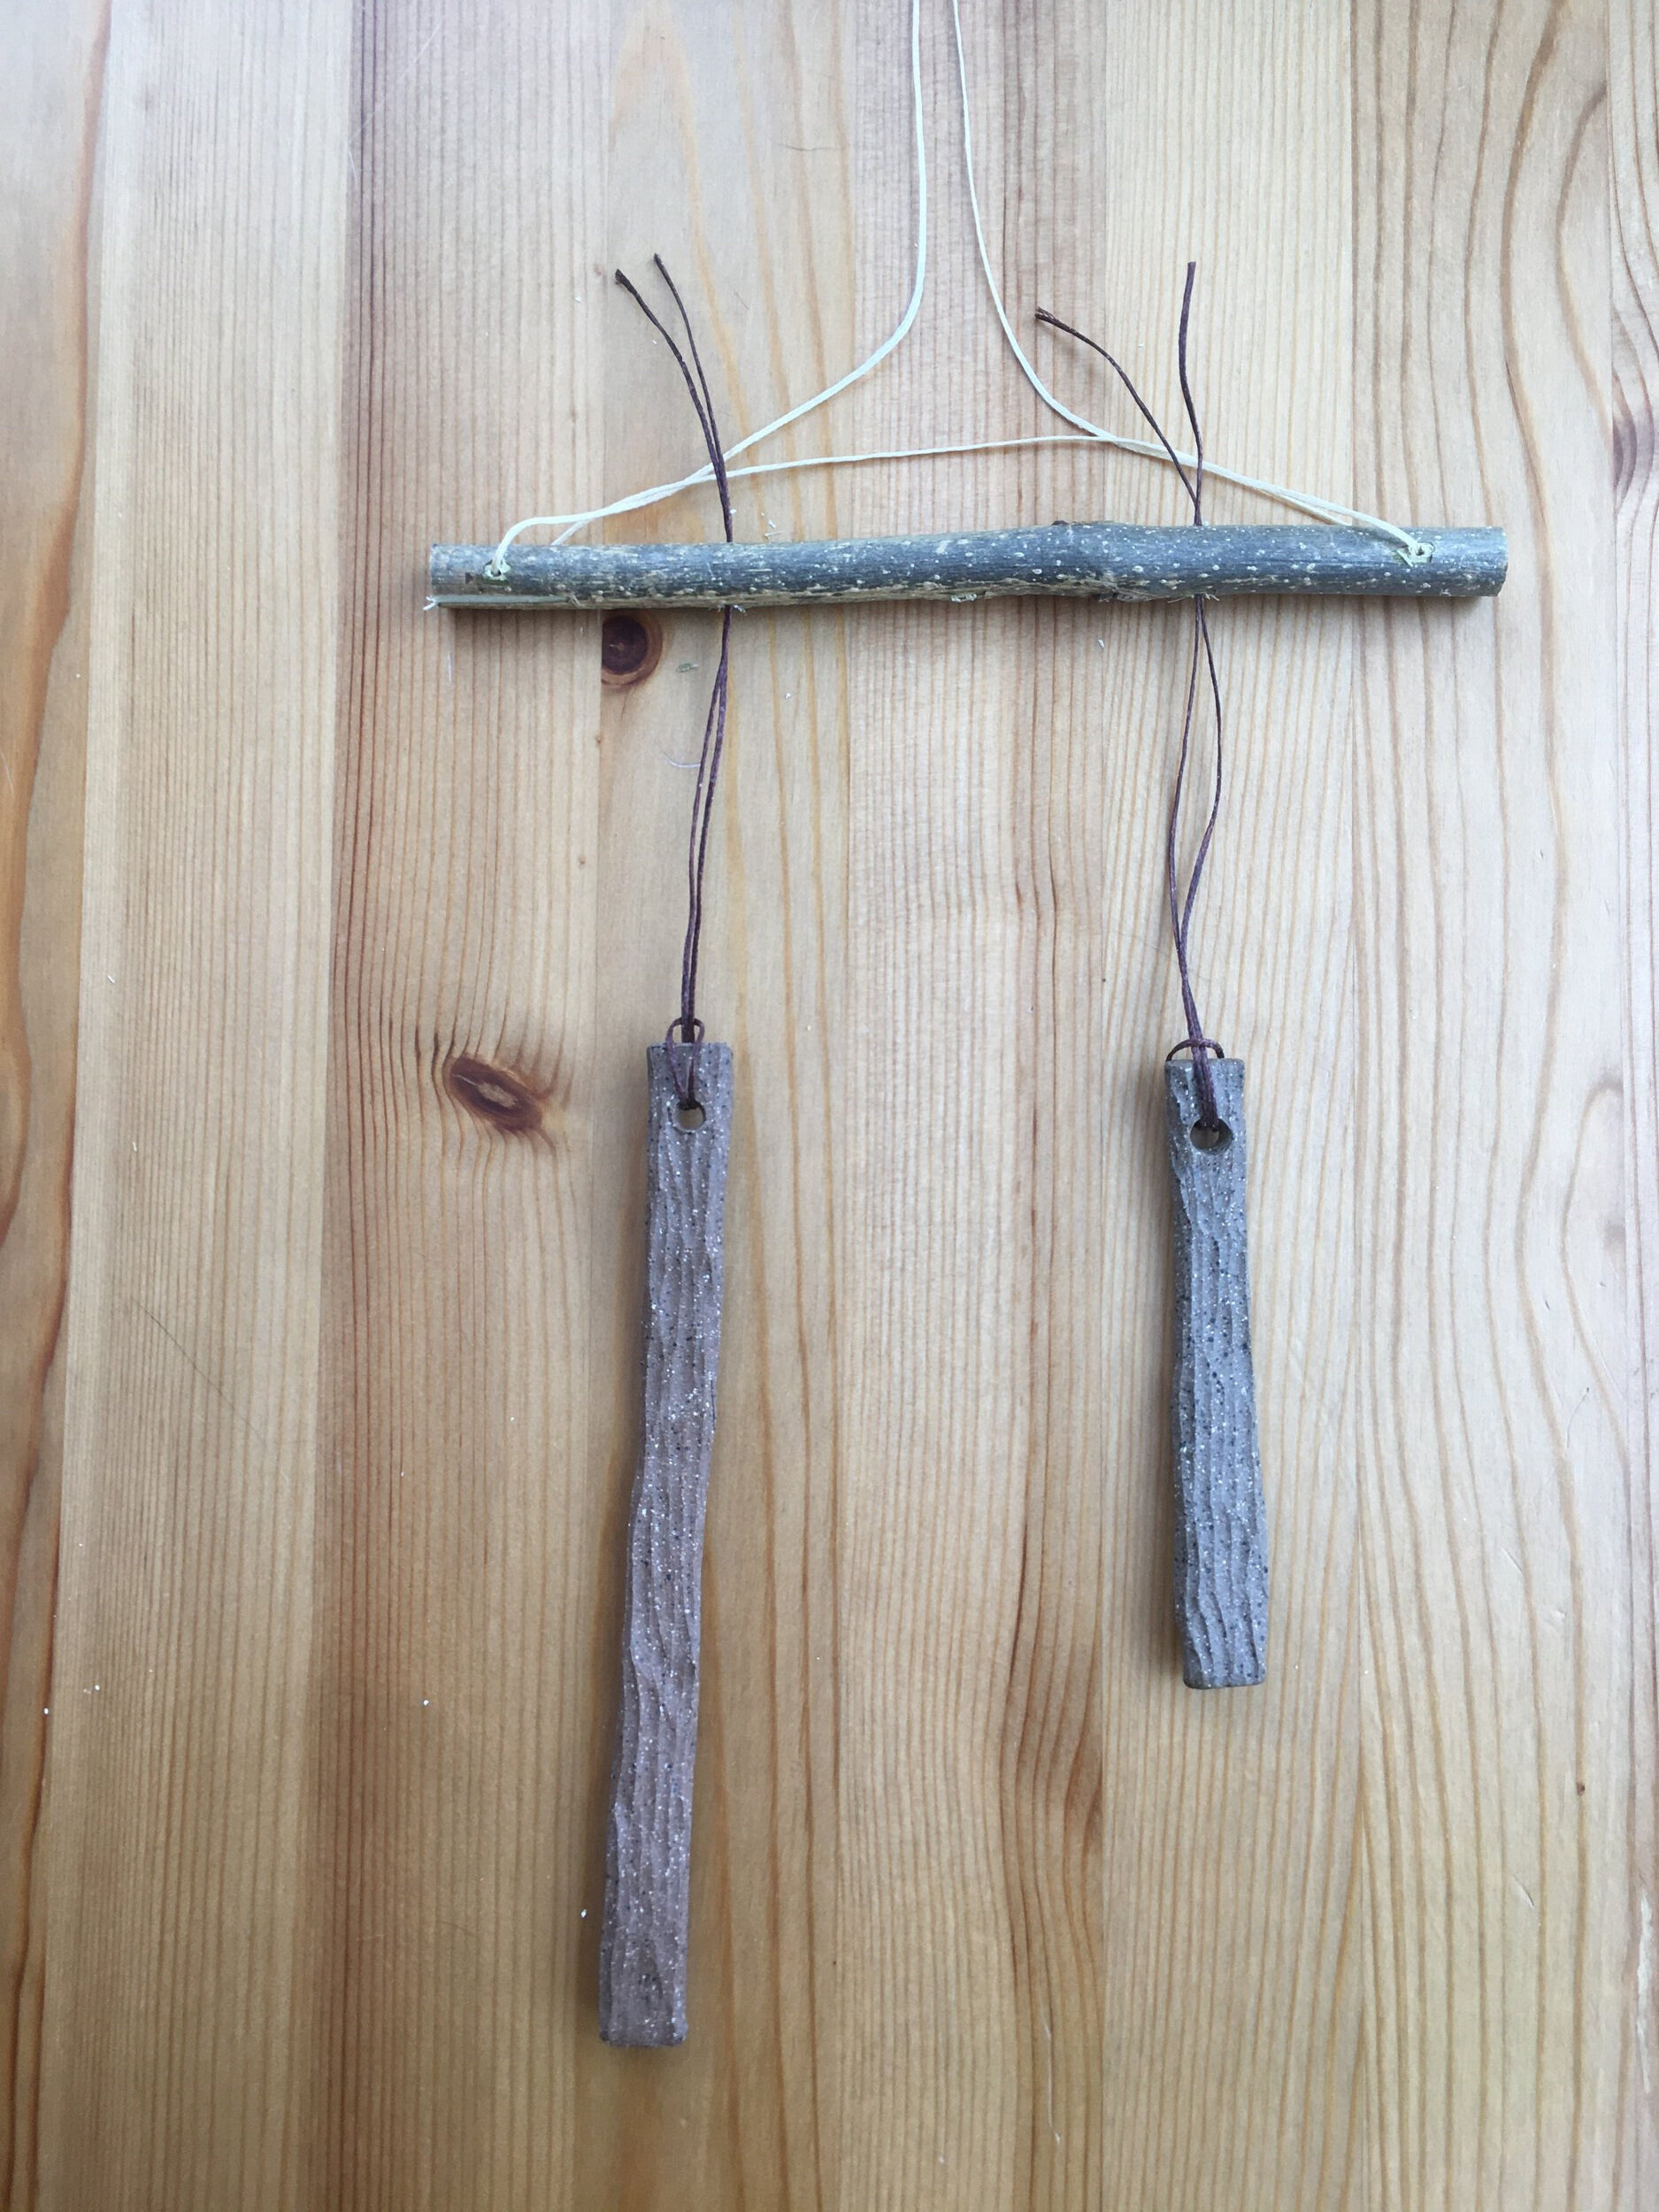
Leave the center most hole in the pre-drilled stick empty to attach the bell (or chime stick) at the end.
Starting on either the left or right, pull both ends of the chime string through the pre-drilled hole. Repeat with other chime string on the opposite side.
IMPORTANT: when hanging, the tops of the chime sticks must be at the same level with one another. Their overall lengths may differ significantly but as long as the tops are level you will have assembled it correctly.
IF you have more bells than chime sticks you may want to have the bells at different levels. They will hit the center chime stick at different points giving you different sounds.
Tie a knot to secure chime at desired level.
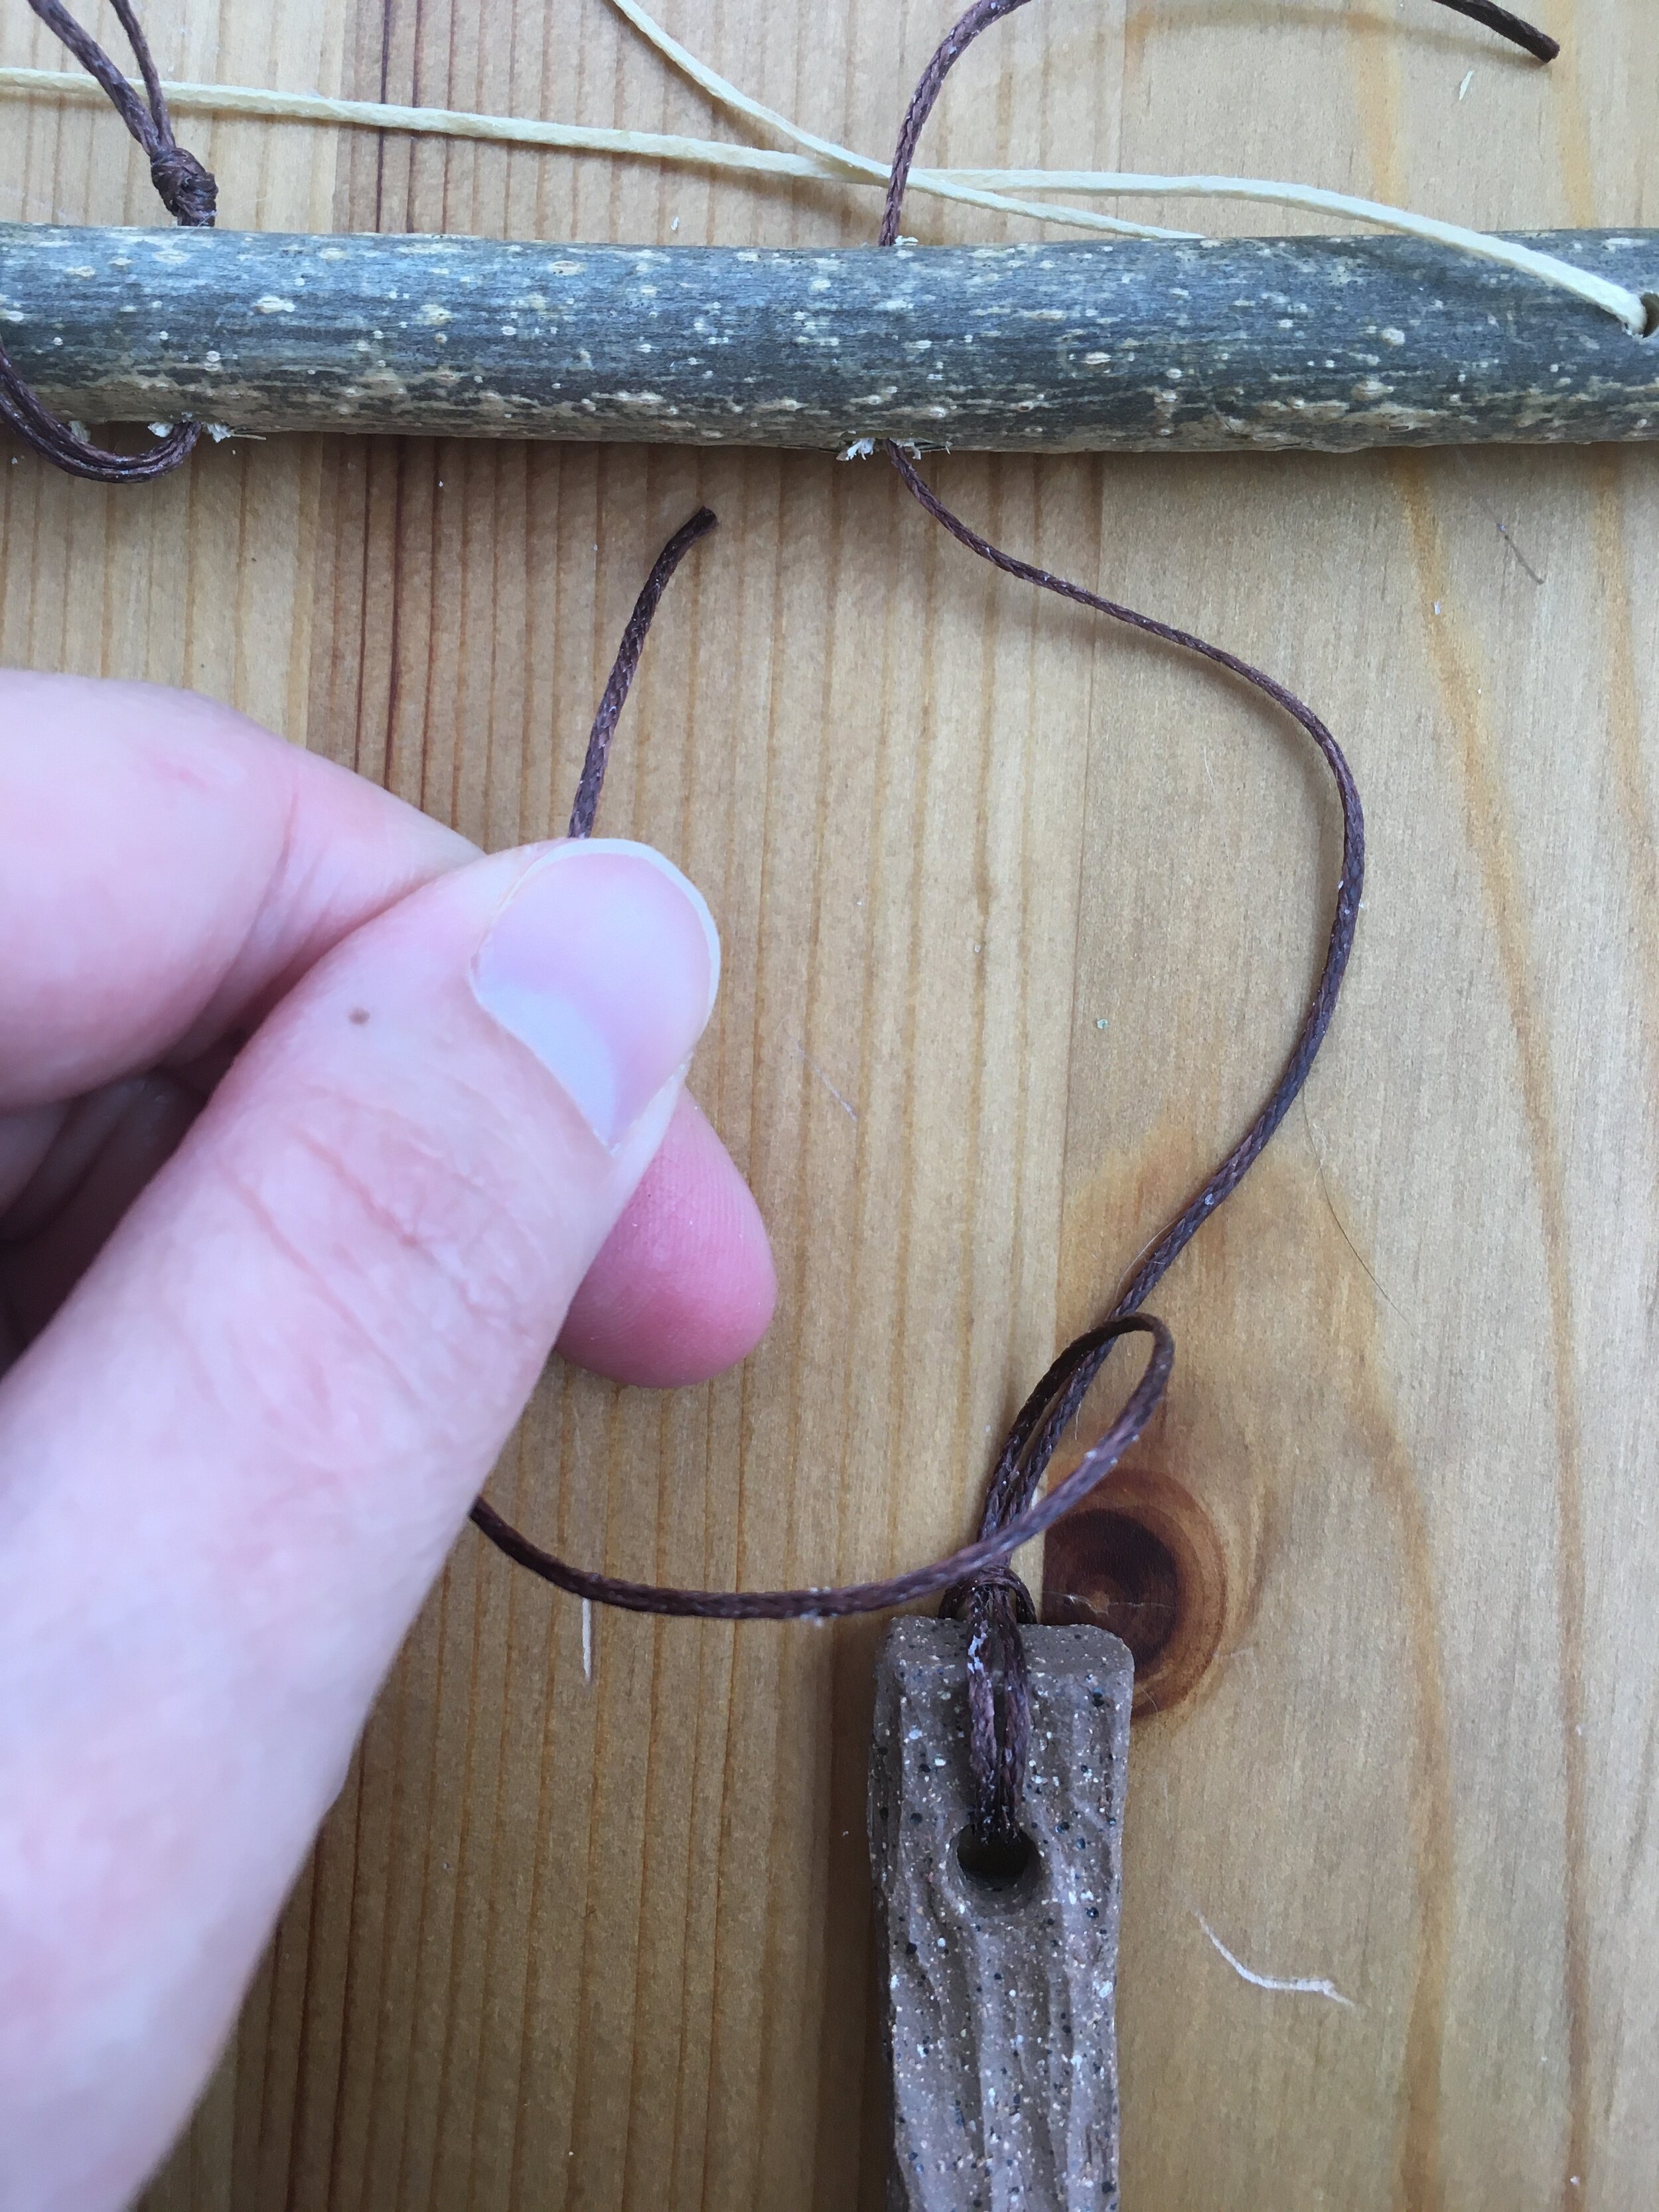
Step Four: Attach chime sticks
(Version 2)
Version 2 is the more difficult version of assembly but is also more aesthetically pleasing and yields more consistent chiming because it arranges the chimes and bells more closely together.
I have more sticks than bells in this example. If your kit is the opposite use the method in step four to attach bells instead.
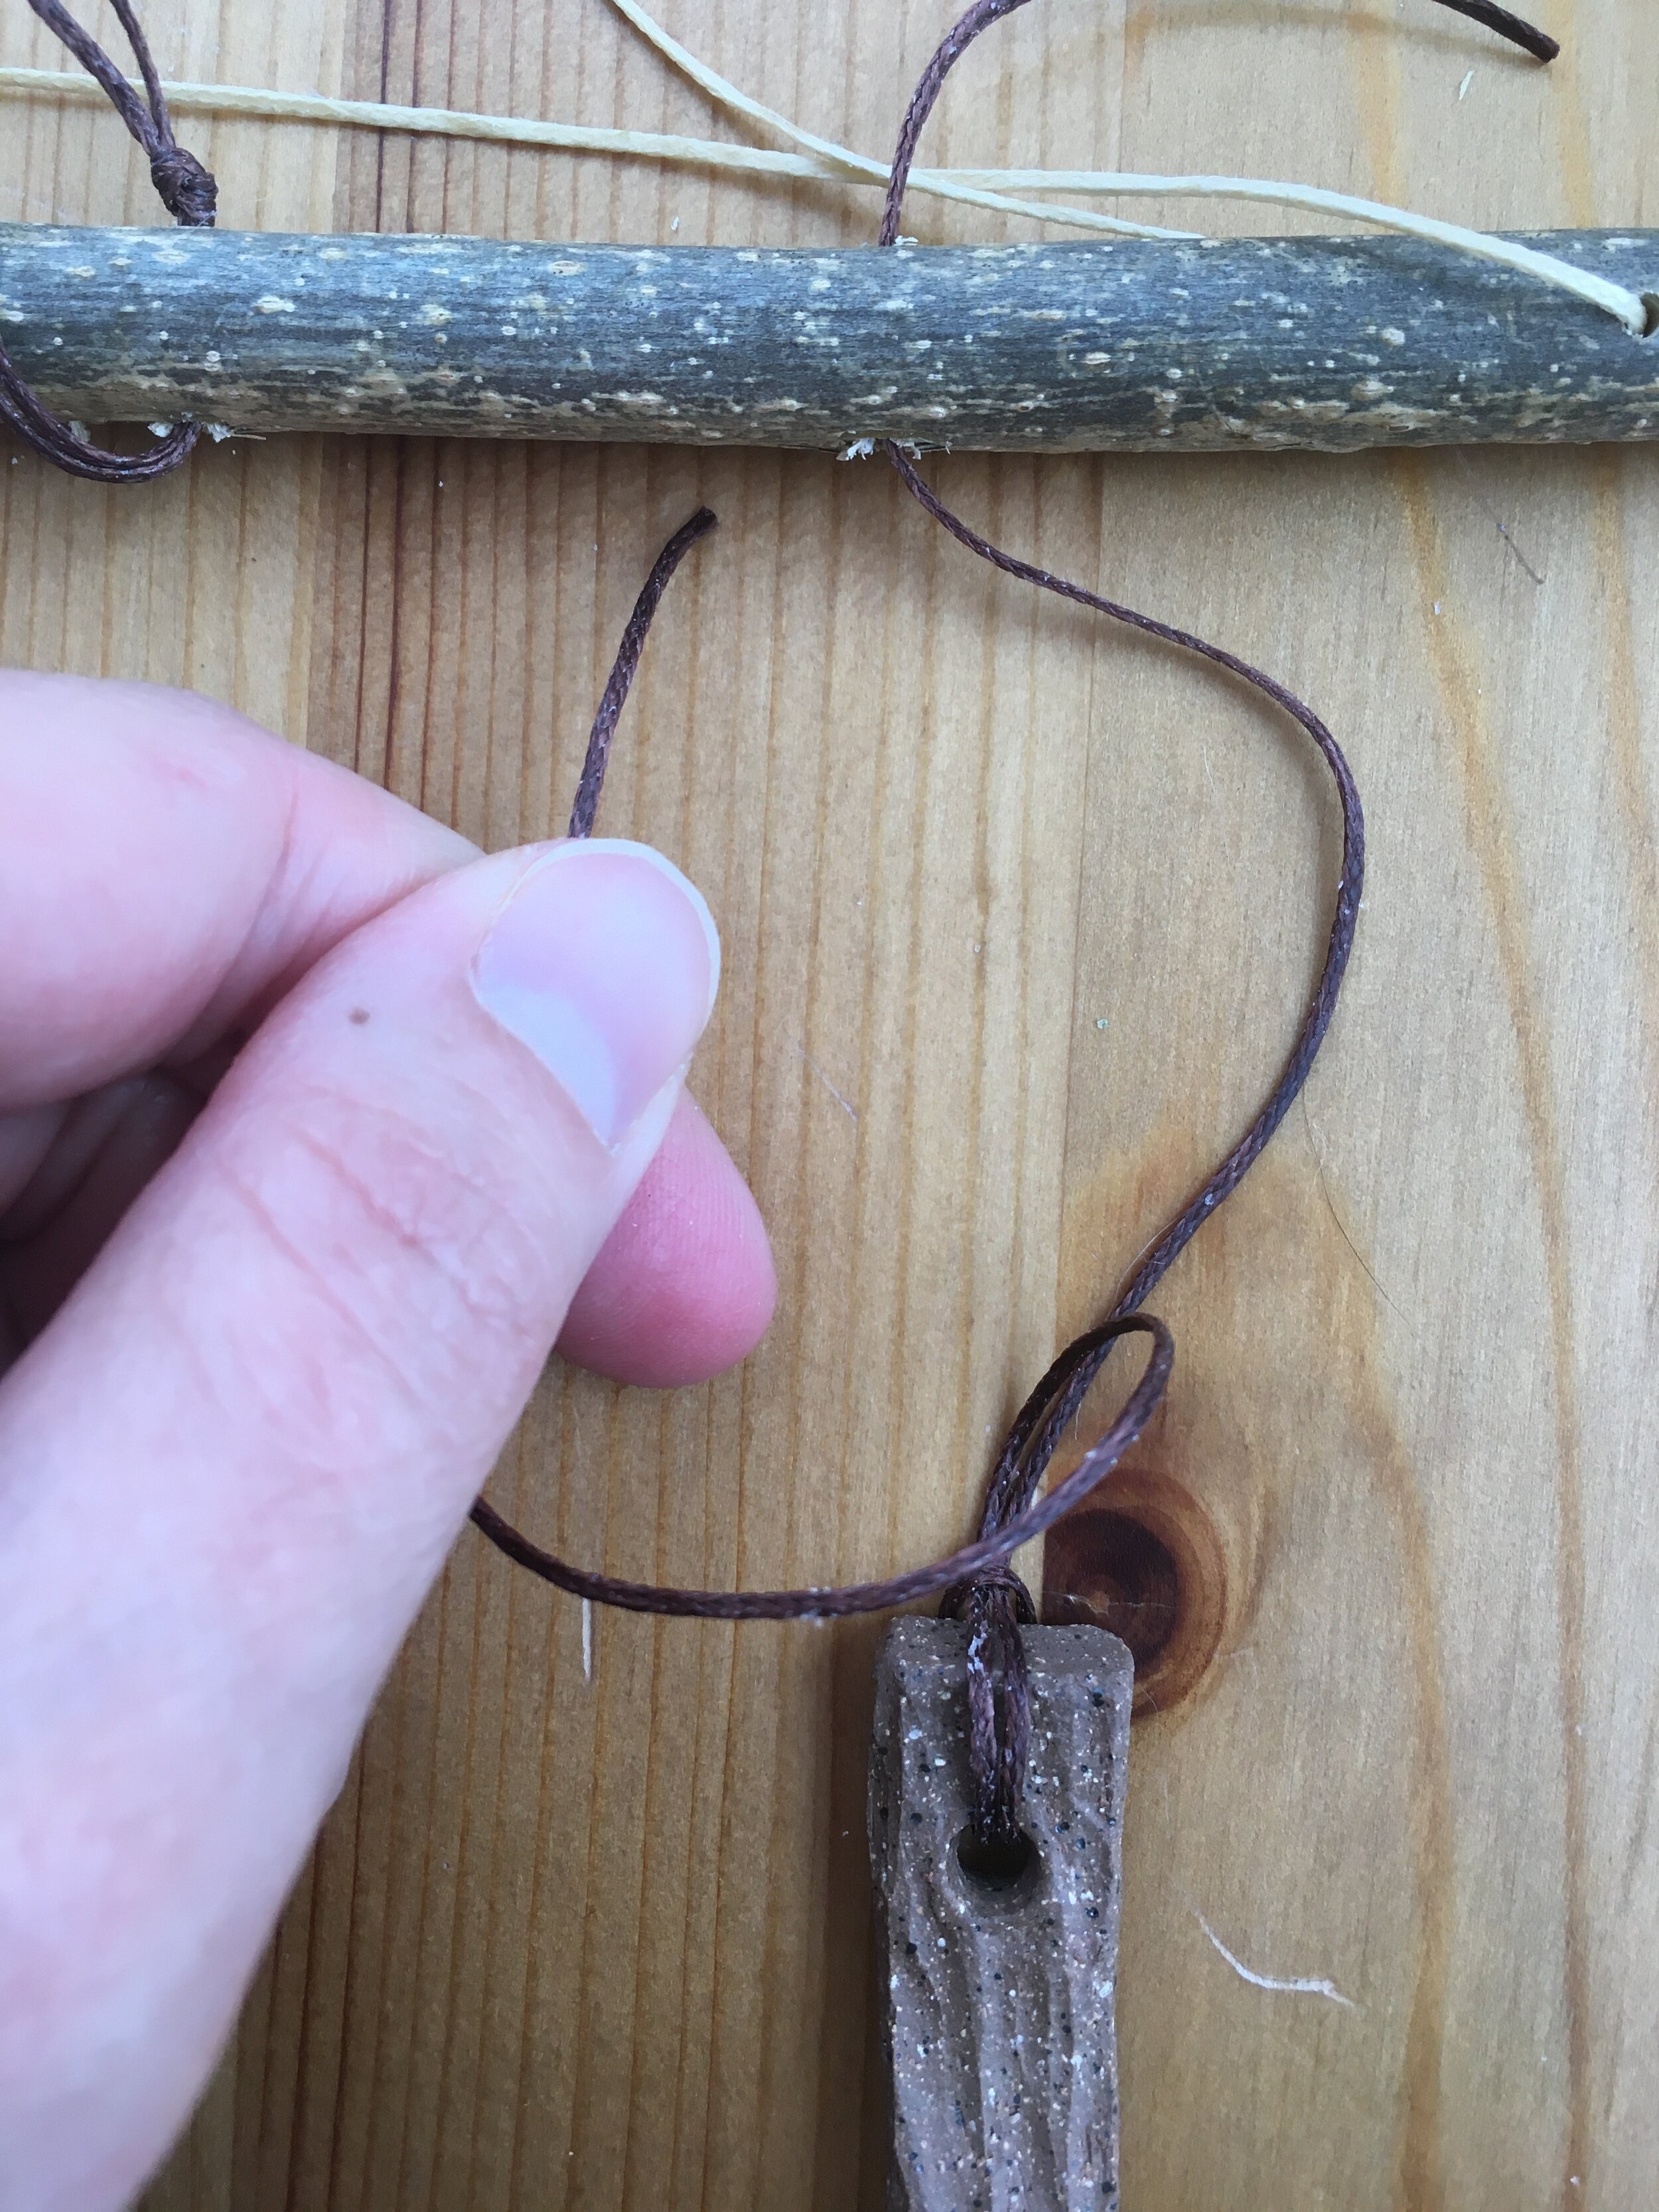
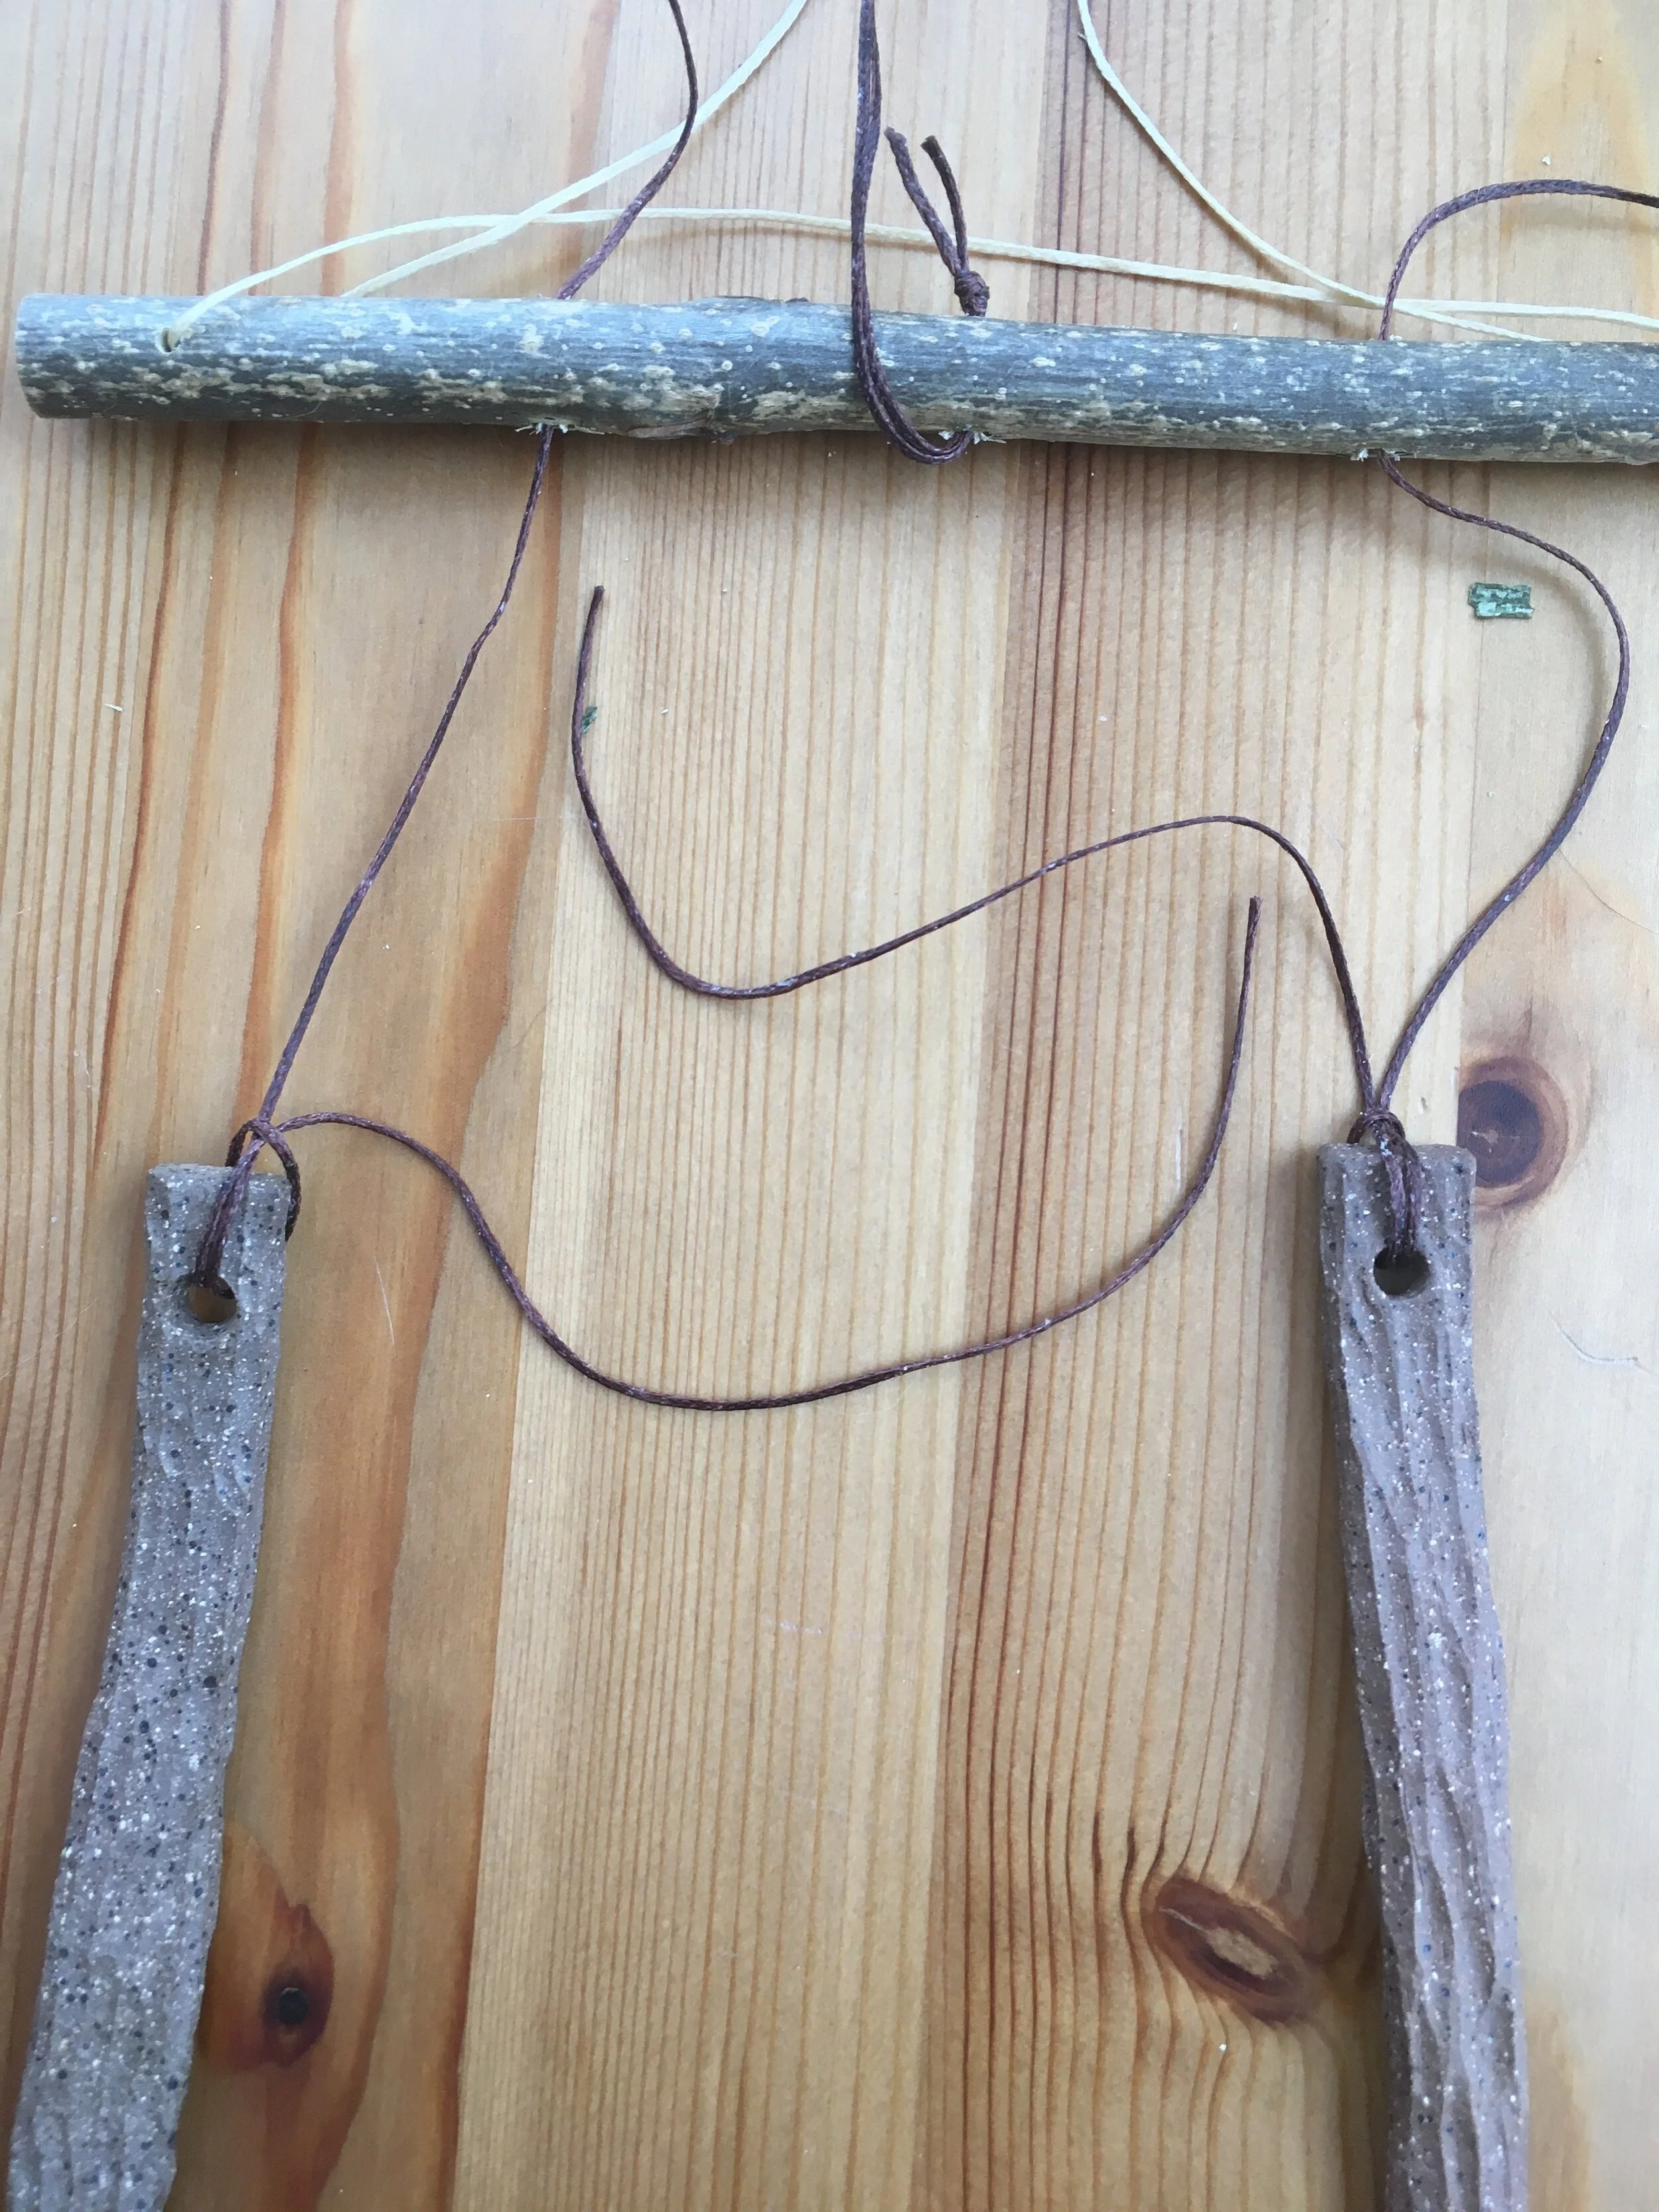
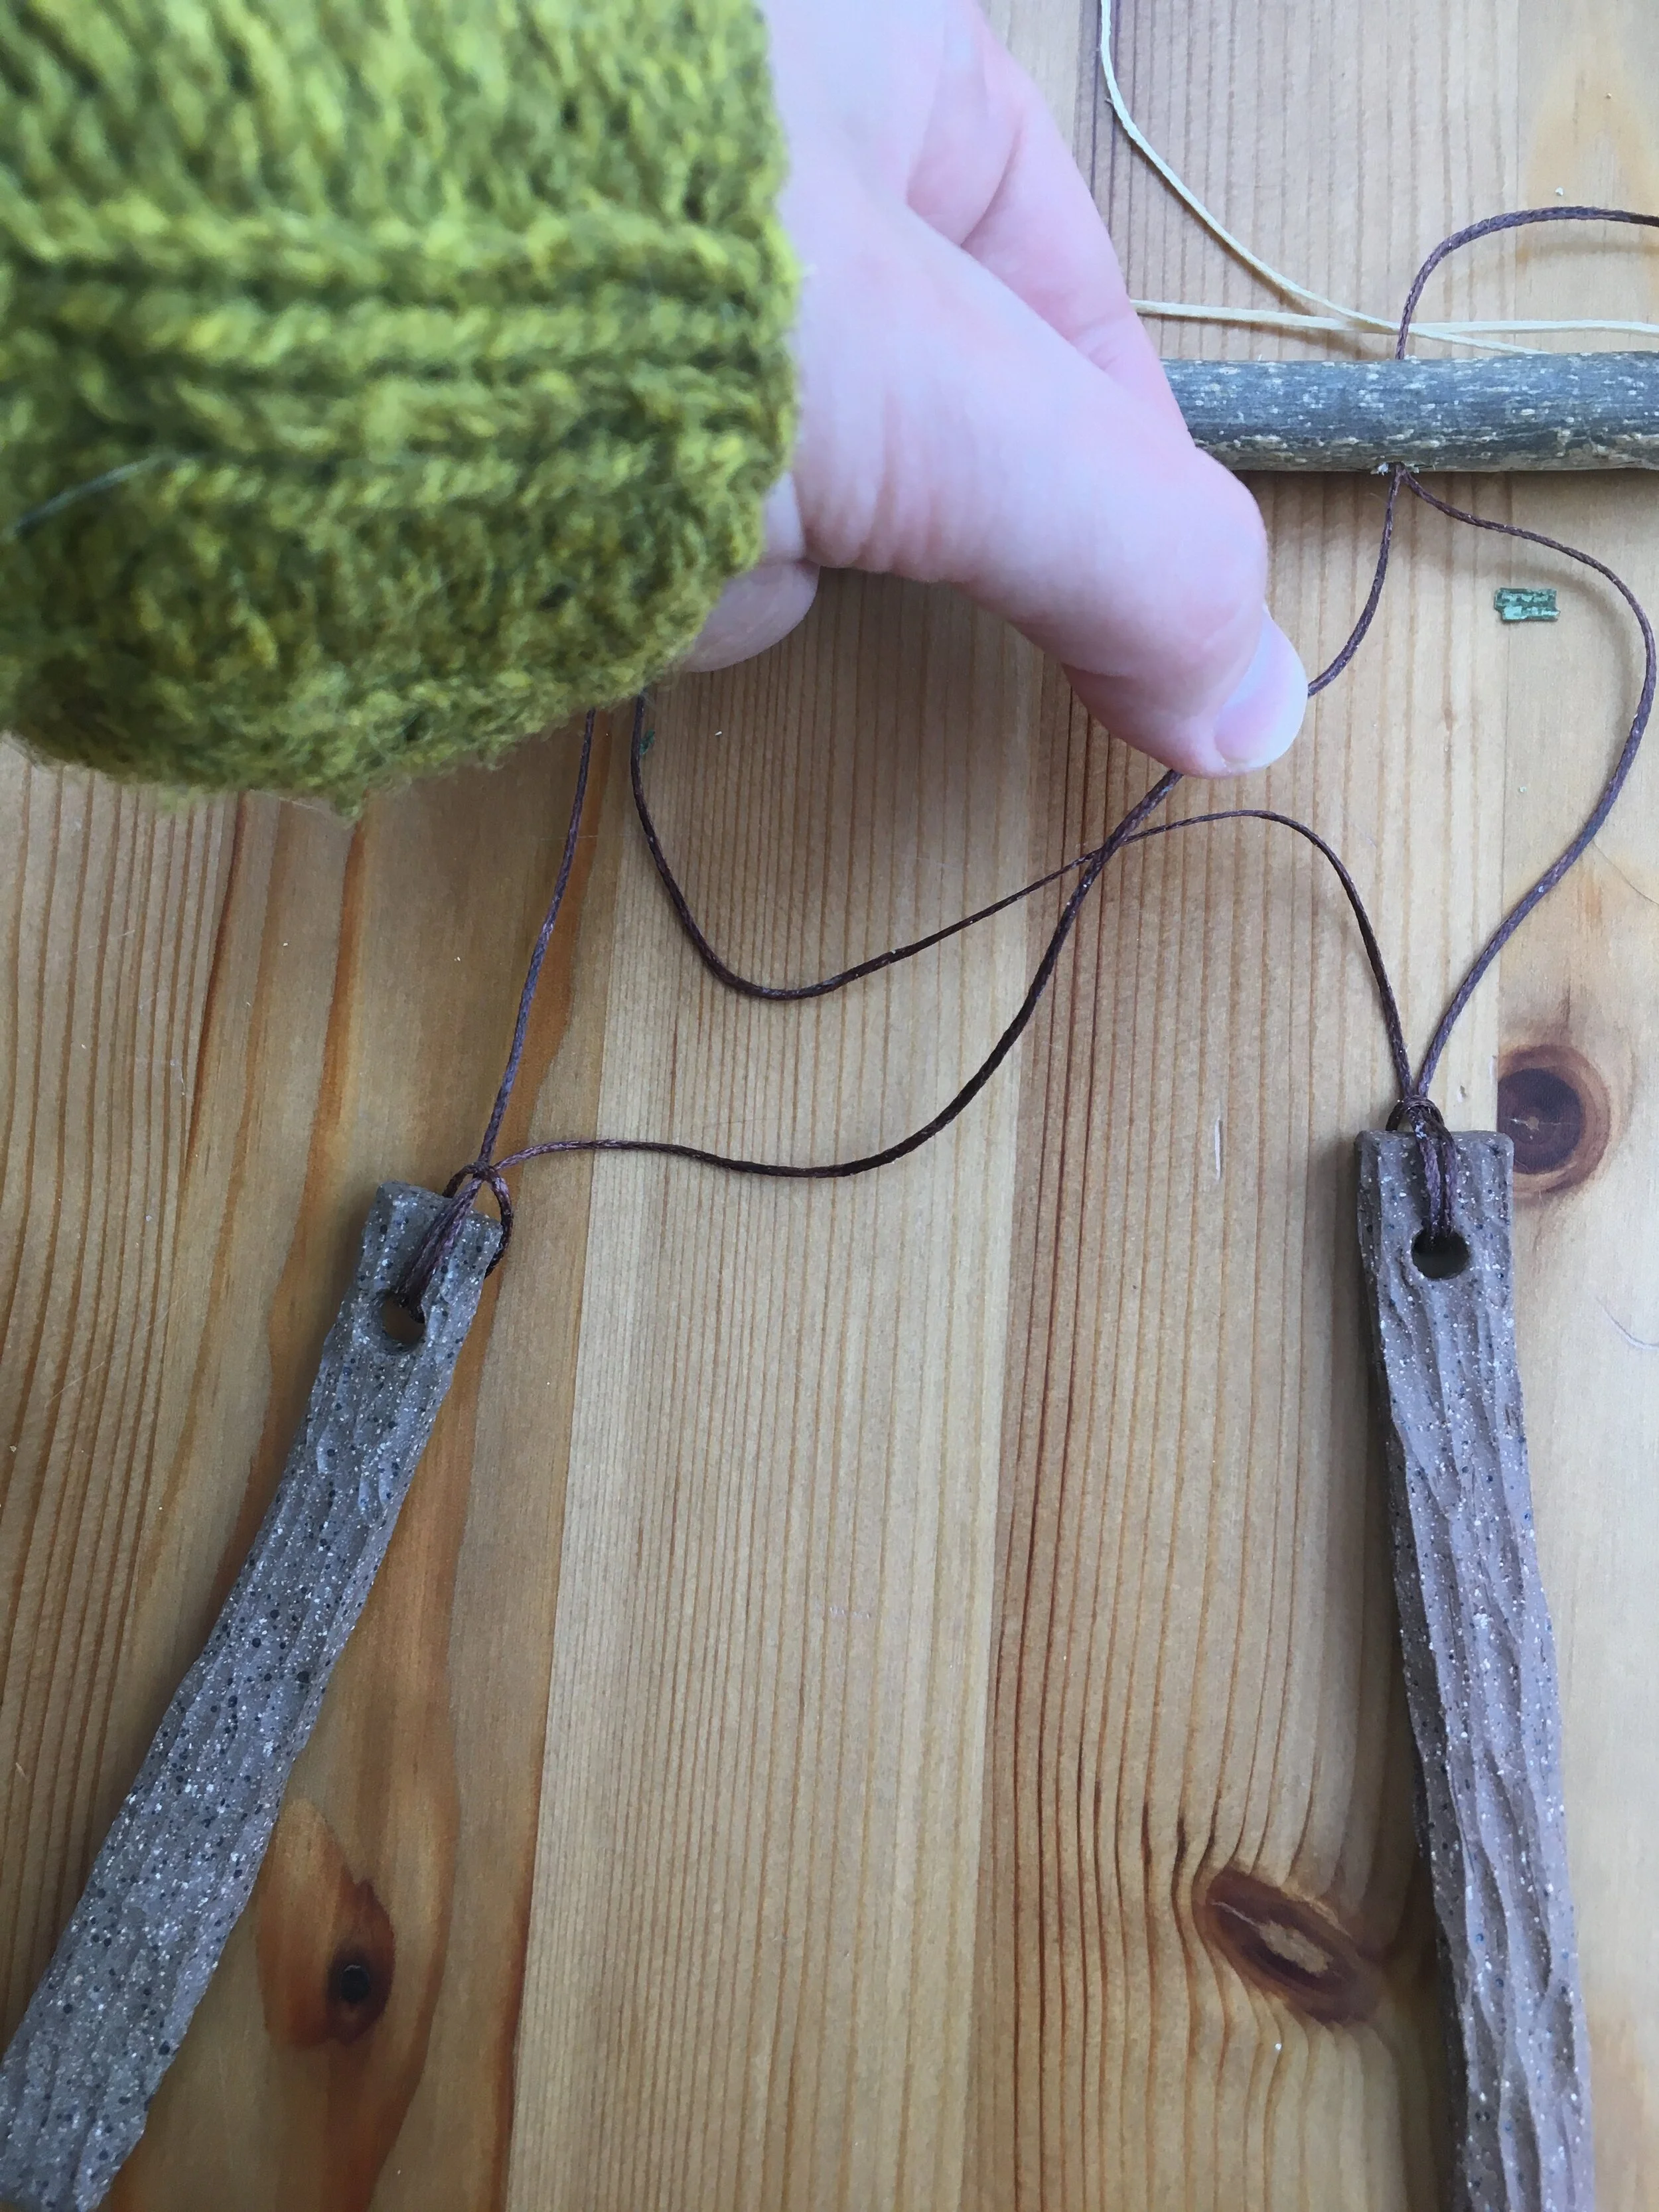
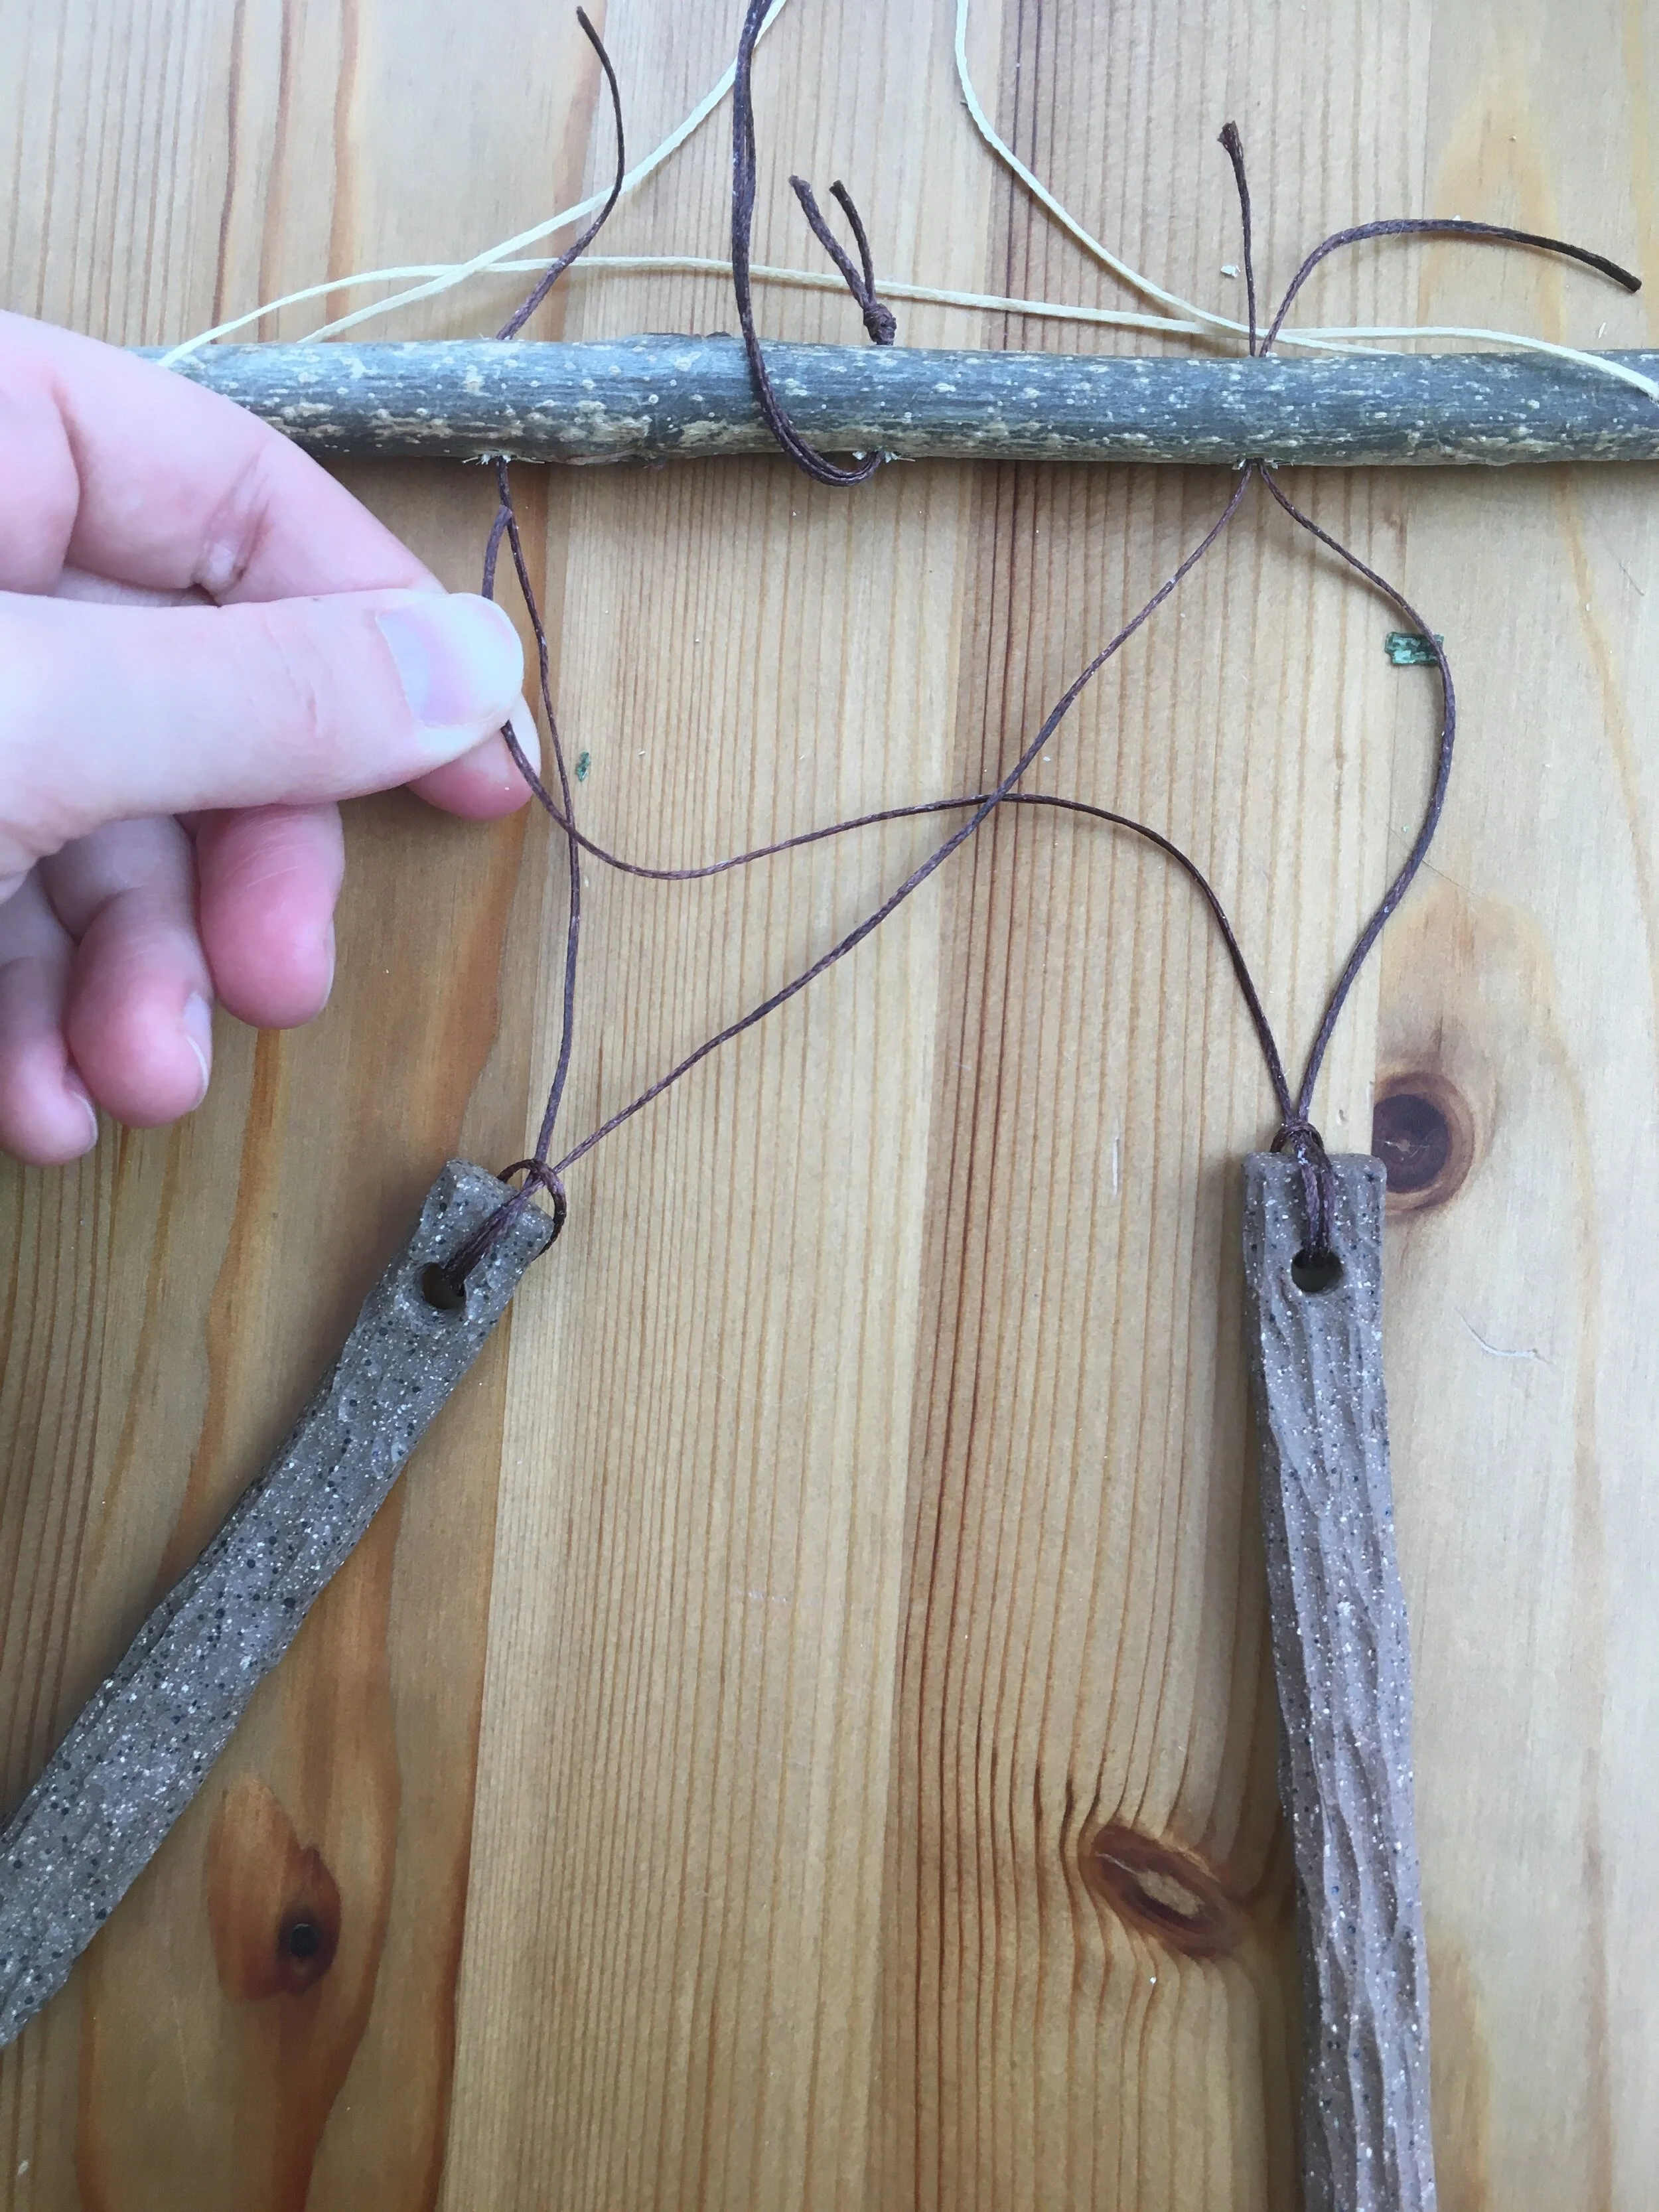
Leave the center most hole in the pre-drilled stick empty to attach bell (or chime stick) at the end.
Split the string ends of both chimes making Vs and thread through opposite holes.
You will have to adjust the lengths of string to keep the chime sticks from falling in the center. Make sure the tops of the chime sticks end up hanging at the same level. Position the chime sticks on your surface where you eventually want them to hang and pull their strings taught making sure to keep chime sticks and the pre-drilled stick stationary.
The strings of the chime sticks will end up being different lengths when you thread them through the pre-drilled stick. Note where on the strings you want the knot to be and knot it at that point. This will take a few tries so don’t knot it too tightly till you are SURE its at the correct spot.
Step Five: Attach bell
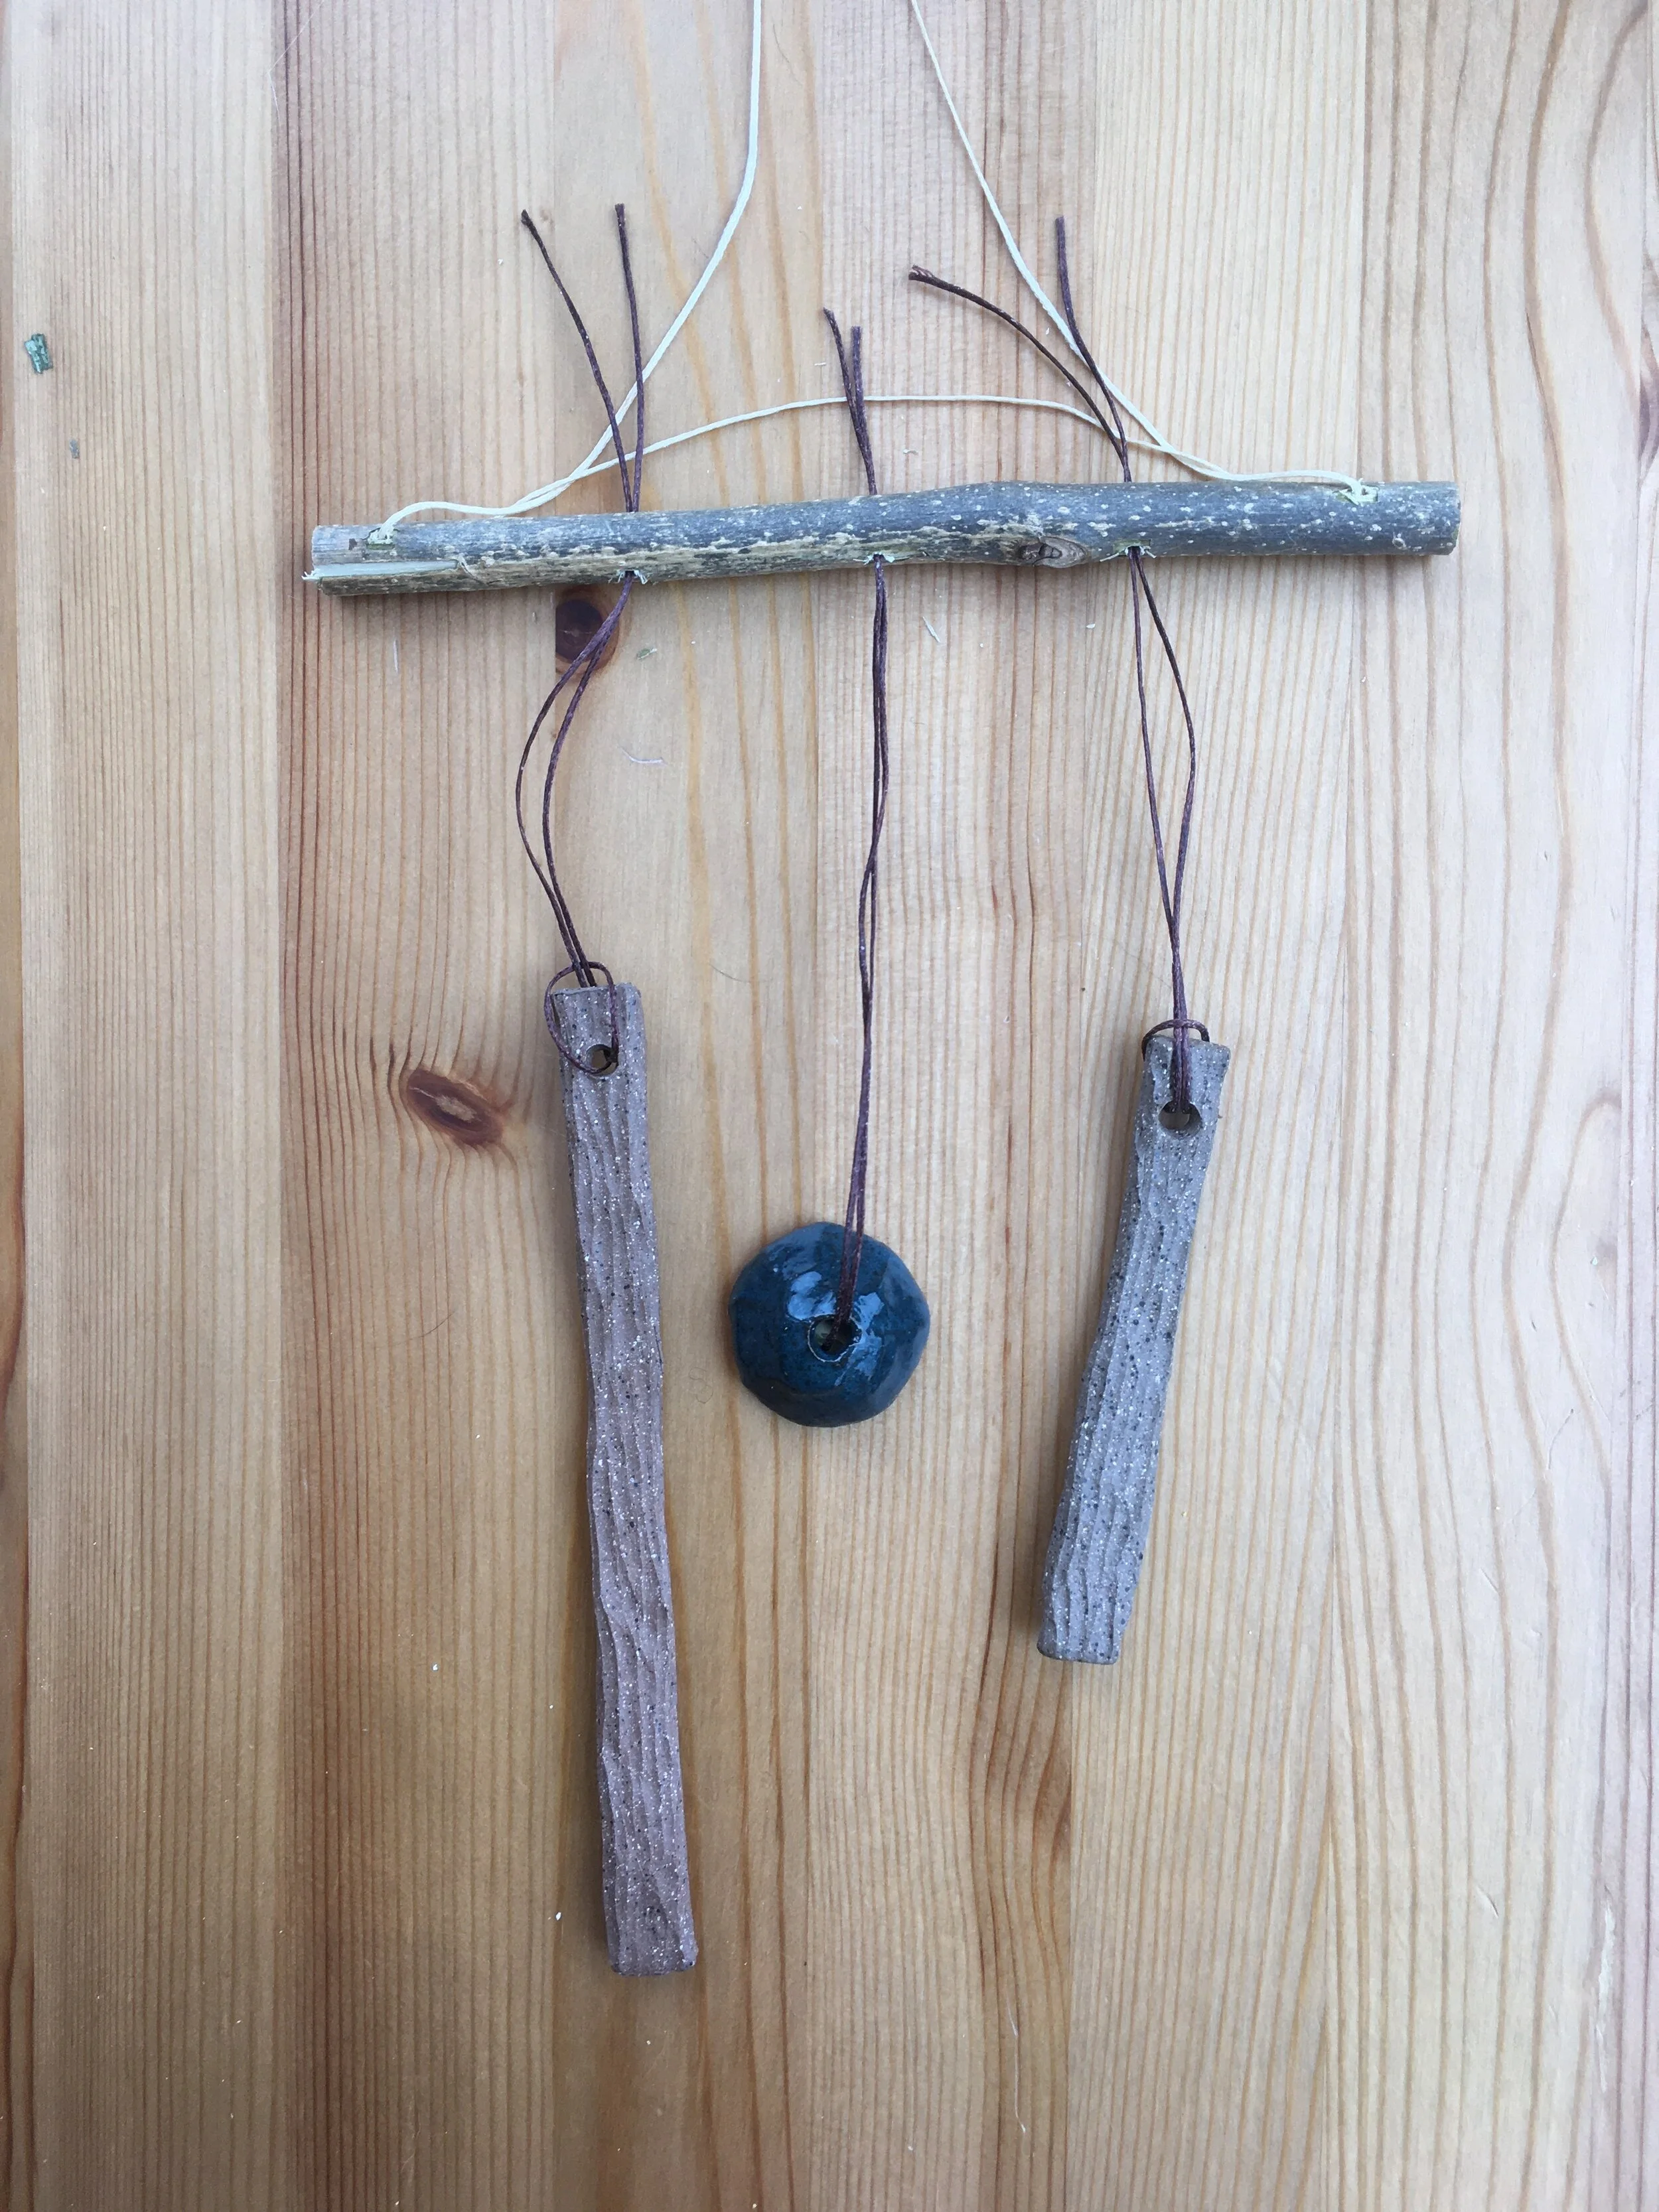
Repeat step four, version 1 to attach bell
Position bell so it effectively hits both chime sticks.
If you have more bells than sticks you may want to position the bells at different heights to achieve more variation in sound.
Step Six
:
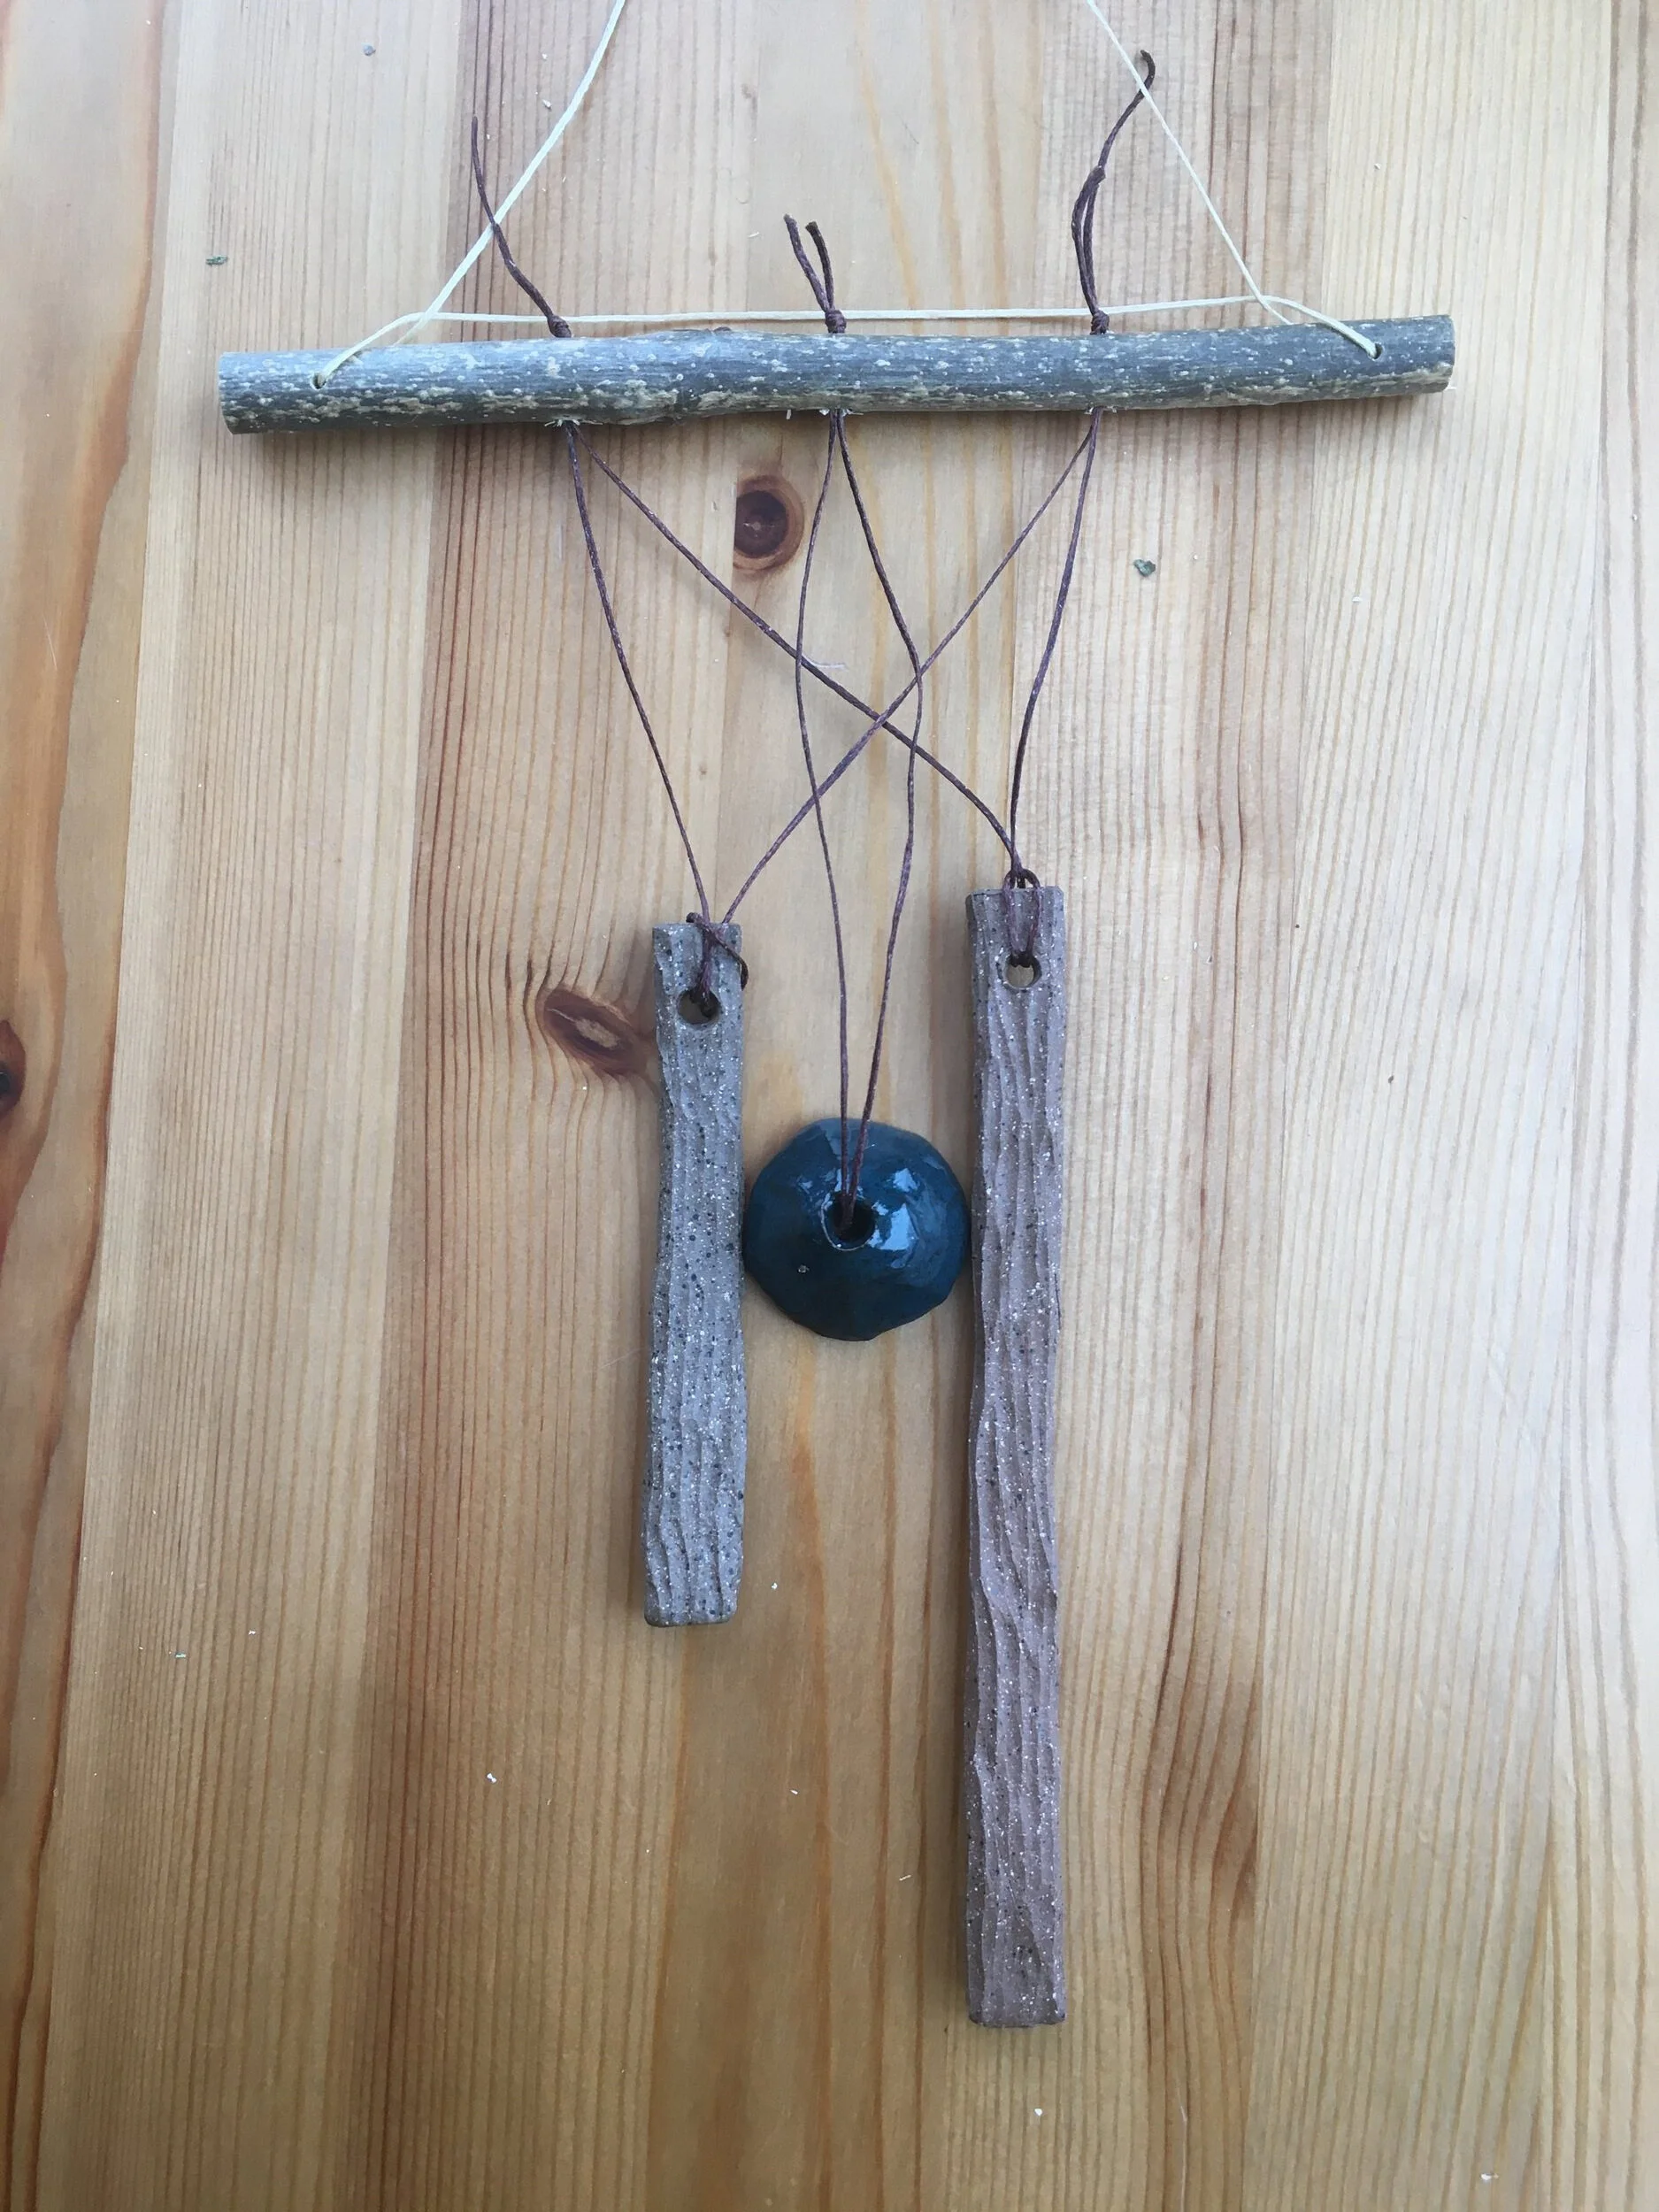
Enjoy!
I hope you had fun assembling your wind chimes! I recommend bringing them inside in the winter.